Diese Anleitung enthält neuere Änderungen. Wechsel zur neuesten unüberprüften Version.
Einleitung
This guide will walk you through the steps to removing and replacing the headphone audio jack on the walkman.
Was du brauchst
-
-
Remove the two black 6.4mm Phillips screws from the back of the device.
-
-
-
Using a plastic opening tool, work your way around the edges of the device, carefully prying off the front panel.
-
-
-
Remove the two 2.8 mm phillips screws located on either side of the device near the top.
-
-
-
Remove the two 2.8mm silver Phillips screws on the sides of the frame.
-
Insert a plastic prying tool between the bottom of the case and the motherboard.
-
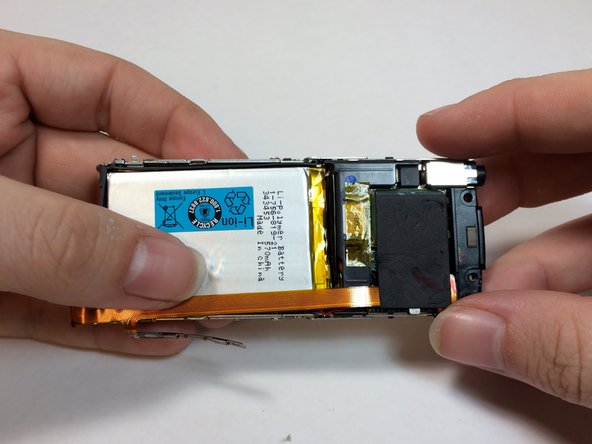
Pry up the assembly and lift it away from the case.
-
-
-
-
Remove the tape from EMF shield and the LCD housing.
-
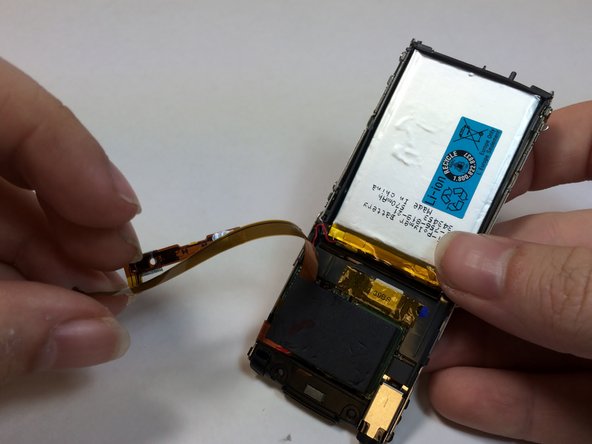
Lift up on the volume control ribbon.
-
-
-
Remove the black shielding tape from above the Hard Drive.
-
Peel the foam cover away from the hard drive.
-
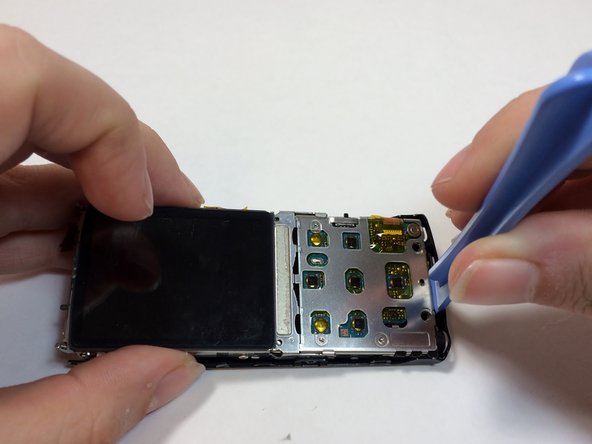
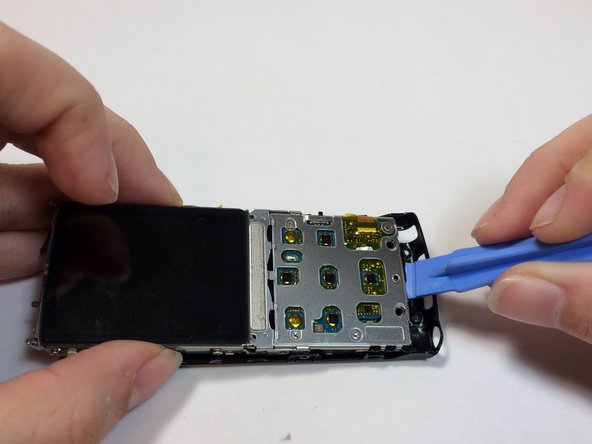
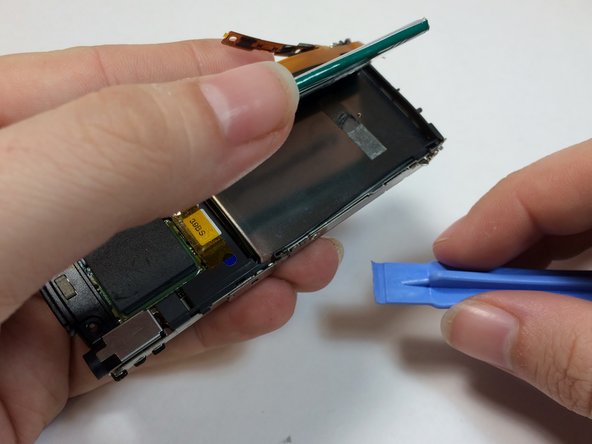
Use a plastic opening tool to remove the EMF chip from the motherboard.
-
-
-
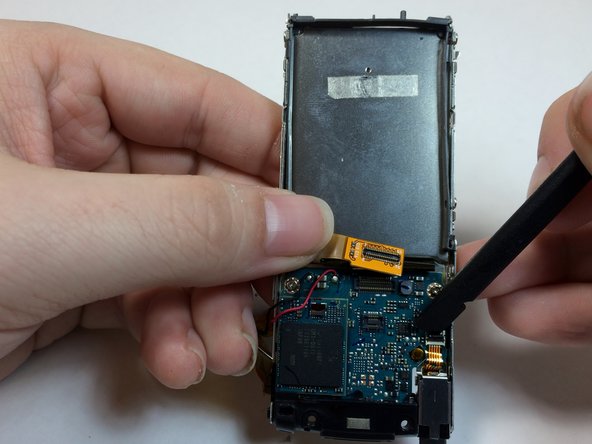
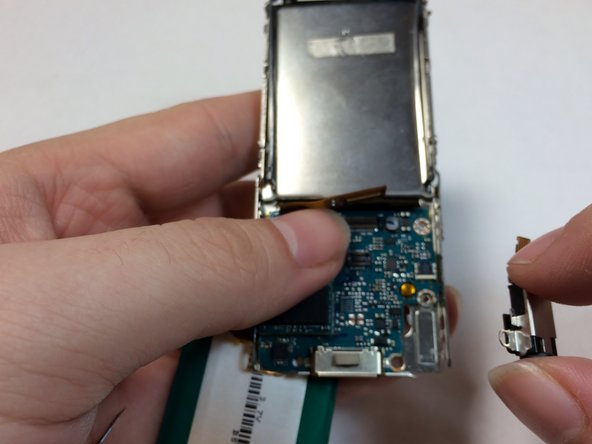
Remove the plastic bracket by pushing up with your thumb to expose the display connection.
-
-
-
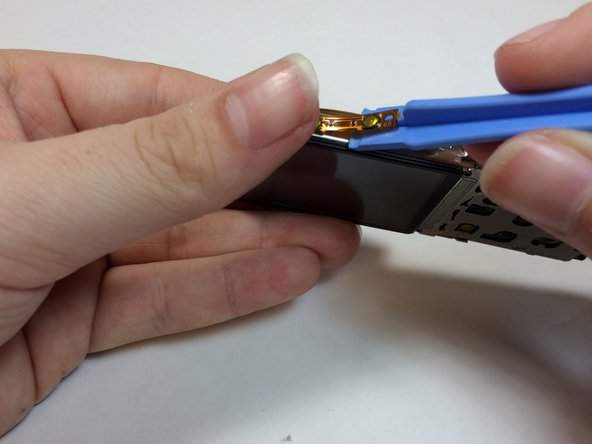
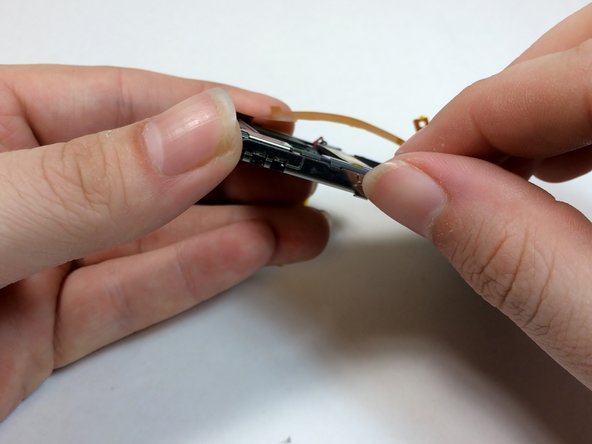
Use the flat end of a spudger to flip up the retaining flap on the audio jack module.
-
-
-
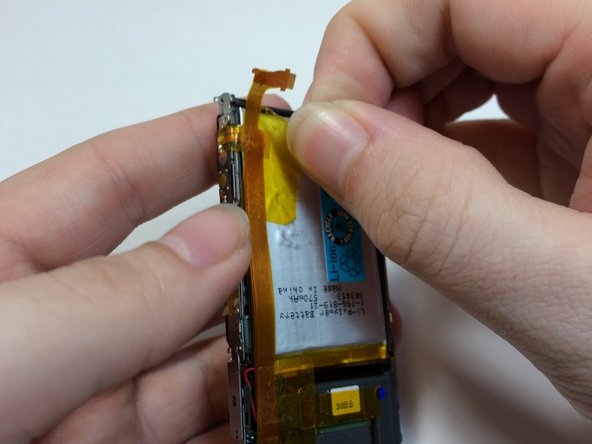
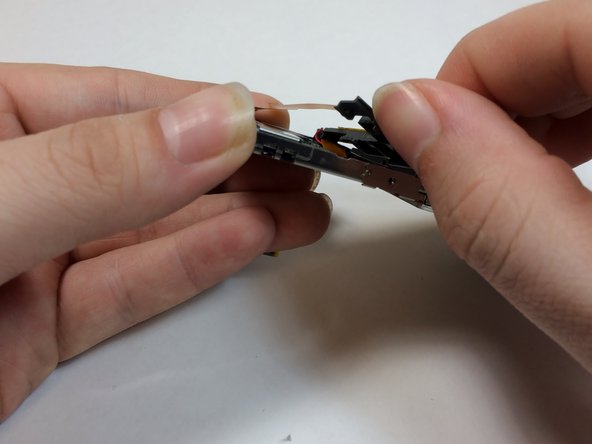
Peel back the ribbon for the audio jack and remove the 1.8mm silver Phillips screw.
-
-
-
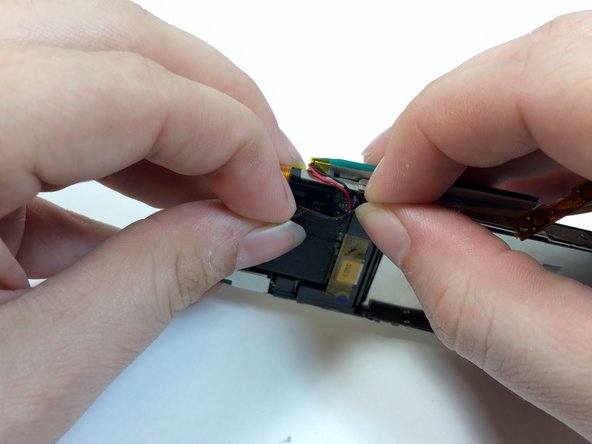
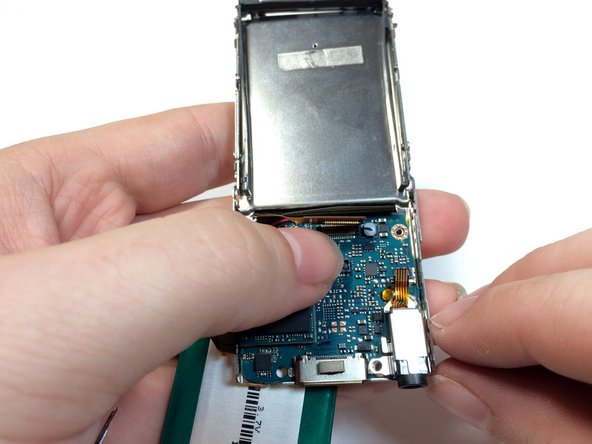
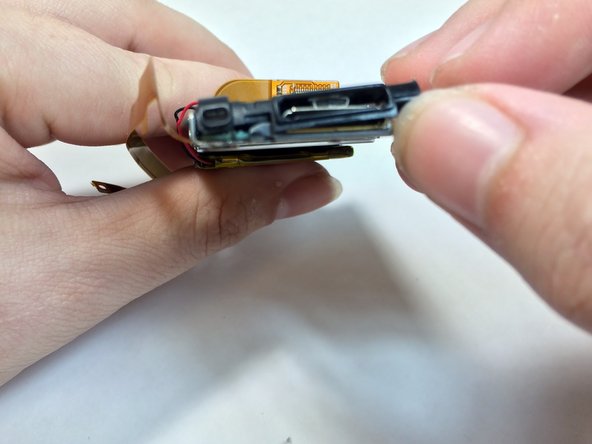
Remove the mic casing by pushing up and in.
-
Remove the headphone jack and the bottom casing.
-


To reassemble your device, follow these instructions in reverse order.
To reassemble your device, follow these instructions in reverse order.
Rückgängig: Ich habe diese Anleitung nicht absolviert.
2 weitere Nutzer:innen haben diese Anleitung absolviert.
Team

USF Tampa, Team 4-2, Brown Winter 2015 Mitglied von USF Tampa, Team 4-2, Brown Winter 2015
USFT-BROWN-W15S4G2
4 Mitglieder
6 Anleitungen geschrieben