Zum Hauptinhalt wechseln

Sony Walkman NWZ-S764 LCD Screen Replacement

Was du brauchst

  1. Sony Walkman NWZ-S764 LCD Screen Replacement, Removing the back cover: Schritt 1, Bild 1 von 3 Sony Walkman NWZ-S764 LCD Screen Replacement, Removing the back cover: Schritt 1, Bild 2 von 3 Sony Walkman NWZ-S764 LCD Screen Replacement, Removing the back cover: Schritt 1, Bild 3 von 3
    • Remove the two black 6.4mm Phillips screws from the back of the device.

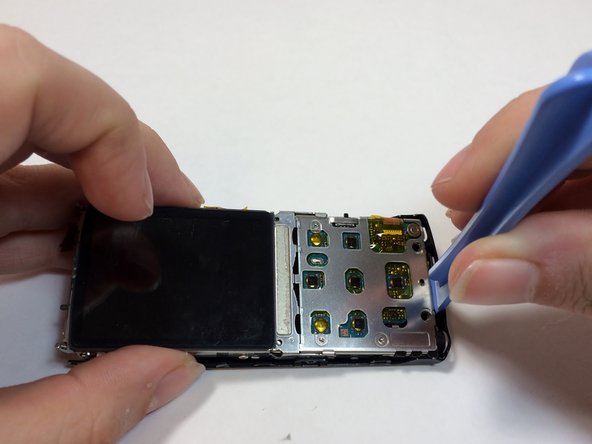
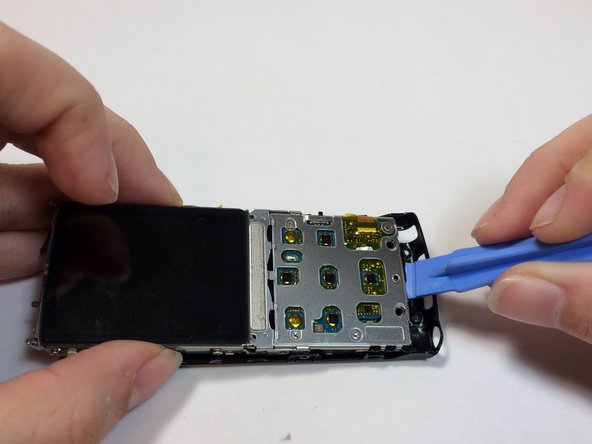
  2. Sony Walkman NWZ-S764 LCD Screen Replacement: Schritt 2, Bild 1 von 3 Sony Walkman NWZ-S764 LCD Screen Replacement: Schritt 2, Bild 2 von 3 Sony Walkman NWZ-S764 LCD Screen Replacement: Schritt 2, Bild 3 von 3
    • Using a plastic opening tool, work your way around the edges of the device, carefully prying off the front panel.

  3. Sony Walkman NWZ-S764 LCD Screen Replacement: Schritt 3, Bild 1 von 2 Sony Walkman NWZ-S764 LCD Screen Replacement: Schritt 3, Bild 2 von 2
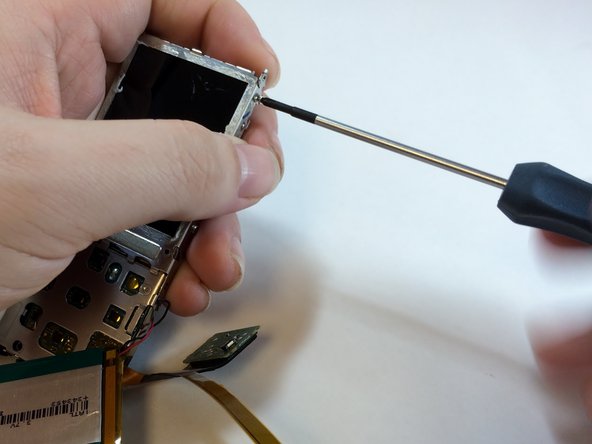
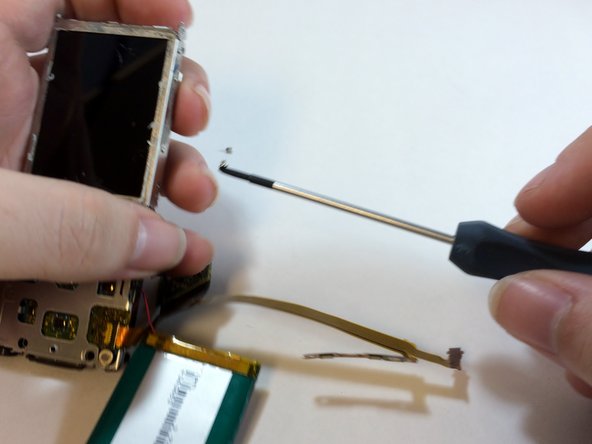
    • Remove the two 2.8 mm phillips screws located on either side of the device near the top.

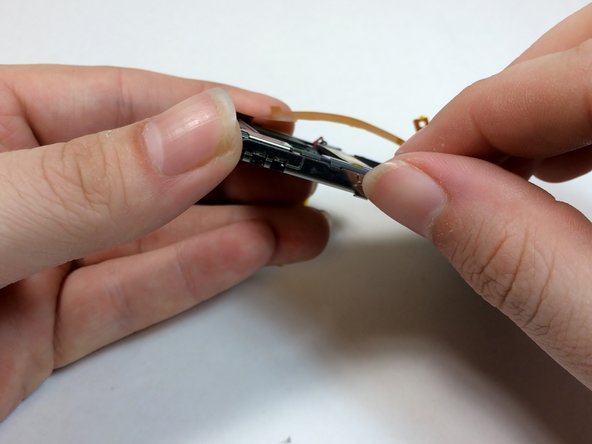
  4. Sony Walkman NWZ-S764 LCD Screen Replacement: Schritt 4, Bild 1 von 2 Sony Walkman NWZ-S764 LCD Screen Replacement: Schritt 4, Bild 2 von 2
    • Carefully pull the top piece away from the device.

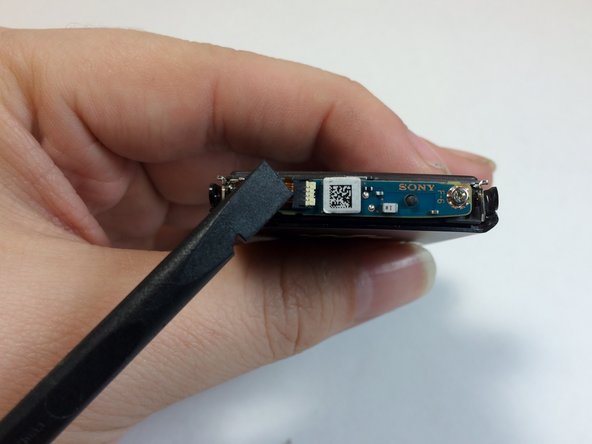
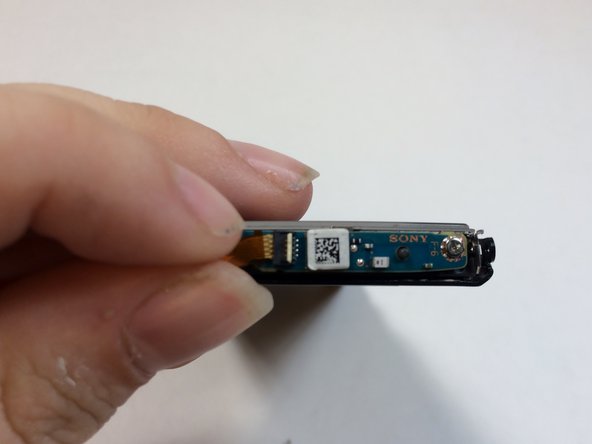
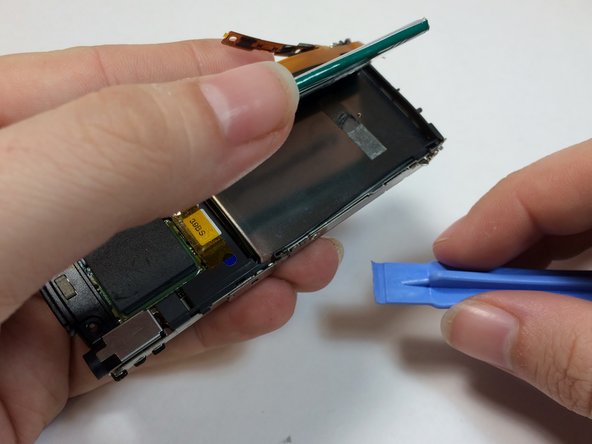
  5. Sony Walkman NWZ-S764 LCD Screen Replacement, Removing the Bluetooth module: Schritt 5, Bild 1 von 3 Sony Walkman NWZ-S764 LCD Screen Replacement, Removing the Bluetooth module: Schritt 5, Bild 2 von 3 Sony Walkman NWZ-S764 LCD Screen Replacement, Removing the Bluetooth module: Schritt 5, Bild 3 von 3
    • Use the flat end of the spudger to flip up the retaining flap for the bluetooth module.

    • Be sure to lift up on the retaining flap, and not the socket itself.

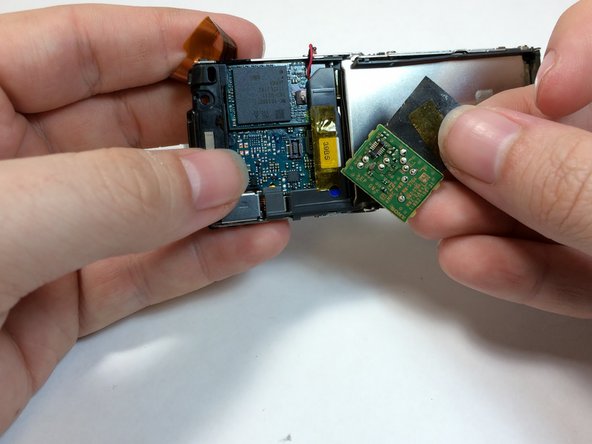
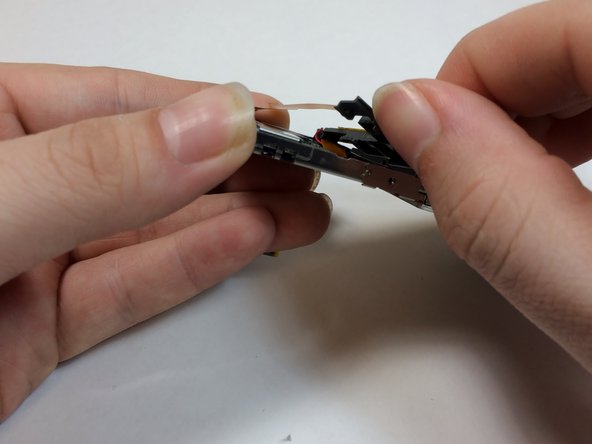
  6. Sony Walkman NWZ-S764 LCD Screen Replacement: Schritt 6, Bild 1 von 3 Sony Walkman NWZ-S764 LCD Screen Replacement: Schritt 6, Bild 2 von 3 Sony Walkman NWZ-S764 LCD Screen Replacement: Schritt 6, Bild 3 von 3
    • Remove the two 1.8mm silver Phillips screws on the Bluetooth module.

    • Lift up on and remove the Bluetooth module.

    • The ribbon cable must first be removed in order to access the highlighted screw.

  7. Sony Walkman NWZ-S764 LCD Screen Replacement, Audio Port: Schritt 7, Bild 1 von 3 Sony Walkman NWZ-S764 LCD Screen Replacement, Audio Port: Schritt 7, Bild 2 von 3 Sony Walkman NWZ-S764 LCD Screen Replacement, Audio Port: Schritt 7, Bild 3 von 3
    • Remove the two 2.8mm silver Phillips screws on the sides of the frame.

    • The two 2.8mm screws are on each side of the device.

    • Insert a plastic prying tool between the bottom of the case and the motherboard.

    • Pry up the assembly and lift it away from the case.

  8. Sony Walkman NWZ-S764 LCD Screen Replacement: Schritt 8, Bild 1 von 3 Sony Walkman NWZ-S764 LCD Screen Replacement: Schritt 8, Bild 2 von 3 Sony Walkman NWZ-S764 LCD Screen Replacement: Schritt 8, Bild 3 von 3
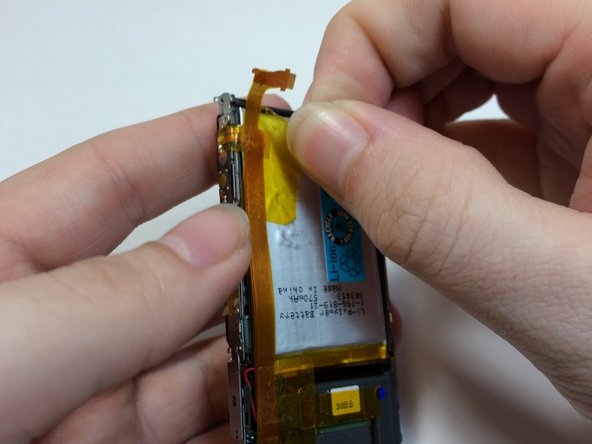
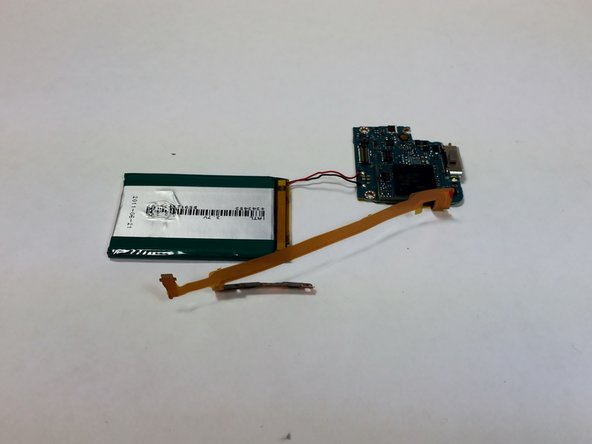
    • Remove the yellow tape from the battery and volume control module.

    • Save tape for reassembly.

  9. Sony Walkman NWZ-S764 LCD Screen Replacement: Schritt 9, Bild 1 von 3 Sony Walkman NWZ-S764 LCD Screen Replacement: Schritt 9, Bild 2 von 3 Sony Walkman NWZ-S764 LCD Screen Replacement: Schritt 9, Bild 3 von 3
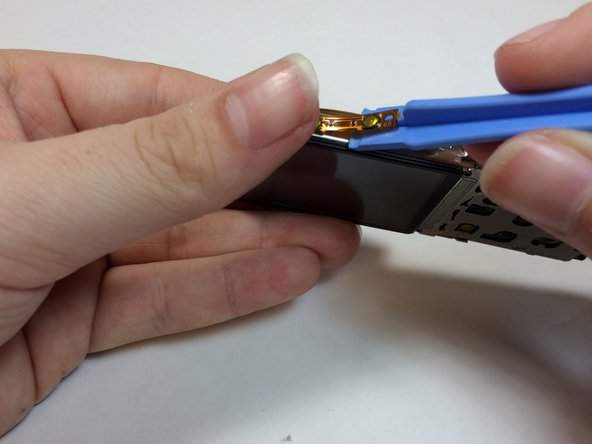
    • Use a prying tool to pry under the volume control module.

    • This module is glued on, using too much force may damage or warp the module.

  10. Sony Walkman NWZ-S764 LCD Screen Replacement: Schritt 10, Bild 1 von 3 Sony Walkman NWZ-S764 LCD Screen Replacement: Schritt 10, Bild 2 von 3 Sony Walkman NWZ-S764 LCD Screen Replacement: Schritt 10, Bild 3 von 3
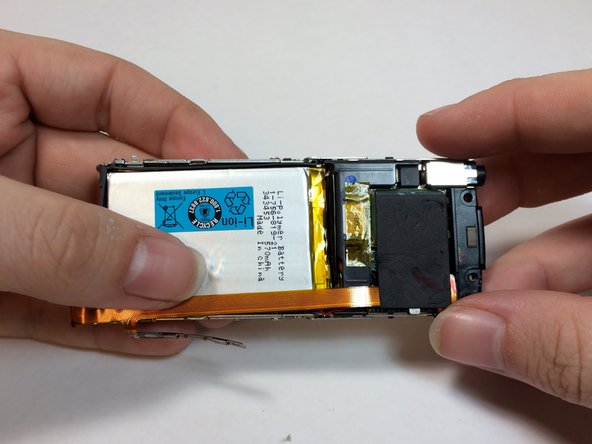
    • Remove the tape from EMF shield and the LCD housing.

    • Lift up on the volume control ribbon.

  11. Sony Walkman NWZ-S764 LCD Screen Replacement: Schritt 11, Bild 1 von 3 Sony Walkman NWZ-S764 LCD Screen Replacement: Schritt 11, Bild 2 von 3 Sony Walkman NWZ-S764 LCD Screen Replacement: Schritt 11, Bild 3 von 3
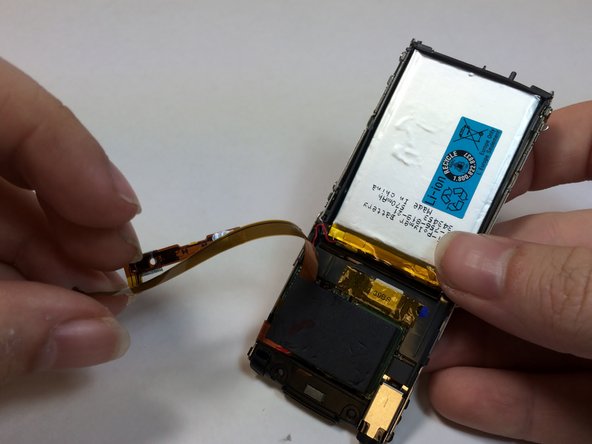
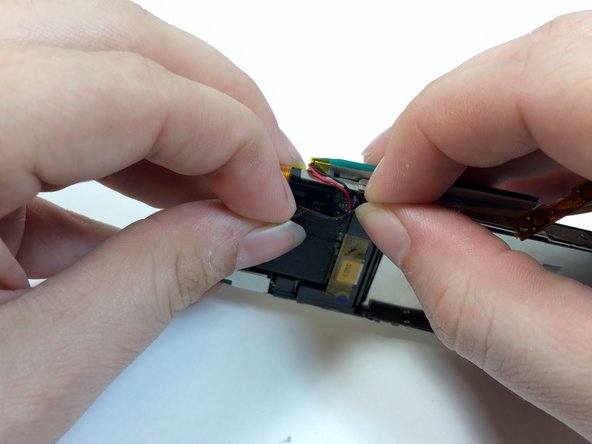
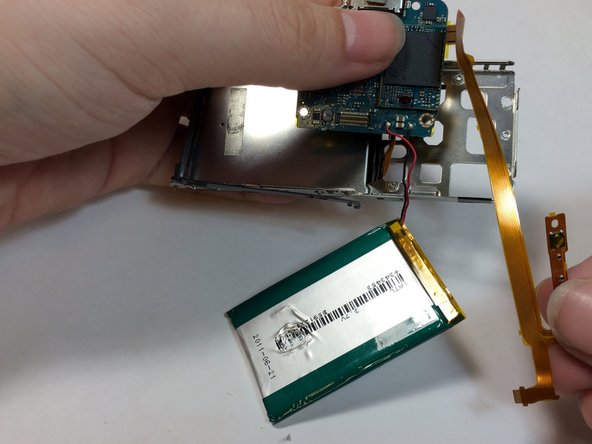
    • Insert a plastic opening tool under the battery and lift up to remove it.

    • The battery is glued on, too much force may damage the battery casing.

    • The battery is soldered to the motherboard, care should be taken to not place too much stress on the wires.

  12. Sony Walkman NWZ-S764 LCD Screen Replacement: Schritt 12, Bild 1 von 3 Sony Walkman NWZ-S764 LCD Screen Replacement: Schritt 12, Bild 2 von 3 Sony Walkman NWZ-S764 LCD Screen Replacement: Schritt 12, Bild 3 von 3
    • Remove the black shielding tape from above the Hard Drive.

    • Peel the foam cover away from the hard drive.

    • Use a plastic opening tool to remove the EMF chip from the motherboard.

    • The hard drive is soldered onto the device. Be careful not to pull too hard on the hard drive.

  13. Sony Walkman NWZ-S764 LCD Screen Replacement: Schritt 13, Bild 1 von 3 Sony Walkman NWZ-S764 LCD Screen Replacement: Schritt 13, Bild 2 von 3 Sony Walkman NWZ-S764 LCD Screen Replacement: Schritt 13, Bild 3 von 3
    • Remove the plastic bracket by pushing up with your thumb to expose the display connection.

  14. Sony Walkman NWZ-S764 LCD Screen Replacement: Schritt 14, Bild 1 von 3 Sony Walkman NWZ-S764 LCD Screen Replacement: Schritt 14, Bild 2 von 3 Sony Walkman NWZ-S764 LCD Screen Replacement: Schritt 14, Bild 3 von 3
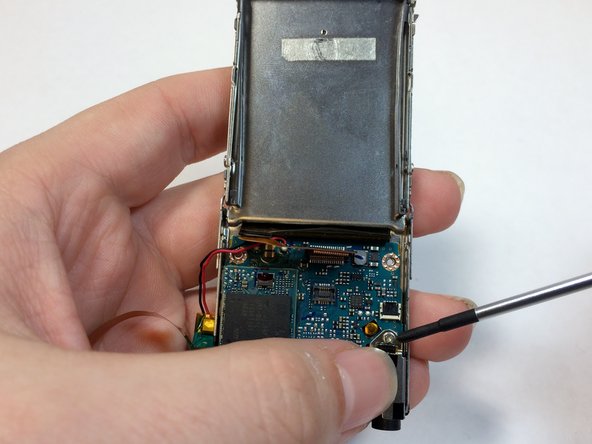
    • Use the flat end of a spudger to flip up the retaining flap on the audio jack module.

  15. Sony Walkman NWZ-S764 LCD Screen Replacement: Schritt 15, Bild 1 von 2 Sony Walkman NWZ-S764 LCD Screen Replacement: Schritt 15, Bild 2 von 2
    • Peel back the ribbon for the audio jack and remove the 1.8mm silver Phillips screw.

  16. Sony Walkman NWZ-S764 LCD Screen Replacement: Schritt 16, Bild 1 von 3 Sony Walkman NWZ-S764 LCD Screen Replacement: Schritt 16, Bild 2 von 3 Sony Walkman NWZ-S764 LCD Screen Replacement: Schritt 16, Bild 3 von 3
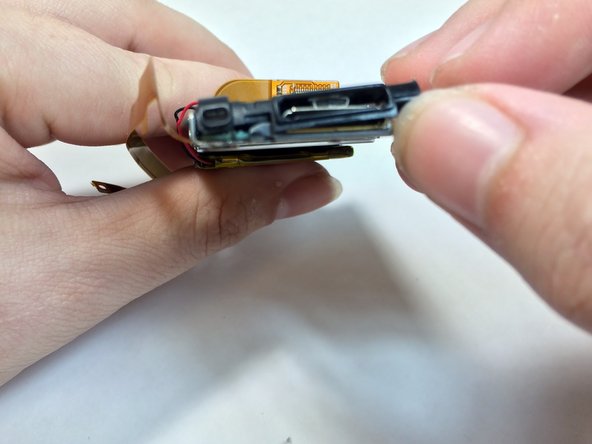
    • Remove the mic casing by pushing up and in.

    • Remove the headphone jack and the bottom casing.

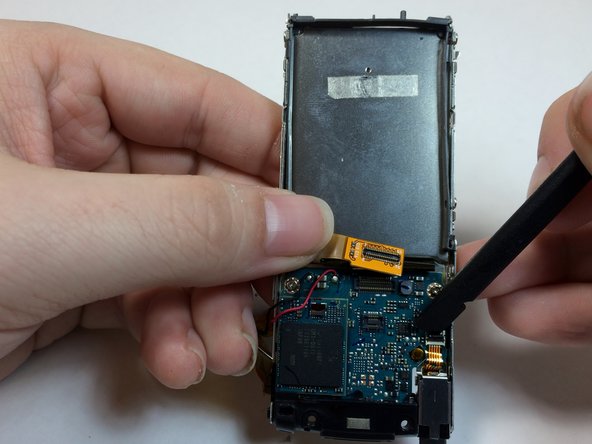
  17. Sony Walkman NWZ-S764 LCD Screen Replacement, Motherboard: Schritt 17, Bild 1 von 2 Sony Walkman NWZ-S764 LCD Screen Replacement, Motherboard: Schritt 17, Bild 2 von 2
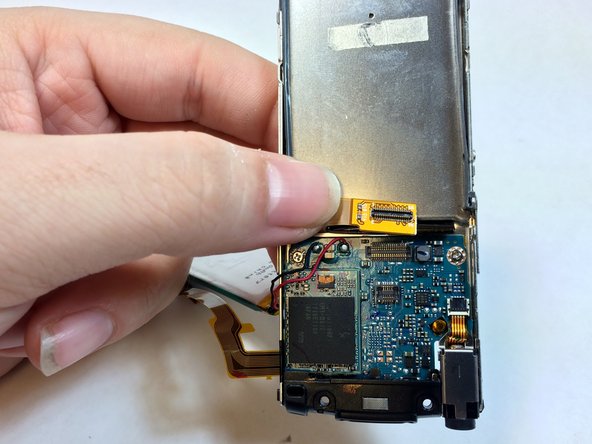
    • Use the prying tool to remove the LCD ribbon wire.

  18. Sony Walkman NWZ-S764 LCD Screen Replacement: Schritt 18, Bild 1 von 1
    • Lift up on the LCD ribbon and remove the two 1.8mm silver Phillips screws.

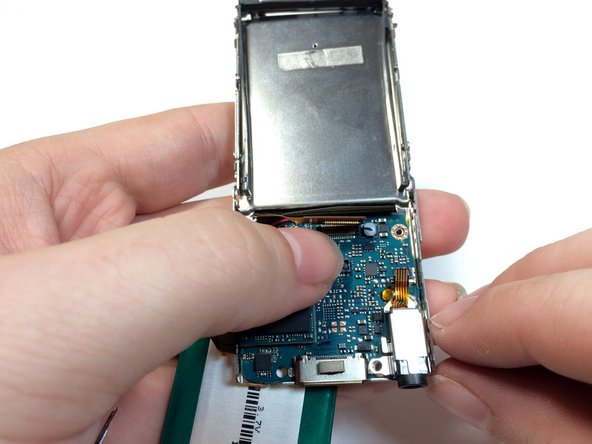
  19. Sony Walkman NWZ-S764 LCD Screen Replacement: Schritt 19, Bild 1 von 3 Sony Walkman NWZ-S764 LCD Screen Replacement: Schritt 19, Bild 2 von 3 Sony Walkman NWZ-S764 LCD Screen Replacement: Schritt 19, Bild 3 von 3
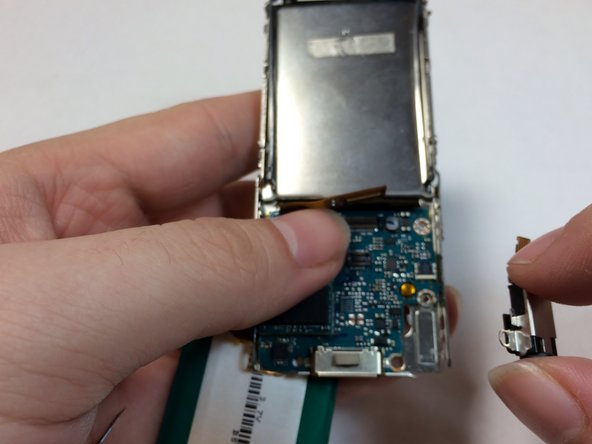
    • Lift the motherboard away from the frame with your thumb to remove it from the device.

    • Pull the volume control module through the space in the frame.

    • If you are using the magnetic project pad or other magnetic surface to keep your screws, do not place the hard drive on or near the magnet.

  20. Sony Walkman NWZ-S764 LCD Screen Replacement, LCD Screen: Schritt 20, Bild 1 von 2 Sony Walkman NWZ-S764 LCD Screen Replacement, LCD Screen: Schritt 20, Bild 2 von 2
    • To remove the LCD display cover, first melt the glue with the iOpener tool.

    • For more detailed instructions on how to use the iOpener, see iOpener Instructions

  21. Sony Walkman NWZ-S764 LCD Screen Replacement: Schritt 21, Bild 1 von 3 Sony Walkman NWZ-S764 LCD Screen Replacement: Schritt 21, Bild 2 von 3 Sony Walkman NWZ-S764 LCD Screen Replacement: Schritt 21, Bild 3 von 3
    • Carefully slide the iOpener wedge tool under the edge of the LCD display cover to separate it from the device.

    • Slide the wedge under all edges of the cover.

    • Once all of the glue has been broken, you can pull up on the cover to remove it.

    • The flat side of the spudger tool also works for this step

  22. Sony Walkman NWZ-S764 LCD Screen Replacement: Schritt 22, Bild 1 von 3 Sony Walkman NWZ-S764 LCD Screen Replacement: Schritt 22, Bild 2 von 3 Sony Walkman NWZ-S764 LCD Screen Replacement: Schritt 22, Bild 3 von 3
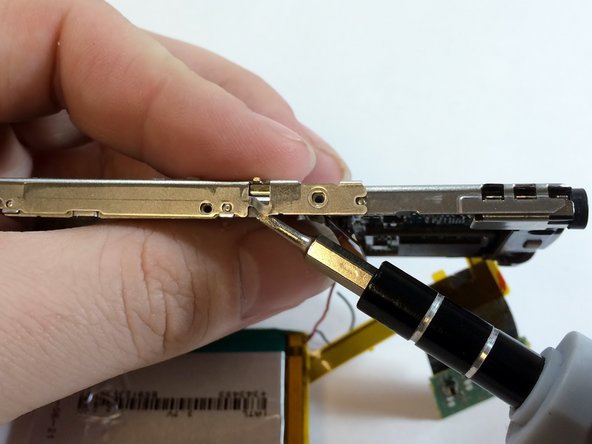
    • Remove the two 1.8 mm Phillips screws from both sides of the frame.

  23. Sony Walkman NWZ-S764 LCD Screen Replacement: Schritt 23, Bild 1 von 3 Sony Walkman NWZ-S764 LCD Screen Replacement: Schritt 23, Bild 2 von 3 Sony Walkman NWZ-S764 LCD Screen Replacement: Schritt 23, Bild 3 von 3
    • Use a strong pry tool to lift the metal brackets away from the device. You will need to bend the metal slightly to remove it from the dimples.

    • This step will require slight force to separate the frame. Do not bend the brackets too far so that they can be replaced later.

    • Once separated, pull the innermost frame containing the LCD display away from the brackets.

  24. Sony Walkman NWZ-S764 LCD Screen Replacement: Schritt 24, Bild 1 von 3 Sony Walkman NWZ-S764 LCD Screen Replacement: Schritt 24, Bild 2 von 3 Sony Walkman NWZ-S764 LCD Screen Replacement: Schritt 24, Bild 3 von 3
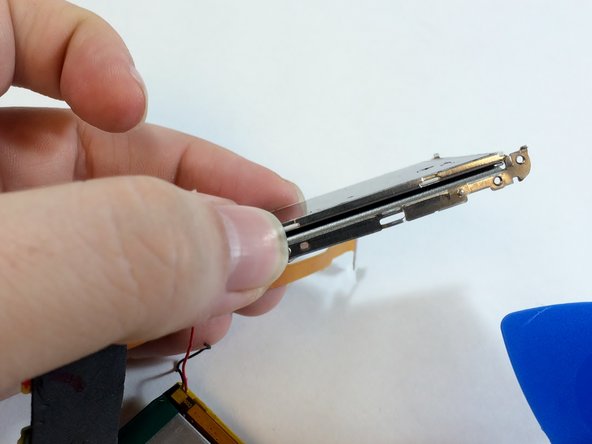
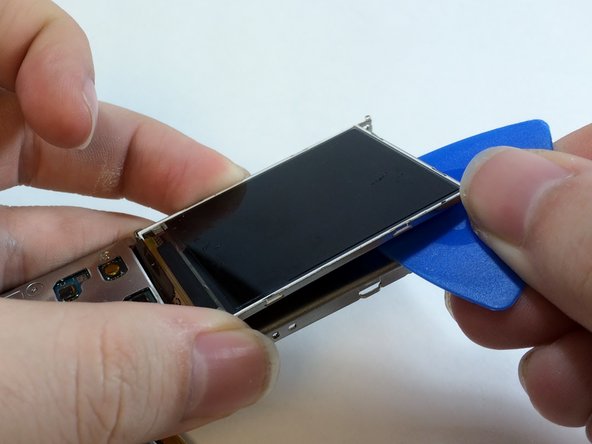
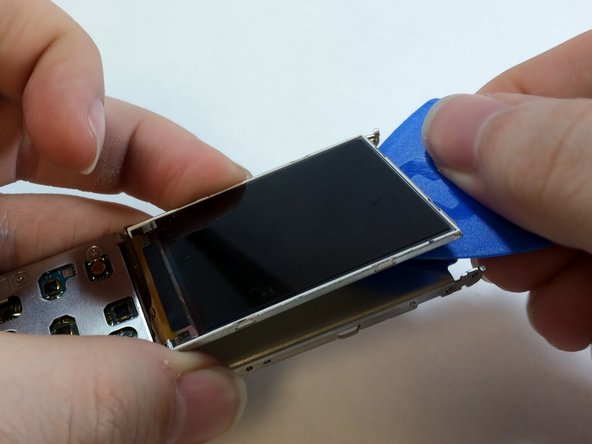
    • Slide an opening pick under the LCD display to separate it from the rest of the device.

    • The pry tool also works for this step.

  25. Sony Walkman NWZ-S764 LCD Screen Replacement: Schritt 25, Bild 1 von 2 Sony Walkman NWZ-S764 LCD Screen Replacement: Schritt 25, Bild 2 von 2
    • Lift the LCD display off of the frame to remove it from the device.

Abschluss

To reassemble your device, follow these instructions in reverse order.

Ein:e weitere:r Nutzer:in hat diese Anleitung absolviert.

Team

USF Tampa, Team 4-2, Brown Winter 2015 Mitglied von USF Tampa, Team 4-2, Brown Winter 2015

USFT-BROWN-W15S4G2

4 Mitglieder

6 Anleitungen geschrieben

0 Kommentare

Kommentar hinzufügen

Seitenaufrufe:

Letzte 24 Stunden: 0

Letzte 7 Tage: 3

Letzte 30 Tage: 17

Insgesamt: 1,921