Einleitung
This is the step-by-step guide for replacing the Sony Xperia M4 Aqua rear camera.
Was du brauchst
-
-
Place the phone face-down, and use a heat gun or hair dryer to evenly heat the back surface until to soften the adhesive.
-
-
-
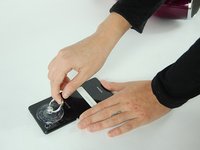
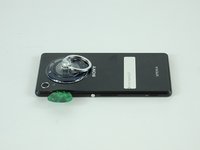
Attach a suction cup to the back of the M4 Aqua by carefully pushing down on it near the top of the phone.
-
-
-
While Pulling on the suction cup, slide a thin plastic spacer (guitar picks work well) between the back cover and the phone. Slide it around the edges to break the adhesive seal. Be careful, but don't be afraid to use some force. You should hear a sticky breaking sound.
-
-
-
Remove the back cover by pulling it from the chassis. it is flexible and can be bent, be careful.
-
-
-
-
Unhook the battery connector carefully. It is possible to damage the battery if too much force is used.
-
-
-
Remove the battery once all of the adhesive is broken, and the connector is unplugged.
-
-
-
Remove the four hex head 3mm screws at each corner of the motherboard with a screwdriver.
-
-
In diesem Schritt verwendetes Werkzeug:Tweezers$4.99
-
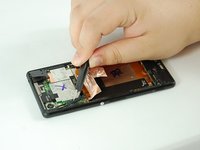
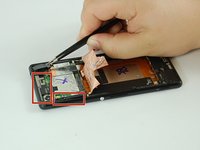
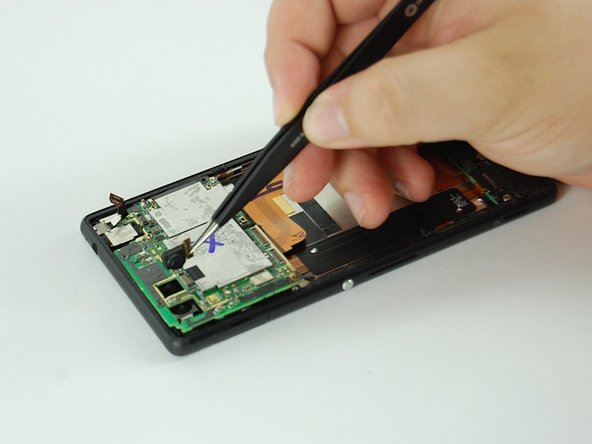
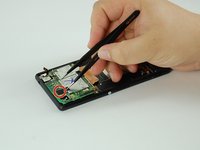
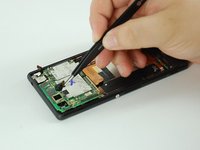
Remove three pieces of the securing bracket using tweezers
-
-
-
Detach the rear camera connector from the front of the motherboard.
-
Remove the rear camera with your fingers or tweezers.
-
To reassemble your device, follow these instructions in reverse order.
To reassemble your device, follow these instructions in reverse order.
Rückgängig: Ich habe diese Anleitung nicht absolviert.
5 weitere Personen haben diese Anleitung absolviert.


