Zum Hauptinhalt wechseln

Sony Xperia Z Display Assembly Replacement

Was du brauchst

Einführungsvideo

  1. Sony Xperia Z Display Assembly Replacement, Touch Screen Glass Digitizer & LCD Display: Schritt 1, Bild 1 von 3 Sony Xperia Z Display Assembly Replacement, Touch Screen Glass Digitizer & LCD Display: Schritt 1, Bild 2 von 3 Sony Xperia Z Display Assembly Replacement, Touch Screen Glass Digitizer & LCD Display: Schritt 1, Bild 3 von 3
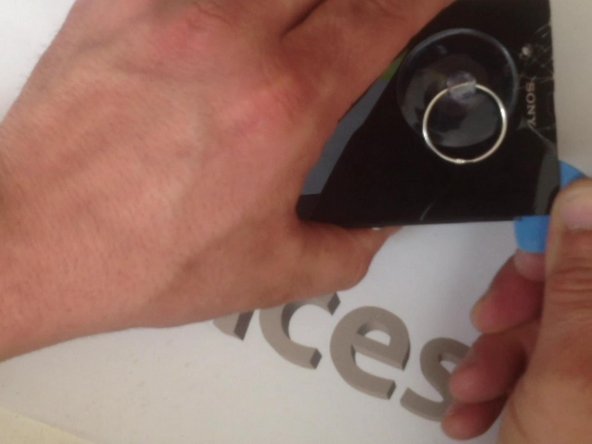
    • Warm the Battery cover before disassemble it.

  2. Sony Xperia Z Display Assembly Replacement: Schritt 2, Bild 1 von 3 Sony Xperia Z Display Assembly Replacement: Schritt 2, Bild 2 von 3 Sony Xperia Z Display Assembly Replacement: Schritt 2, Bild 3 von 3
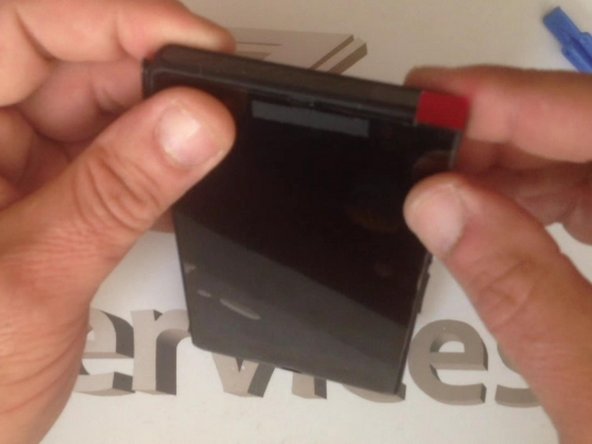
    • 'Carefully' warm the battery too

  3. Sony Xperia Z Display Assembly Replacement: Schritt 3, Bild 1 von 3 Sony Xperia Z Display Assembly Replacement: Schritt 3, Bild 2 von 3 Sony Xperia Z Display Assembly Replacement: Schritt 3, Bild 3 von 3
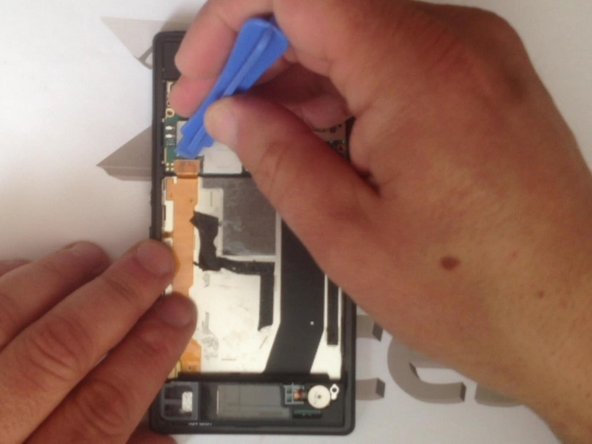
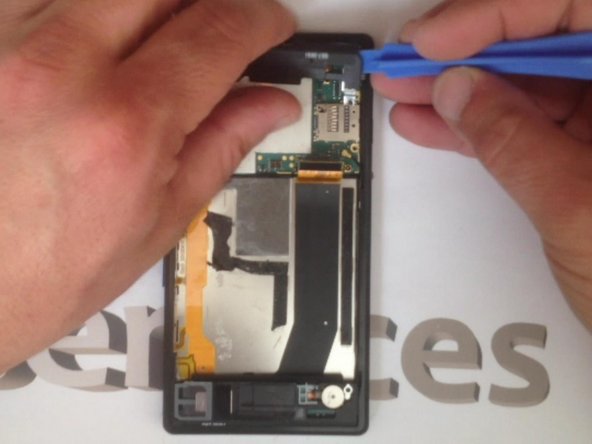
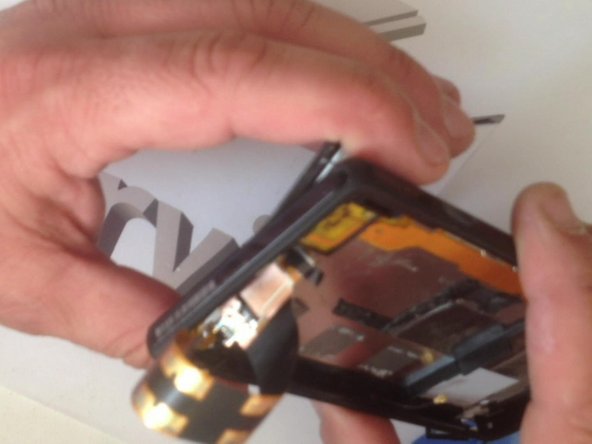
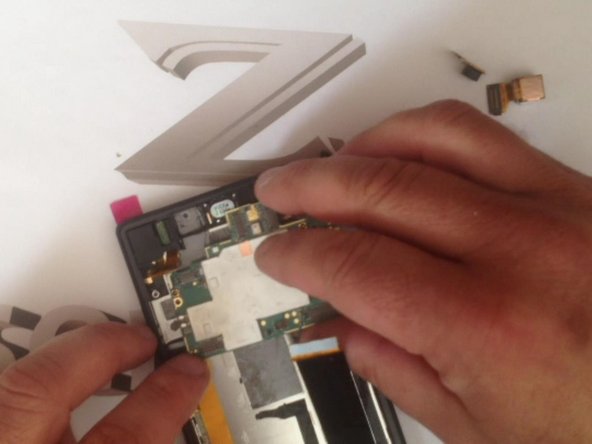
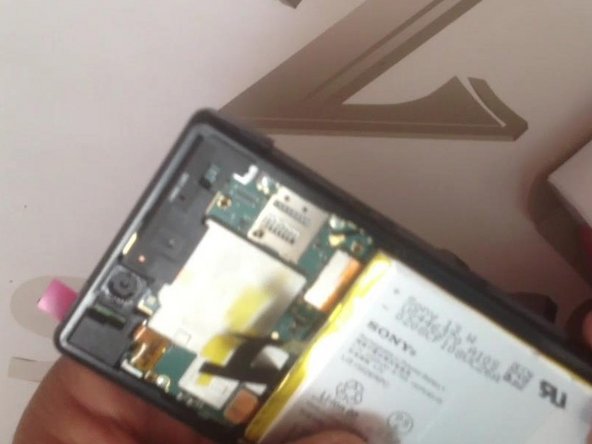
    • Unscrew 4x screws and disconnect 3x flex cables in case to free the mother board.

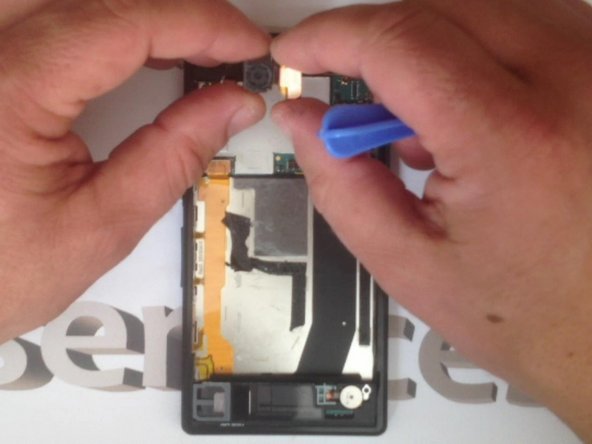
  4. Sony Xperia Z Display Assembly Replacement: Schritt 4, Bild 1 von 3 Sony Xperia Z Display Assembly Replacement: Schritt 4, Bild 2 von 3 Sony Xperia Z Display Assembly Replacement: Schritt 4, Bild 3 von 3
    • This are: main Camera, front Camera and antenna wire Flex cable.

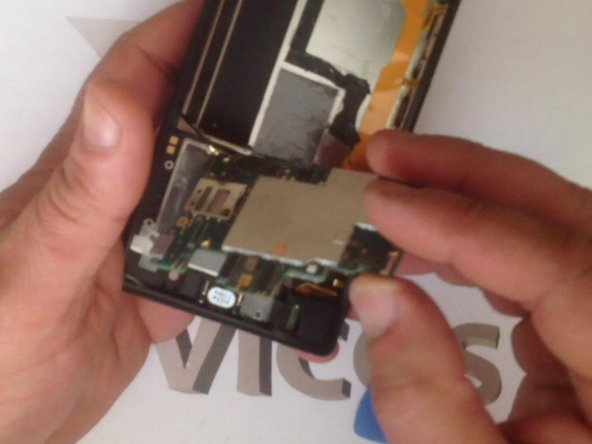
    • Now we can remove the Motherboard.

  5. Sony Xperia Z Display Assembly Replacement: Schritt 5, Bild 1 von 3 Sony Xperia Z Display Assembly Replacement: Schritt 5, Bild 2 von 3 Sony Xperia Z Display Assembly Replacement: Schritt 5, Bild 3 von 3
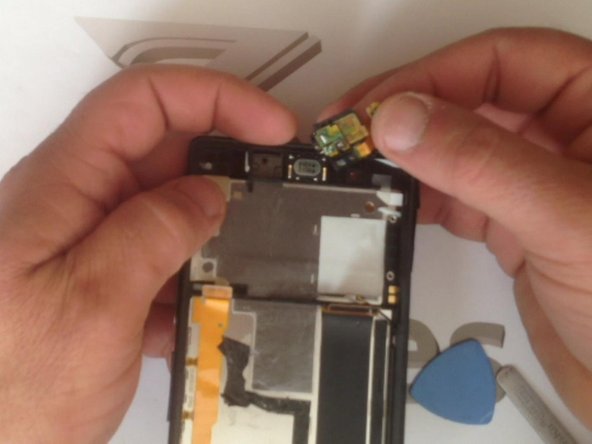
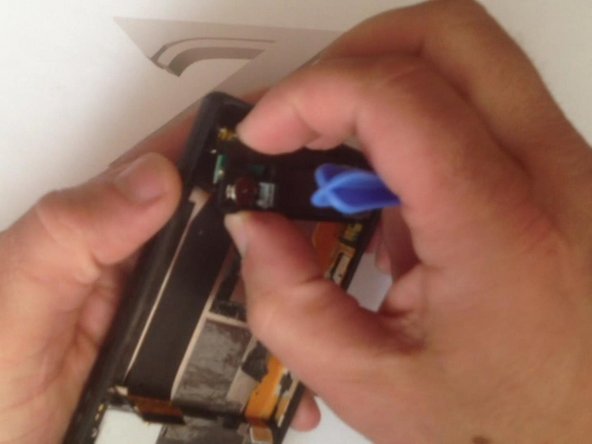
    • The Headphone connector and the Ringer / Cover / Signal Antenna module.

  6. Sony Xperia Z Display Assembly Replacement: Schritt 6, Bild 1 von 3 Sony Xperia Z Display Assembly Replacement: Schritt 6, Bild 2 von 3 Sony Xperia Z Display Assembly Replacement: Schritt 6, Bild 3 von 3
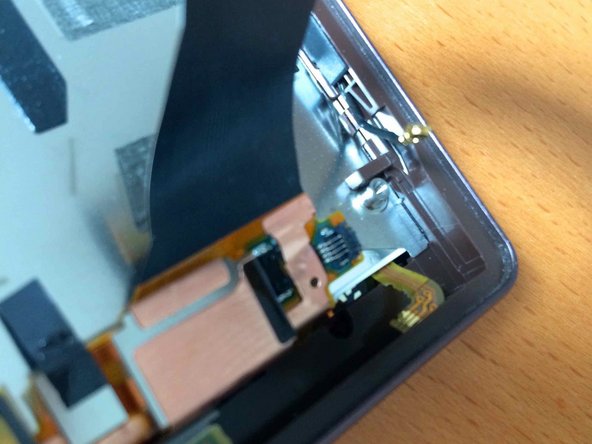
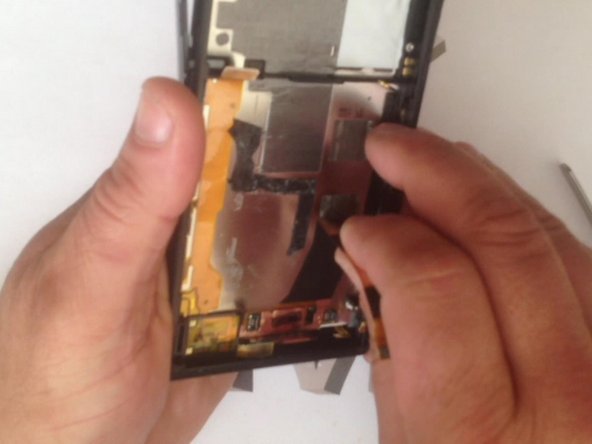
    • Disconnect the LCD light flex cable by lifting up the black plastic and removing the flex cable from the right side and we are ready to go.

  7. Sony Xperia Z Display Assembly Replacement: Schritt 7, Bild 1 von 3 Sony Xperia Z Display Assembly Replacement: Schritt 7, Bild 2 von 3 Sony Xperia Z Display Assembly Replacement: Schritt 7, Bild 3 von 3
    • Warm the Touch screen before you start to disassemble it.

  8. Sony Xperia Z Display Assembly Replacement: Schritt 8, Bild 1 von 3 Sony Xperia Z Display Assembly Replacement: Schritt 8, Bild 2 von 3 Sony Xperia Z Display Assembly Replacement: Schritt 8, Bild 3 von 3
    • Let's assemble the new spare part.

  9. Sony Xperia Z Display Assembly Replacement: Schritt 9, Bild 1 von 3 Sony Xperia Z Display Assembly Replacement: Schritt 9, Bild 2 von 3 Sony Xperia Z Display Assembly Replacement: Schritt 9, Bild 3 von 3
Abschluss

To reassemble your device, follow these instructions in reverse order.

76 weitere Nutzer:innen haben diese Anleitung absolviert.

ZFix

Mitglied seit: 12/09/13

191.278 Reputation

330 Anleitungen geschrieben

Team

Master Techs Mitglied von Master Techs

Community

322 Mitglieder

2.532 Anleitungen geschrieben

54 Kommentare

Same procedure with Sony Xperia Z2?

Fredrik - Antwort

How do you warm it? With what and what temperature ?

Jeroen - Antwort

with a hairdryer for like 3 min on high

Peter Tembo -

With hair dryer.

ZFix - Antwort

Same procedure with Sony Xperia Z1? Where do i get the screen parts?

chrgro - Antwort

Kommentar hinzufügen

Seitenaufrufe:

Letzte 24 Stunden: 2

Letzte 7 Tage: 13

Letzte 30 Tage: 40

Insgesamt: 237,910