Einleitung
Sony Xperia Z3 Dual の内部を見てみましょう。そして修理が必要な時、どこにどのようなコンポーネントが搭載されているか確認することができます。
Was du brauchst
-
-
2つのSIMカードトレイを取り出します。
-
接着ステッカーを柔らかくするため、バックカバーを温めます。
-
吸盤カップを取り付けて、デバイス上部に隙間を開けます。
-
-
-
開いた隙間にギターのピックを差し込みます。
-
ギターピックをスライドさせて接着ステッカーを切り込んでいきます。ご注意:デバイス左側をスライドする際は、2枚目の画像の方向に進めてください。
-
-
-
-
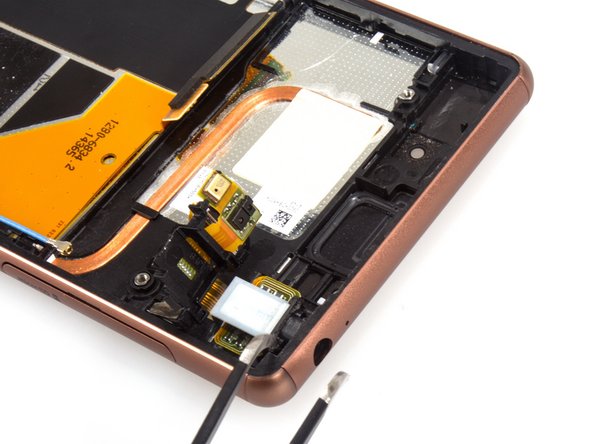
イヤホンジャックのフレックスカバーを回して引きます。 しかし、これはイヤホンジャックアセンブリの一部です。
-
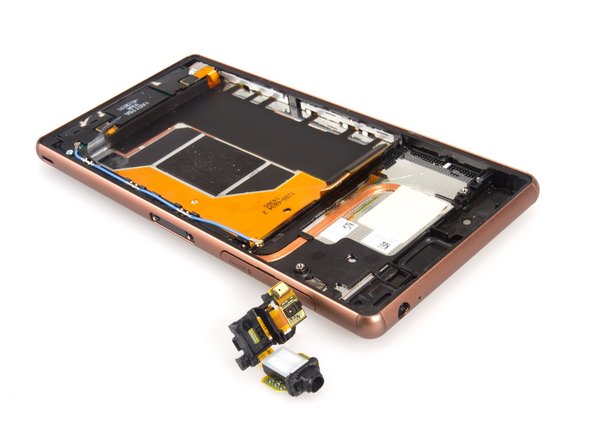
イヤホンジャックとミッドフレームの間の接着ステッカーを切断して、アセンブリを取り出します。
-
-
-
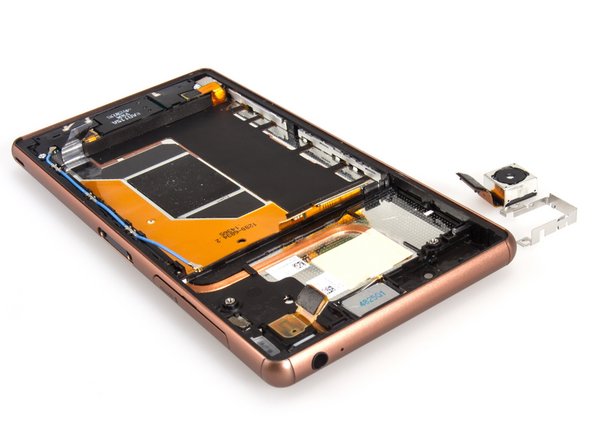
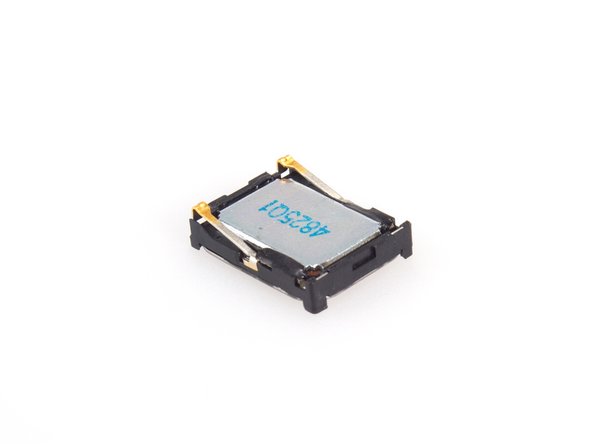
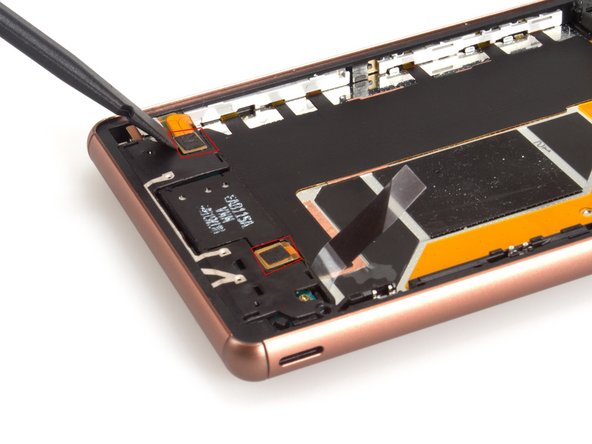
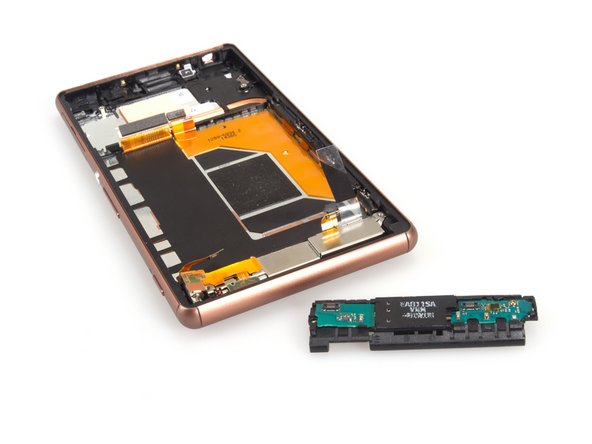
ブラケットを固定しているラウドスピーカーアセンブリを外します。接着剤は使用されていません。
-
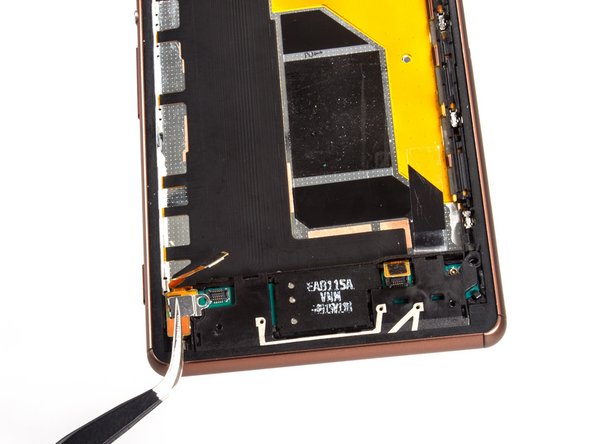
ラウドスピーカーアセンブリをこじ開けて取り出します。ここにも接着剤は使用されていません。
-


Besonderer Dank geht an diese Übersetzer:innen:
100%

Midori Doi hilft uns, die Welt in Ordnung zu bringen! Wie kann ich mithelfen?
Hier starten ›
9 Kommentare
Can you put it back together?
I dropped mine so I just want to take the battery out is it possibly to take it and then put it back in
hi.after changing my xperia z3 dual lcd 3 times.i hade a fluctuating and very week 3g and 4g signal.plz tell me where is the antenna located.i know that there is a flex and a board and antenna cover.what should i change.thanx
That's not a complete teardown. I would like to see the onboard chips and info's.