Diese Version enthält möglicherweise inkorrekte Änderungen. Wechsle zur letzten geprüften Version.
Was du brauchst
-
Dieser Schritt ist noch nicht übersetzt. Hilf mit, ihn zu übersetzen!
-
Power off and remove two SIM card trays at first before earpiece speaker replacement.
-
-
Dieser Schritt ist noch nicht übersetzt. Hilf mit, ihn zu übersetzen!
-
Heat to soften back cover adhesive sticker.
-
Use suction cup to open a gap and insert into the guitar pick.
-
Slide guitar pick to cut the sticker.
-
-
-
Dieser Schritt ist noch nicht übersetzt. Hilf mit, ihn zu übersetzen!
-
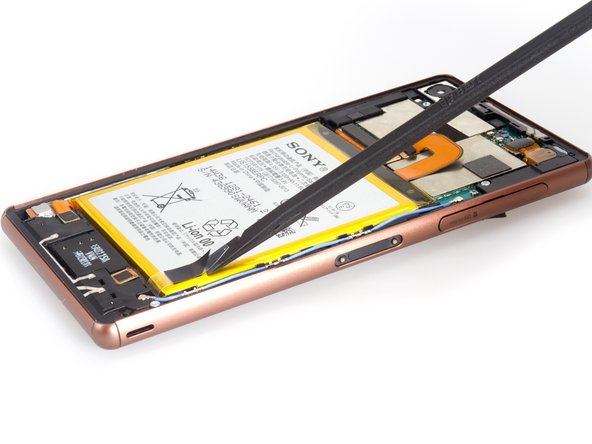
It's easy to remove the battery.
-
-
Dieser Schritt ist noch nicht übersetzt. Hilf mit, ihn zu übersetzen!
-
Twist off two screws at first.
-
-
Dieser Schritt ist noch nicht übersetzt. Hilf mit, ihn zu übersetzen!
-
Remove three pieces of securing bracket.
-
-
Dieser Schritt ist noch nicht übersetzt. Hilf mit, ihn zu übersetzen!
-
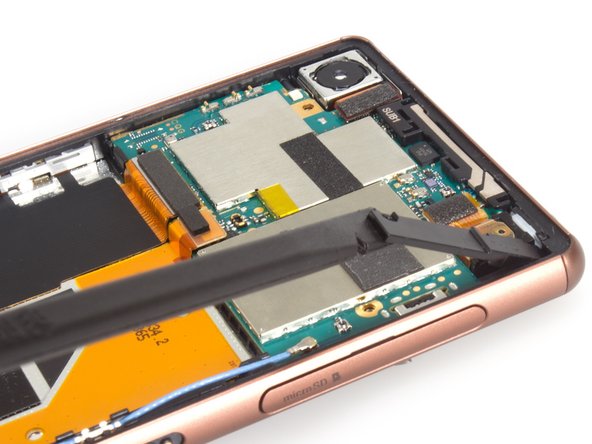
Release all the connectors connecting with motherboard.
-
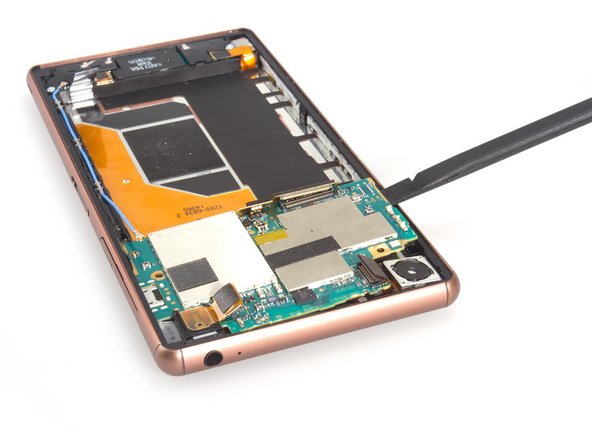
Pry motherboard up from left side. It's really hold tightly by some hidden keys, so be careful.
-
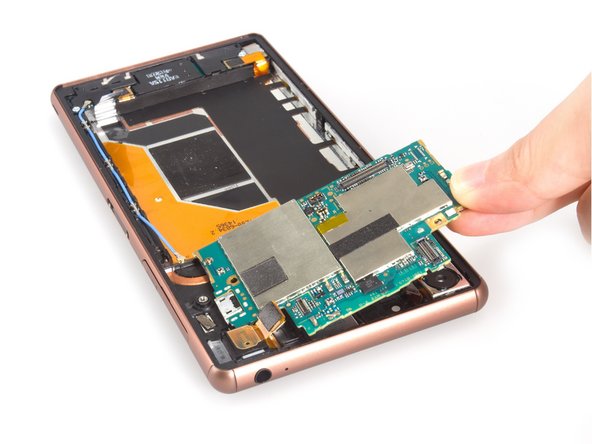
Remove motherboard.
-
-
Dieser Schritt ist noch nicht übersetzt. Hilf mit, ihn zu übersetzen!
-
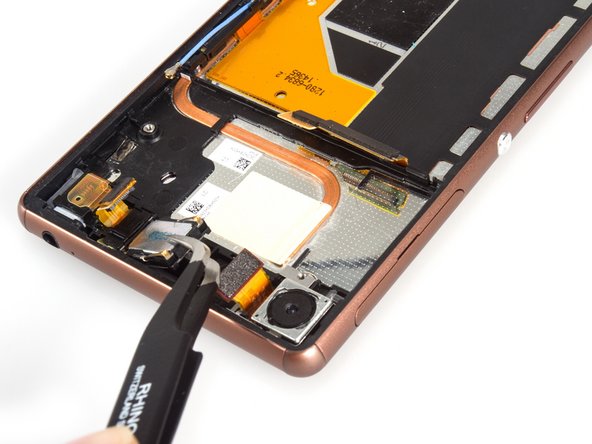
Remove the blocker beside earpiece speaker and you can see the breakout to pry up the speaker.
-
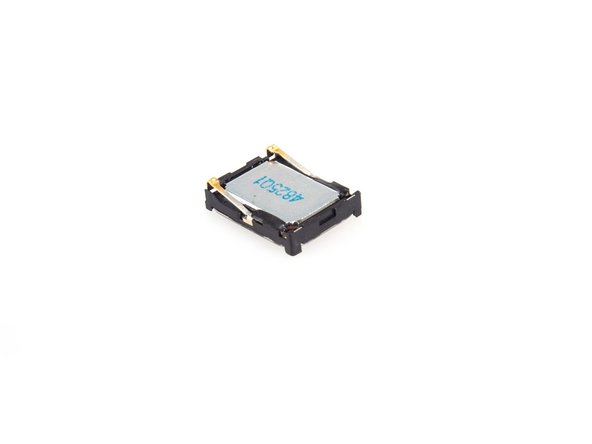
Remove earpiece speaker finally.
-


Rückgängig: Ich habe diese Anleitung nicht absolviert.
13 weitere Nutzer:innen haben diese Anleitung absolviert.
3 Kommentare
Thanks for the guide, it worked very well.
Maybe it's worth mentioning that there's a sticker at the back of the battery and you shouldn't be afraid to just pull the battery out.