Zum Hauptinhalt wechseln

Sony Xperia Z5 Charging Port Flex Replacement

Was du brauchst

  1. Sony Xperia Z5 Charging Port Flex Replacement, Charging Port Flex: Schritt 1, Bild 1 von 2 Sony Xperia Z5 Charging Port Flex Replacement, Charging Port Flex: Schritt 1, Bild 2 von 2
    • Remove SIM card tray.

  2. Sony Xperia Z5 Charging Port Flex Replacement: Schritt 2, Bild 1 von 2 Sony Xperia Z5 Charging Port Flex Replacement: Schritt 2, Bild 2 von 2
    • Heat the back cover to soften the adhesive sticker.

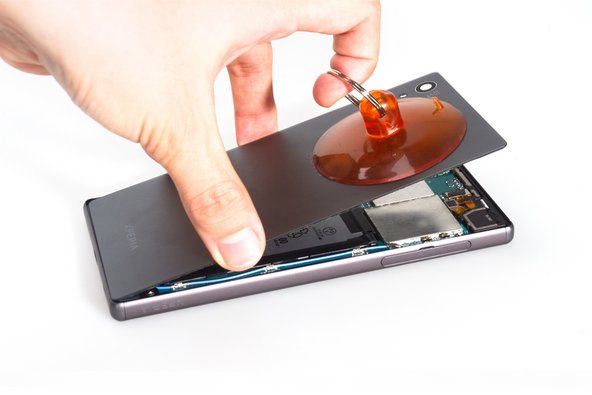
    • Place the suction cup and inert metal opening tool to open a gap from top side.

  3. Sony Xperia Z5 Charging Port Flex Replacement: Schritt 3, Bild 1 von 3 Sony Xperia Z5 Charging Port Flex Replacement: Schritt 3, Bild 2 von 3 Sony Xperia Z5 Charging Port Flex Replacement: Schritt 3, Bild 3 von 3
    • Insert the guitar pick and slide it to cut the adhesive sticker underneath.

    • Remove back cover.

  4. Sony Xperia Z5 Charging Port Flex Replacement: Schritt 4, Bild 1 von 3 Sony Xperia Z5 Charging Port Flex Replacement: Schritt 4, Bild 2 von 3 Sony Xperia Z5 Charging Port Flex Replacement: Schritt 4, Bild 3 von 3
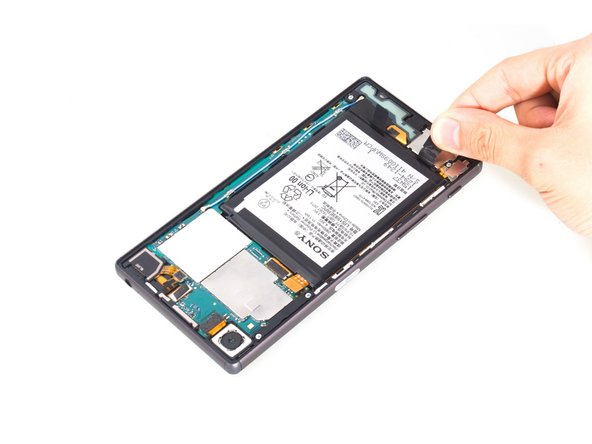
    • Release battery connector and pull off the adhesive tape underneath.

    • Pry up battery.

  5. Sony Xperia Z5 Charging Port Flex Replacement: Schritt 5, Bild 1 von 3 Sony Xperia Z5 Charging Port Flex Replacement: Schritt 5, Bild 2 von 3 Sony Xperia Z5 Charging Port Flex Replacement: Schritt 5, Bild 3 von 3
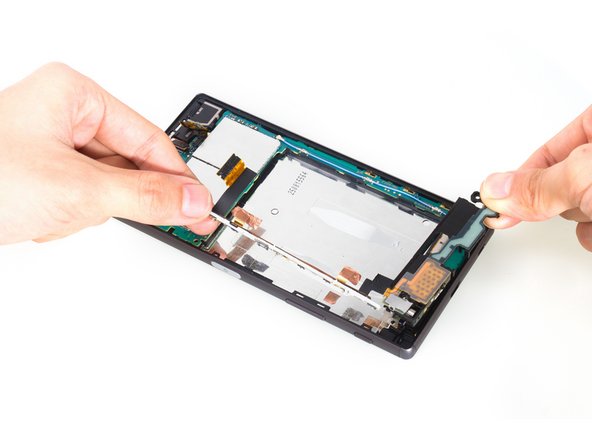
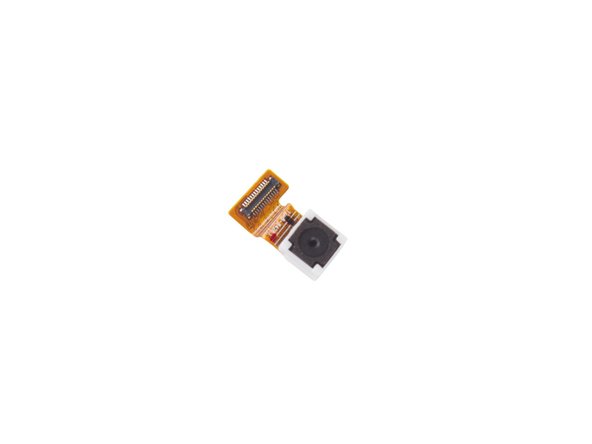
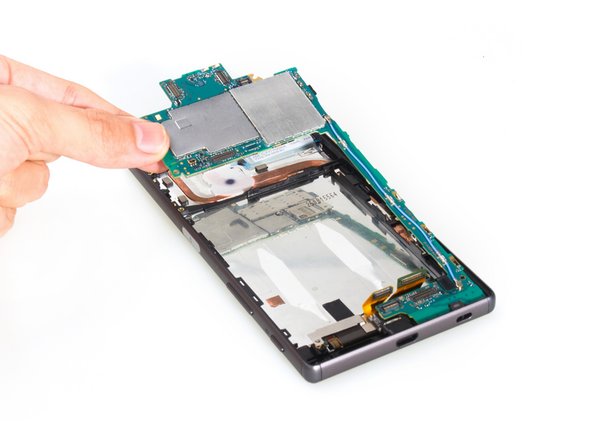
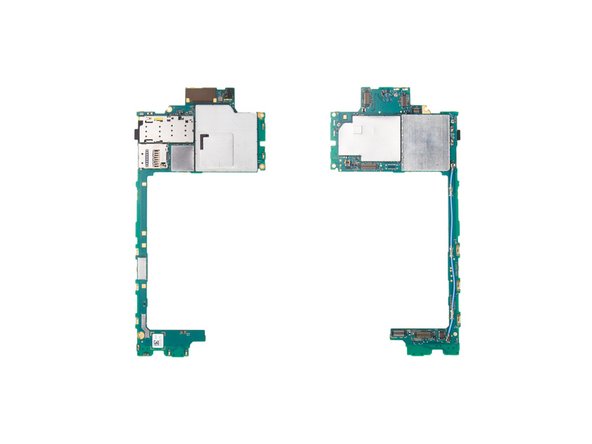
    • Release rear camera connector, front camera connector, audio jack flex connector and main flex connector on the motherboard and remove the screws there.

    • Take away the plastic bracket.

  6. Sony Xperia Z5 Charging Port Flex Replacement: Schritt 6, Bild 1 von 3 Sony Xperia Z5 Charging Port Flex Replacement: Schritt 6, Bild 2 von 3 Sony Xperia Z5 Charging Port Flex Replacement: Schritt 6, Bild 3 von 3
    • Remove metal cover securing loudspeaker and twist off screws.

    • Pry up and loosen the bottom side of main flex assembly.

  7. Sony Xperia Z5 Charging Port Flex Replacement: Schritt 7, Bild 1 von 2 Sony Xperia Z5 Charging Port Flex Replacement: Schritt 7, Bild 2 von 2
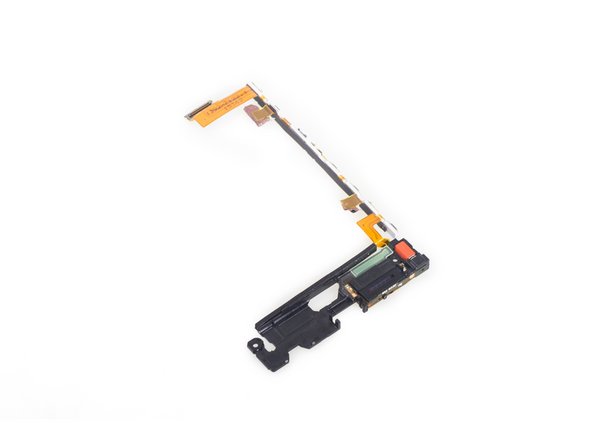
    • Remove main flex. ( Attention: the fingerprint sensor connector is here, be careful to loosen it)

  8. Sony Xperia Z5 Charging Port Flex Replacement: Schritt 8, Bild 1 von 2 Sony Xperia Z5 Charging Port Flex Replacement: Schritt 8, Bild 2 von 2
    • This is main flex assembly. (It comes with loudspeaker and vibration motor )

  9. Sony Xperia Z5 Charging Port Flex Replacement: Schritt 9, Bild 1 von 2 Sony Xperia Z5 Charging Port Flex Replacement: Schritt 9, Bild 2 von 2
    • Remove rear camera.

  10. Sony Xperia Z5 Charging Port Flex Replacement: Schritt 10, Bild 1 von 3 Sony Xperia Z5 Charging Port Flex Replacement: Schritt 10, Bild 2 von 3 Sony Xperia Z5 Charging Port Flex Replacement: Schritt 10, Bild 3 von 3
    • Remove that securing bracket, then remove front camera.

  11. Sony Xperia Z5 Charging Port Flex Replacement: Schritt 11, Bild 1 von 3 Sony Xperia Z5 Charging Port Flex Replacement: Schritt 11, Bild 2 von 3 Sony Xperia Z5 Charging Port Flex Replacement: Schritt 11, Bild 3 von 3
    • Release connectors on the motherboard. Remove motherboard.

  12. Sony Xperia Z5 Charging Port Flex Replacement: Schritt 12, Bild 1 von 3 Sony Xperia Z5 Charging Port Flex Replacement: Schritt 12, Bild 2 von 3 Sony Xperia Z5 Charging Port Flex Replacement: Schritt 12, Bild 3 von 3
    • Remove charging port flex.

Abschluss

To reassemble your device, follow these instructions in reverse order.

14 weitere Nutzer:innen haben diese Anleitung absolviert.

Lenka

Mitglied seit: 11/06/15

2.376 Reputation

6 Anleitungen geschrieben

3 Kommentare

How about the waterproof adhesive ?

Tess - Antwort

Would you have a step by step method to replace it ?

Tess - Antwort

I can’t turn my phone back on. Any clues?

Bjoern Aeschlimann - Antwort

Kommentar hinzufügen

Seitenaufrufe:

Letzte 24 Stunden: 0

Letzte 7 Tage: 6

Letzte 30 Tage: 25

Insgesamt: 17,506