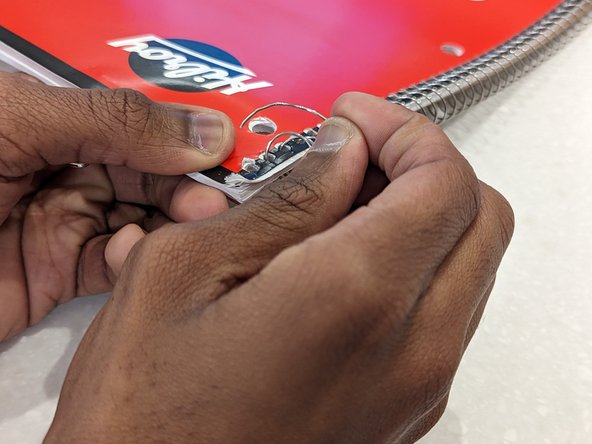
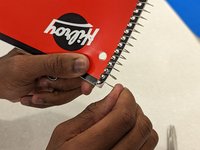
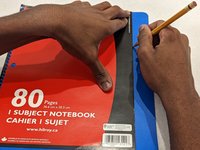
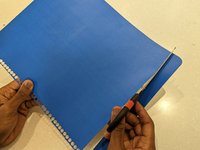
Zum Hauptinhalt wechseln

Spiral Bound Notebook Cover Replacement

Was du brauchst

  1. Spiral Bound Notebook Cover Replacement, Cover: Schritt 1, Bild 1 von 2 Spiral Bound Notebook Cover Replacement, Cover: Schritt 1, Bild 2 von 2
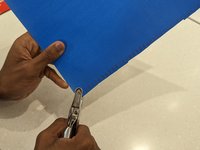
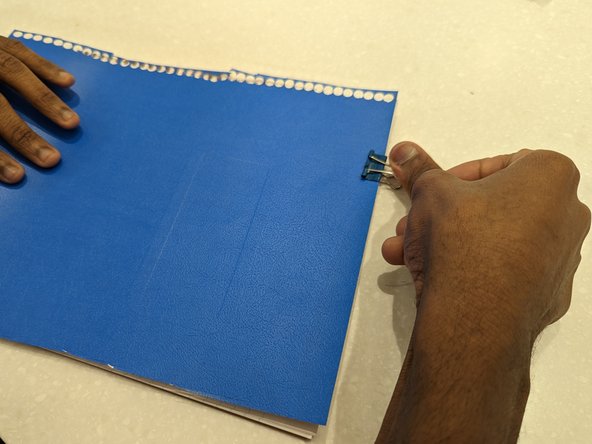
    • Use a binder clip on either end to hold the paper block together, excluding the damaged cover.

  2. Spiral Bound Notebook Cover Replacement: Schritt 2, Bild 1 von 3 Spiral Bound Notebook Cover Replacement: Schritt 2, Bild 2 von 3 Spiral Bound Notebook Cover Replacement: Schritt 2, Bild 3 von 3
    • Uncoil the free end of the spiral.

  3. Spiral Bound Notebook Cover Replacement: Schritt 3, Bild 1 von 3 Spiral Bound Notebook Cover Replacement: Schritt 3, Bild 2 von 3 Spiral Bound Notebook Cover Replacement: Schritt 3, Bild 3 von 3
    • Push the spiral end back through the binding hole and pull it out.

  4. Spiral Bound Notebook Cover Replacement: Schritt 4, Bild 1 von 1
    • Repeat previous step until spiral is removed.

  5. Spiral Bound Notebook Cover Replacement: Schritt 5, Bild 1 von 1
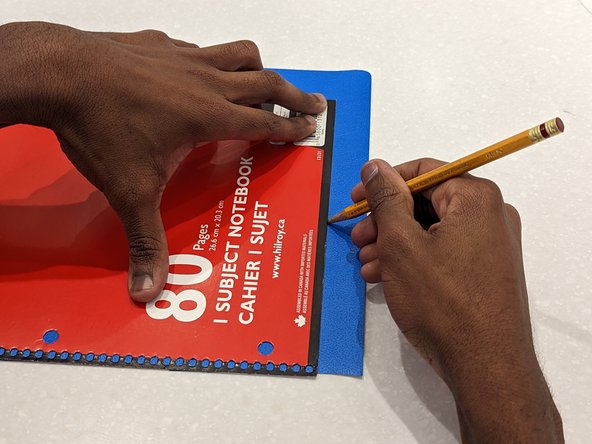
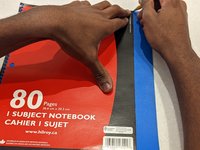
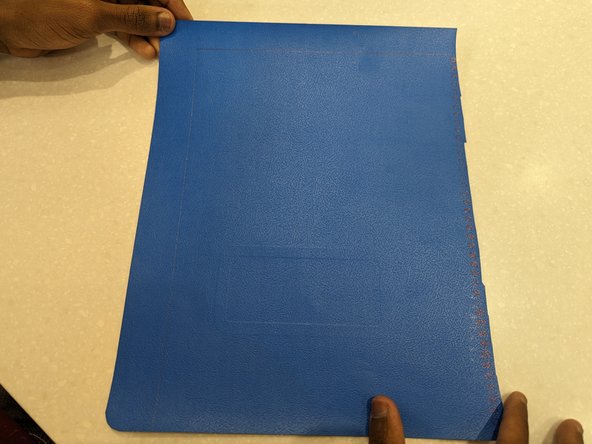
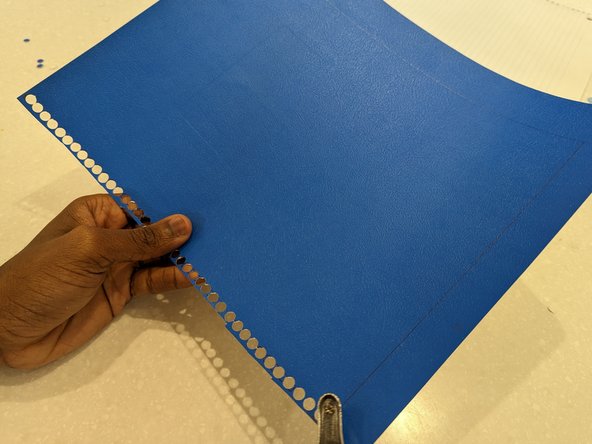
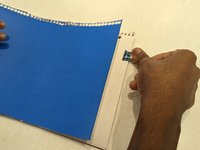
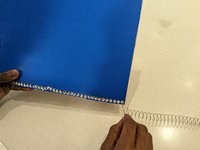
    • Take the damaged cover and place it over the cardstock, aligning them at the edges.

  6. Spiral Bound Notebook Cover Replacement: Schritt 6, Bild 1 von 3 Spiral Bound Notebook Cover Replacement: Schritt 6, Bild 2 von 3 Spiral Bound Notebook Cover Replacement: Schritt 6, Bild 3 von 3
    • Trace the cover edges.

  7. Spiral Bound Notebook Cover Replacement: Schritt 7, Bild 1 von 2 Spiral Bound Notebook Cover Replacement: Schritt 7, Bild 2 von 2
    • Trace the cover binding holes.

  8. Spiral Bound Notebook Cover Replacement: Schritt 8, Bild 1 von 3 Spiral Bound Notebook Cover Replacement: Schritt 8, Bild 2 von 3 Spiral Bound Notebook Cover Replacement: Schritt 8, Bild 3 von 3
    • Using a hole punch, punch out the traced holes on the cardstock sheet.

  9. Spiral Bound Notebook Cover Replacement: Schritt 9, Bild 1 von 3 Spiral Bound Notebook Cover Replacement: Schritt 9, Bild 2 von 3 Spiral Bound Notebook Cover Replacement: Schritt 9, Bild 3 von 3
    • Cut off the traced edges on the cardstock sheet.

  10. Spiral Bound Notebook Cover Replacement: Schritt 10, Bild 1 von 2 Spiral Bound Notebook Cover Replacement: Schritt 10, Bild 2 von 2
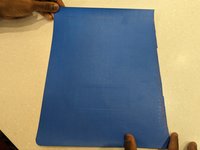
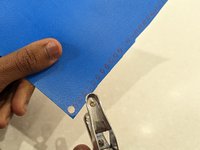
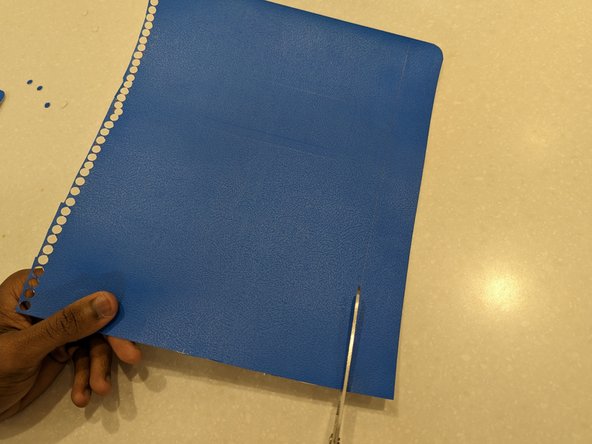
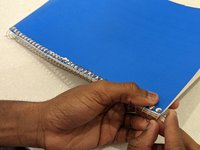
    • Without removing the binding clip, open it and slide the cardstock onto the paper block while making sure their holes aligned.

  11. Spiral Bound Notebook Cover Replacement: Schritt 11, Bild 1 von 3 Spiral Bound Notebook Cover Replacement: Schritt 11, Bild 2 von 3 Spiral Bound Notebook Cover Replacement: Schritt 11, Bild 3 von 3
    • Perform Steps 1 through 4 in reverse to complete the replacement.

Abschluss

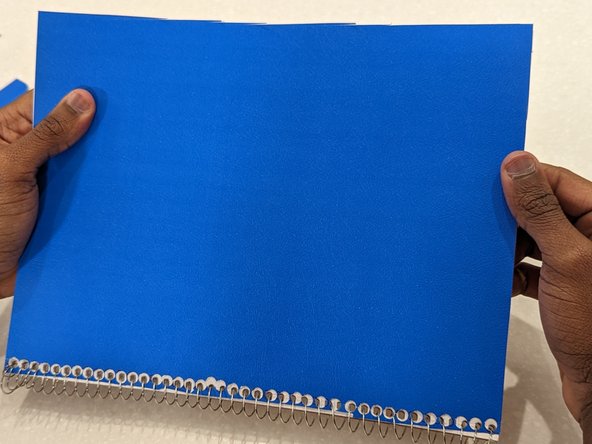
To reassemble your device, follow instructions 1 - 4 in reverse order.

Ein:e weitere:r Nutzer:in hat diese Anleitung absolviert.

Abel Mbaziira

Mitglied seit: 01/18/23

220 Reputation

1 Anleitung geschrieben

Team

York University, Team O-31, Woodhouse Winter 2023 Mitglied von York University, Team O-31, Woodhouse Winter 2023

YORK-WOODHOUSE-W23SOG31

1 Mitglied

3 Anleitungen geschrieben

0 Kommentare

Kommentar hinzufügen

Seitenaufrufe:

Letzte 24 Stunden: 3

Letzte 7 Tage: 35

Letzte 30 Tage: 147

Insgesamt: 1,870