Diese Version enthält möglicherweise inkorrekte Änderungen. Wechsle zur letzten geprüften Version.
Was du brauchst
-
Dieser Schritt ist noch nicht übersetzt. Hilf mit, ihn zu übersetzen!
-
Turn off the water supply to the sprinklers.
-
-
Dieser Schritt ist noch nicht übersetzt. Hilf mit, ihn zu übersetzen!
-
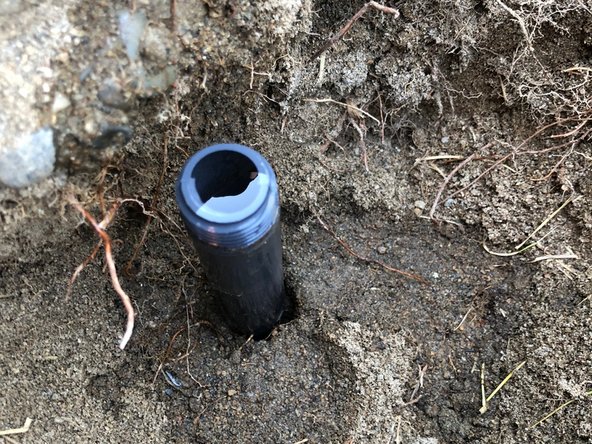
Dig a hole down to the base of the sprinkler head.
-
-
Dieser Schritt ist noch nicht übersetzt. Hilf mit, ihn zu übersetzen!
-
Using your hand or a gardening trowel, finish digging so that the sprinkler head is fully visible and is clear of dirt and debris.
-
-
-
Dieser Schritt ist noch nicht übersetzt. Hilf mit, ihn zu übersetzen!
-
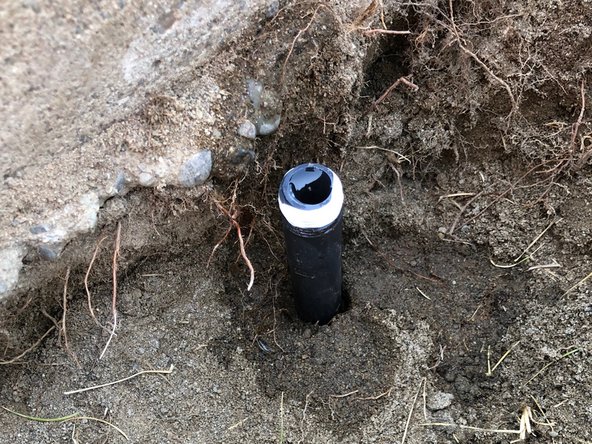
Unscrew the sprinkler head from the line it is attached to.
-
-
Dieser Schritt ist noch nicht übersetzt. Hilf mit, ihn zu übersetzen!
-
Coat the threads of the water line with teflon tape to avoid leaking.
-
-
Dieser Schritt ist noch nicht übersetzt. Hilf mit, ihn zu übersetzen!
-
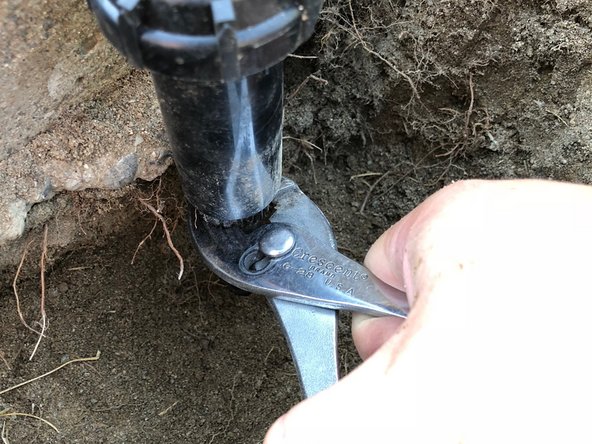
Using your hand, screw the new sprinkler head on over the teflon tape.
-
Once the sprinkler head is hand tight, use pliers to tighten it by another half turn.
-
-
Dieser Schritt ist noch nicht übersetzt. Hilf mit, ihn zu übersetzen!
-
Fill the hole in and pack it down to avoid unwanted movement of the new sprinkler head.
-
-
Dieser Schritt ist noch nicht übersetzt. Hilf mit, ihn zu übersetzen!
-
Twist the top of the sprinkler until it is aimed where you want it.
-
-
Dieser Schritt ist noch nicht übersetzt. Hilf mit, ihn zu übersetzen!
-
Use a flat head screwdriver to adjust the flow of water if needed.
-


Rückgängig: Ich habe diese Anleitung nicht absolviert.
Ein:e weitere:r Nutzer:in hat diese Anleitung absolviert.
Team

Eastern Washington University, Team S2-G4, Crane Summer 2018 Mitglied von Eastern Washington University, Team S2-G4, Crane Summer 2018
EWU-CRANE-SU18S2G4
4 Mitglieder
5 Anleitungen geschrieben