Zum Hauptinhalt wechseln
Gemeinsam reparieren - Jetzt registrieren

SuperSonic Matrix Mid SC-999 Screen Sensor Replacement

Was du brauchst

    1. Frag FixBot

      Kommentar hinzufügen

    2. SuperSonic Matrix Mid SC-999 Screen Sensor Replacement, Taking Out the First Screw: Schritt 2, Bild 1 von 2 SuperSonic Matrix Mid SC-999 Screen Sensor Replacement, Taking Out the First Screw: Schritt 2, Bild 2 von 2
      • Find the first screw at the top left underneath the gold film and use a J0 Phillips Head screwdriver to unscrew it.

      Frag FixBot

      Kommentar hinzufügen

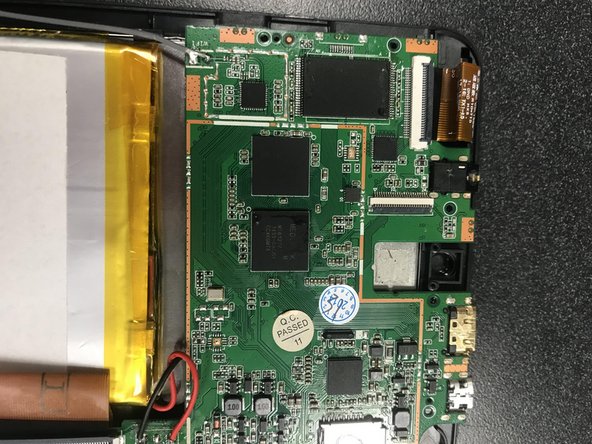
    3. SuperSonic Matrix Mid SC-999 Screen Sensor Replacement, Taking Out the Second Screw: Schritt 3, Bild 1 von 2 SuperSonic Matrix Mid SC-999 Screen Sensor Replacement, Taking Out the Second Screw: Schritt 3, Bild 2 von 2
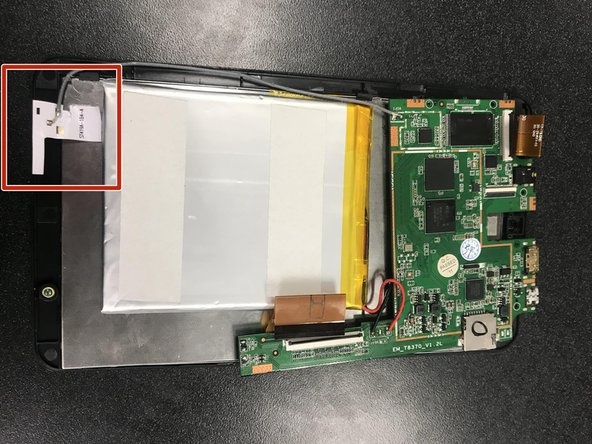
      • Find the second screw located above the white and grey box for the film for the camera and use the same screwdriver from step two to unscrew it.

      Frag FixBot

      Kommentar hinzufügen

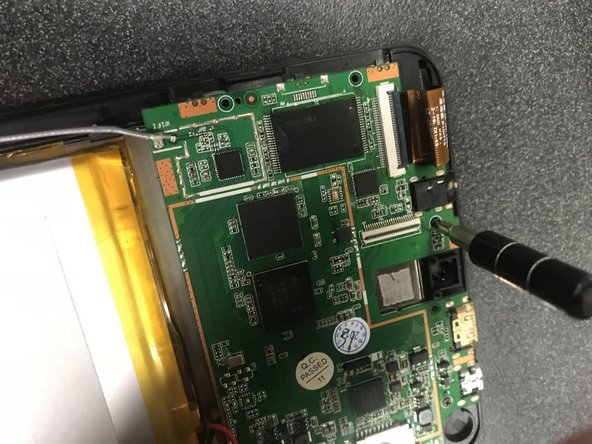
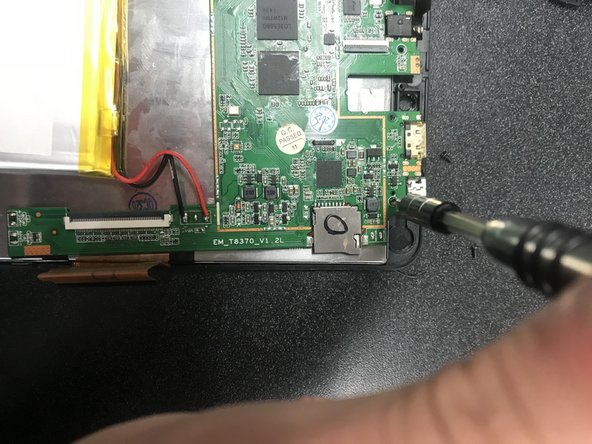
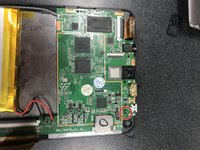
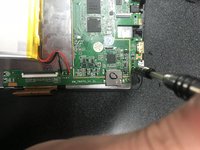
    4. SuperSonic Matrix Mid SC-999 Screen Sensor Replacement, Taking Out the Third Screw: Schritt 4, Bild 1 von 2 SuperSonic Matrix Mid SC-999 Screen Sensor Replacement, Taking Out the Third Screw: Schritt 4, Bild 2 von 2
      • Find the third screw at top right corner below the USB port and use the same screwdriver from the previous two steps.

      Frag FixBot

      Kommentar hinzufügen

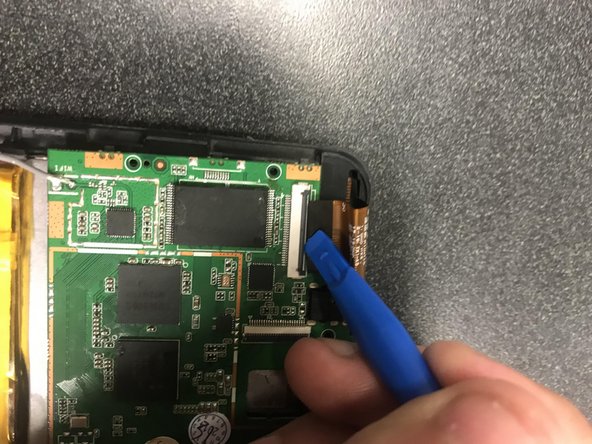
    5. SuperSonic Matrix Mid SC-999 Screen Sensor Replacement, Removing Gold Film Pt. 1: Schritt 5, Bild 1 von 3 SuperSonic Matrix Mid SC-999 Screen Sensor Replacement, Removing Gold Film Pt. 1: Schritt 5, Bild 2 von 3 SuperSonic Matrix Mid SC-999 Screen Sensor Replacement, Removing Gold Film Pt. 1: Schritt 5, Bild 3 von 3
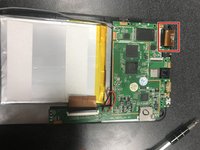
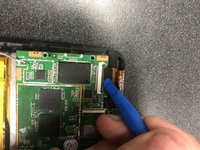
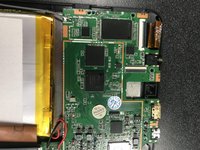
      • Find the gold film at the top left of the tablet, connect to the screen.

      • Refer to step six in thecamera replacement guide to remember how to open and pull out the gold film

      Frag FixBot

      Kommentar hinzufügen

    6. SuperSonic Matrix Mid SC-999 Screen Sensor Replacement, Revoming Gold Film Pt. 2: Schritt 6, Bild 1 von 1
      • Find the gold film on the bottom right, connected to the screen sensor.

      • Use the method from the previous step to disconnect the gold film.

      Frag FixBot

      Kommentar hinzufügen

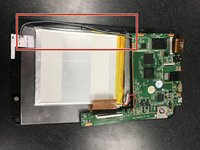
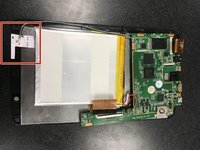
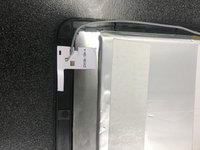
    7. SuperSonic Matrix Mid SC-999 Screen Sensor Replacement, Finding the Grey Wire: Schritt 7, Bild 1 von 2 SuperSonic Matrix Mid SC-999 Screen Sensor Replacement, Finding the Grey Wire: Schritt 7, Bild 2 von 2
      • Find the grey wire that connects at the green plate (The Motherboard) and at the bottom of the Screen Sensor.

      • The wire is connected by a white sticker to the Screen Sensor

      Frag FixBot

      Kommentar hinzufügen

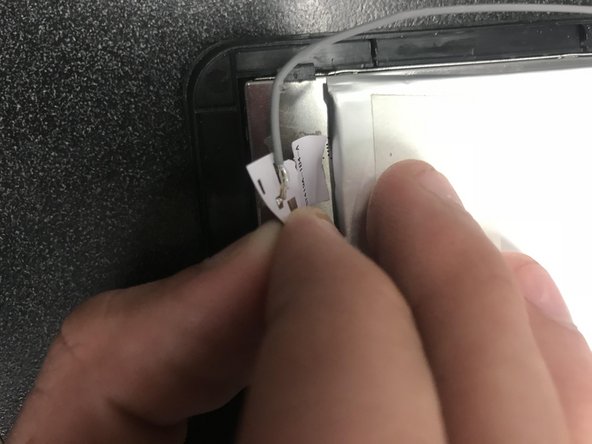
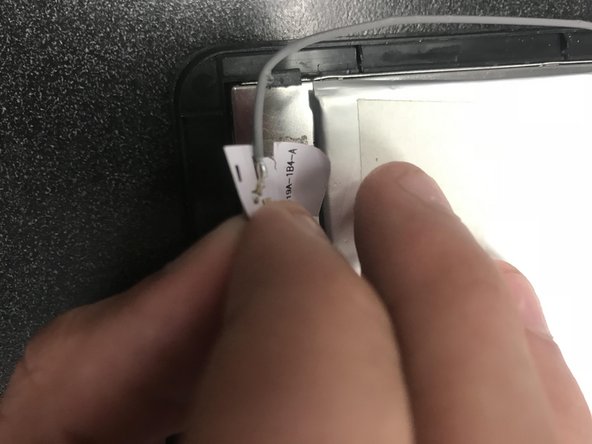
    8. SuperSonic Matrix Mid SC-999 Screen Sensor Replacement, Peeling the Sticker Off: Schritt 8, Bild 1 von 3 SuperSonic Matrix Mid SC-999 Screen Sensor Replacement, Peeling the Sticker Off: Schritt 8, Bild 2 von 3 SuperSonic Matrix Mid SC-999 Screen Sensor Replacement, Peeling the Sticker Off: Schritt 8, Bild 3 von 3
      • Carefully peel the sticker off the back of the screen sensor. DO NOT RIP THE STICKER!!

      Frag FixBot

      Kommentar hinzufügen

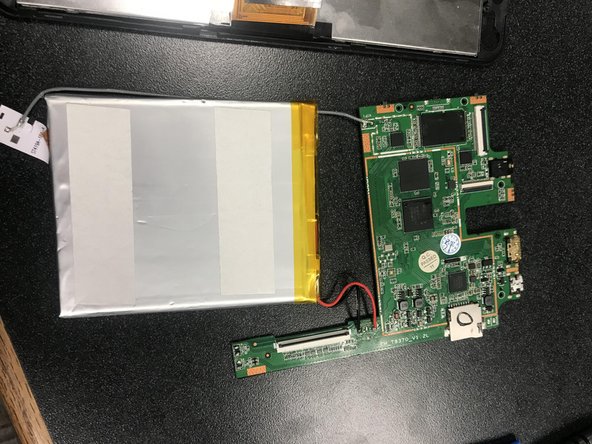
    9. SuperSonic Matrix Mid SC-999 Screen Sensor Replacement, Finding the Battery: Schritt 9, Bild 1 von 1
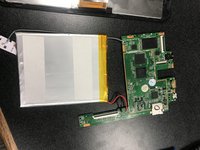
      • Look under the motherboard to find the battery. There will be yellow tape and black and red wires on the top of the battery.

      Frag FixBot

      Kommentar hinzufügen

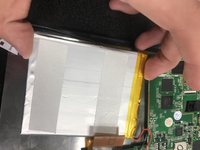
    10. SuperSonic Matrix Mid SC-999 Screen Sensor Replacement, Removing the Battery: Schritt 10, Bild 1 von 3 SuperSonic Matrix Mid SC-999 Screen Sensor Replacement, Removing the Battery: Schritt 10, Bild 2 von 3 SuperSonic Matrix Mid SC-999 Screen Sensor Replacement, Removing the Battery: Schritt 10, Bild 3 von 3
      • Carefully pull up on the edges of the battery with your hands. The motherboard will come with it.

      Frag FixBot

      Kommentar hinzufügen

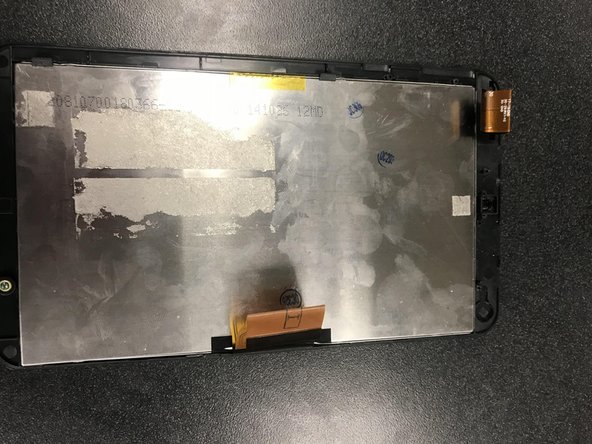
    11. SuperSonic Matrix Mid SC-999 Screen Sensor Replacement, Removing the Screen Sensor: Schritt 11, Bild 1 von 3 SuperSonic Matrix Mid SC-999 Screen Sensor Replacement, Removing the Screen Sensor: Schritt 11, Bild 2 von 3 SuperSonic Matrix Mid SC-999 Screen Sensor Replacement, Removing the Screen Sensor: Schritt 11, Bild 3 von 3
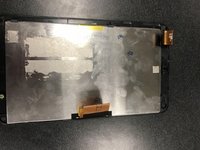
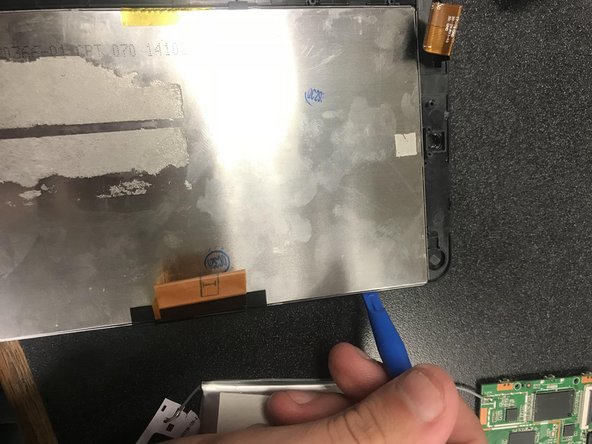
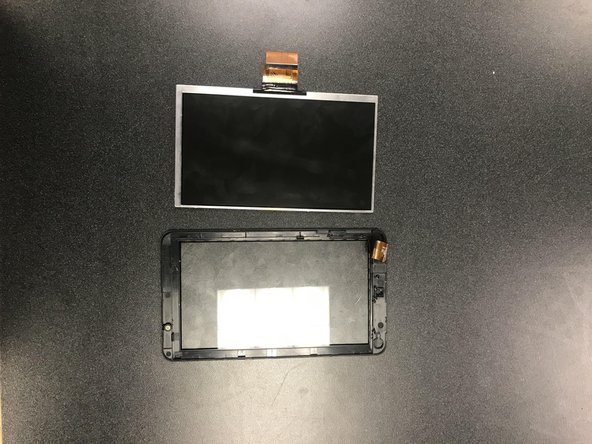
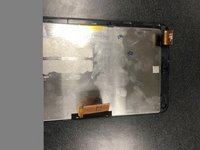
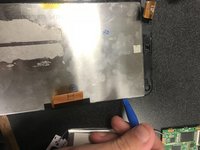
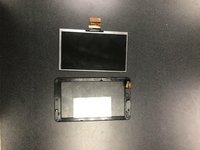
      • Use the wedge from the camera replacement guide to go in between the silver lining of the Screen Sensor and Screen of the tablet.

      Frag FixBot

      Kommentar hinzufügen

Abschluss

To reassemble your device, follow these instructions in reverse order.

Rückgängig: Ich habe diese Anleitung nicht absolviert.

Logan Robinson

Mitglied seit: 09/18/18

493 Reputation

3 Anleitungen geschrieben

0 Kommentare zur Anleitung

Kommentar hinzufügen

Seitenaufrufe:

Letzte 24 Stunden: 0

Letzte 7 Tage: 5

Letzte 30 Tage: 25

Insgesamt: 428