Einleitung
Follow this guide to replace your power supply unit
Was du brauchst
-
-
Lay the Surface face down on a padded surface
-
Remove the four rubber feet at each corner concealing the Torx screws
-
Remove the four Torx screws under the rubber feet.
-
Two screws on the upper corners are longer than two screws on the lower corners.
-
Attach suction cups to the bottom cover and then pull on the suction cups to free the bottom cover.
-
-
-
Remove five torx screws holding the two fans to the midframe
-
Remove the two fans
-
Remove four large torx screws holding the midframe
-
Remove four small torx screws holding the midframe
-
-
-
-
Slowly remove the midframe
-
Detach the connectors for the two fans and the speaker
-
-
-
Remove four spring loaded torx screw labeled 1 to 4
-
Remove four torx screw labeled 5 to 7
-
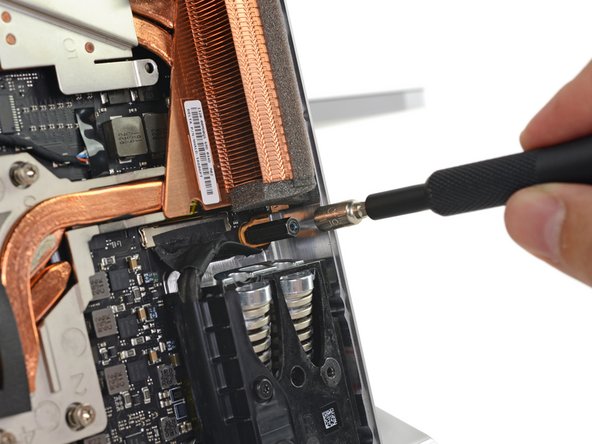
Remove 5mm hex mounting post
-
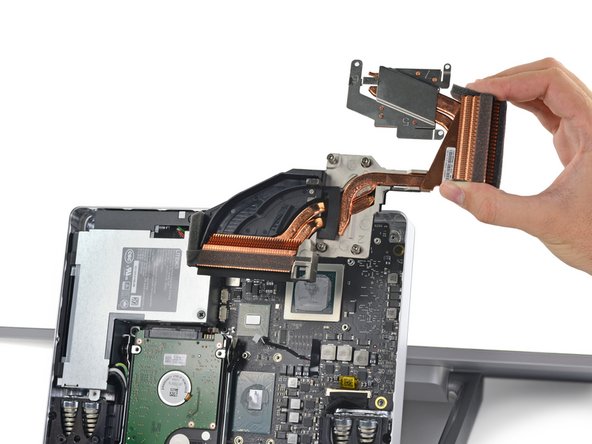
Use a spudger to remove the heatsink assembly from the motherboard
-
-
-
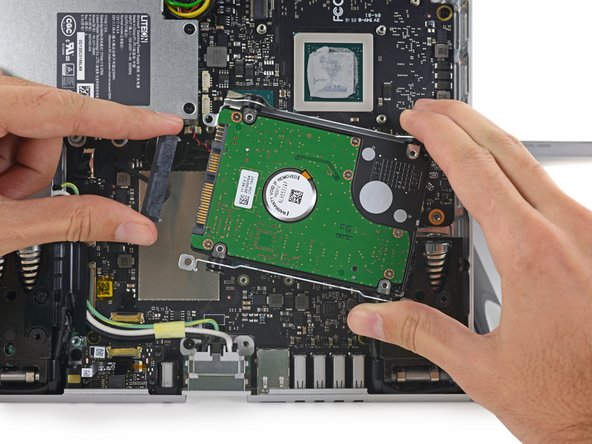
Remove three torx screws holding the hard drive brackets
-
Remove 5mm hex mounting post
-
Remove the hard drive and disconnect the SATA/SATA power cable
-
-
-
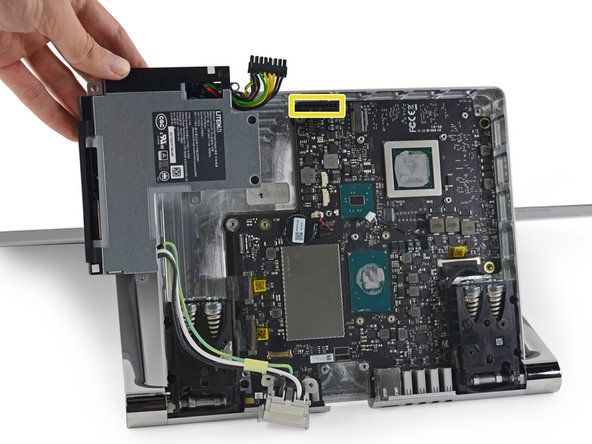
Remove a Phillips screw still retaining the power supply
-
Remove a torx screw retaining the power supply cable
-
Unplug the power supply from the motherboard
-
Lift the power supply up and away from the base unit
-


To reassemble your device, follow these instructions in reverse order.
To reassemble your device, follow these instructions in reverse order.
Rückgängig: Ich habe diese Anleitung nicht absolviert.
5 weitere Nutzer:innen haben diese Anleitung absolviert.
3 Kommentare
Does anyone have a source for a new power supply?