Einleitung
This guide will provide instructions on how to replace the camera on your Swann Doorphone Video Intercom to ensure the image appears clear on your LCD monitor.
Was du brauchst
-
-
Flip the outdoor camera over so that the underside is facing up.
-
Remove the back cover by grabbing the sides of the camera and pulling towards your body.
-
-
-
With the back cover of the outdoor camera off, press the first gray button, with blue wire underneath, down as shown in the picture.
-
While pressing the gray square button, remove the blue wire from the first opening under the button.
-
-
-
-
Remove the other wires using the same steps as the blue wire.
-
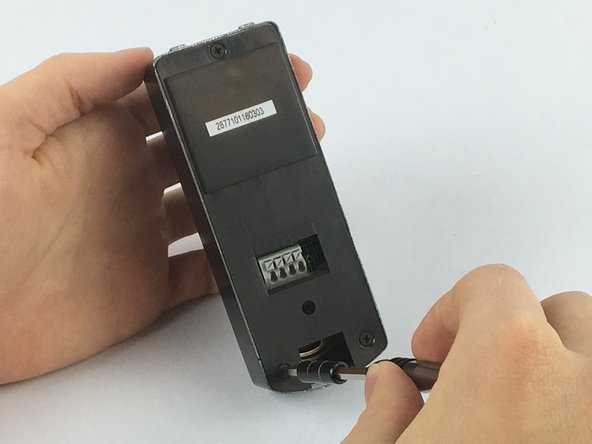
Using the JIS #0 screwdriver, remove the 2mm screws from the back plate.
-
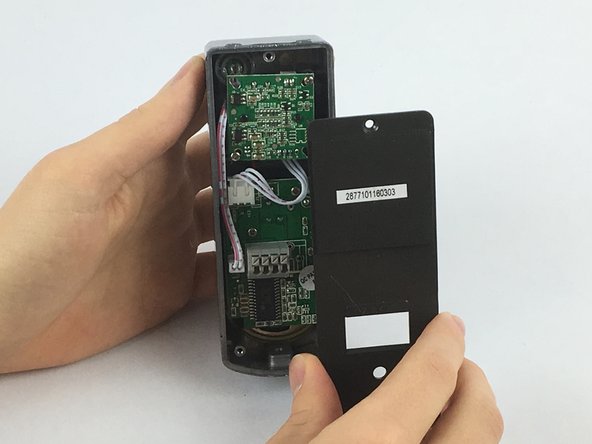
Remove the back plate by pulling the plate away from the device.
-
-
-
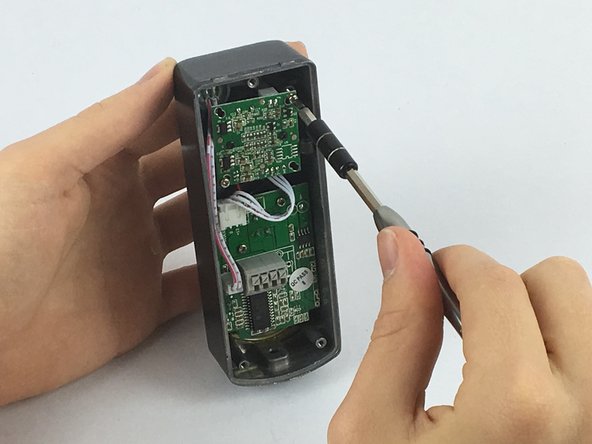
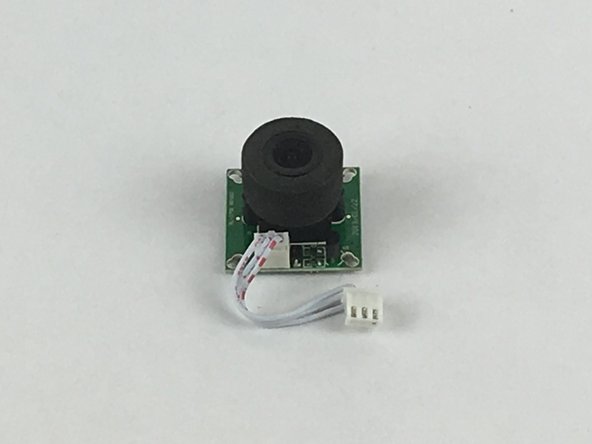
Using one of the tweezers from the Precision Tweezers Set, gently place them around the wire connector attached to the camera.
-
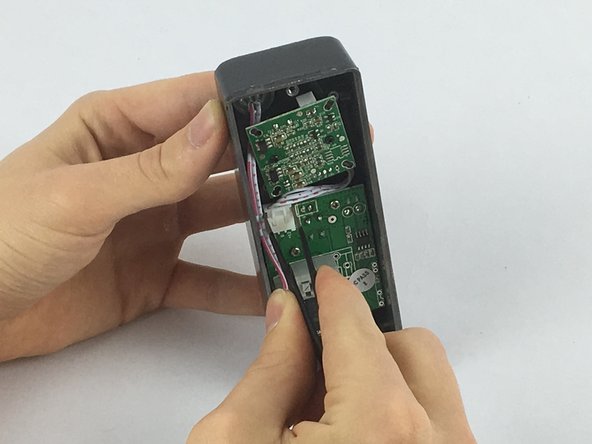
Pull slowly in the direction of the cables until the connector is no longer attached.
-


To reassemble your device, follow these instructions in reverse order.
To reassemble your device, follow these instructions in reverse order.
Team

USF Tampa, Team S2-G4, Eyestone Spring 2018 Mitglied von USF Tampa, Team S2-G4, Eyestone Spring 2018
USFT-EYESTONE-S18S2G4
4 Mitglieder
5 Anleitungen geschrieben
15 Kommentare
آیفون تصویری
مانیتور آیفون تصویری حافظه دار