Einleitung
None of the individual components on the motherboard are replaceable!
Was du brauchst
-
-
Remove the four rubber feet of the device using a metal spudger.
-
-
-
Remove the four 9 mm Phillips #0 screws located under the feet of the device.
-
Remove the four 9 mm Torx #8 screws located on each side of the bottom the device.
-
-
-
-
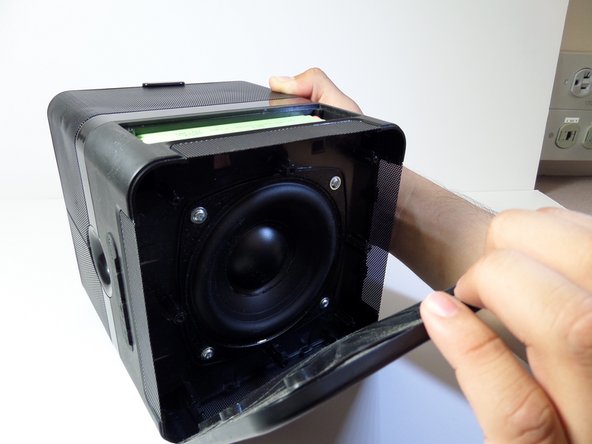
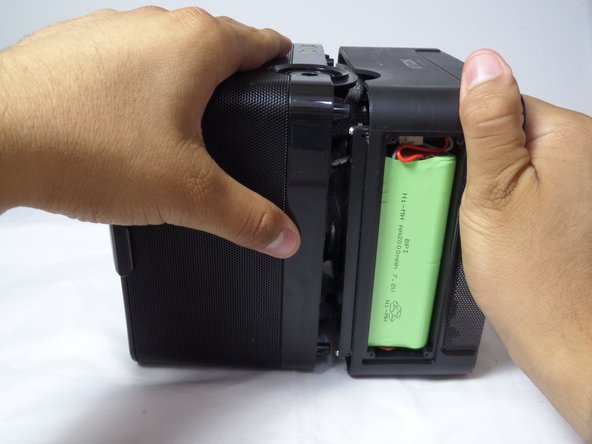
Use one hand to grip the device from the side of the handle, and use the other hand to grip the side of the device that contains the woofer
-
Pull apart the compartments by applying force in opposite directions.
-
-
-
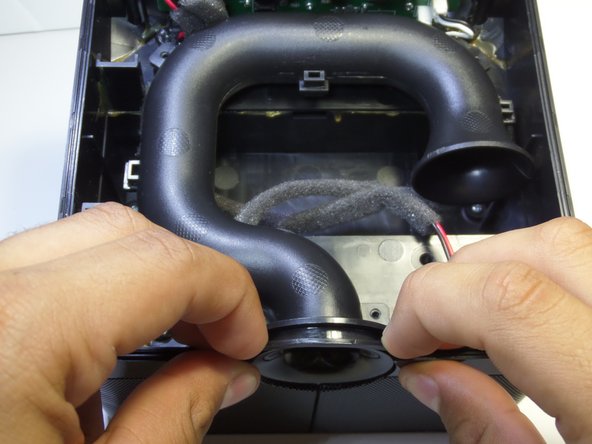
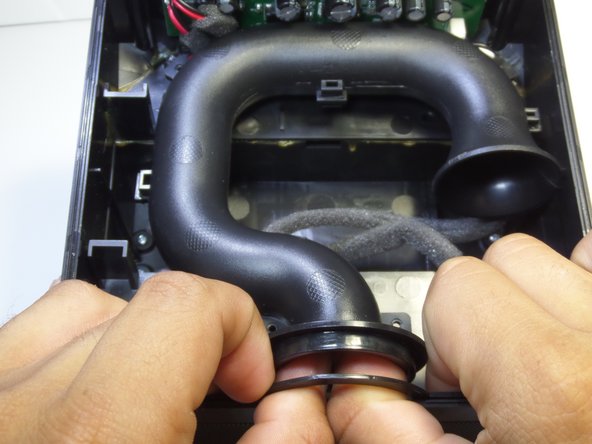
place your hands on each side of the air vent and then place your index finger on the thin plastic half circle that holds the vent in place.
-
Pull the plastic half circle towards you.
-
Put both of your hands inside the tube as shown and push away from you.
-
-
-
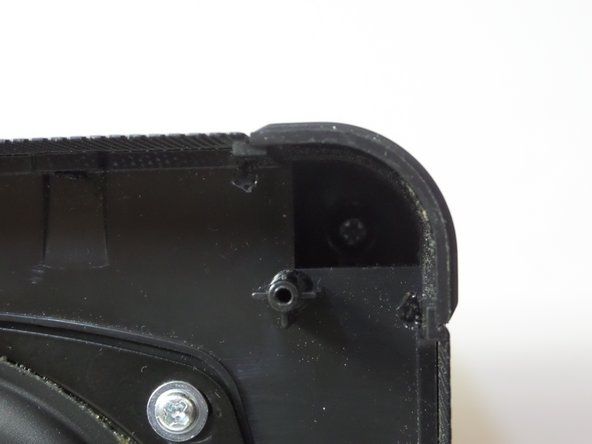
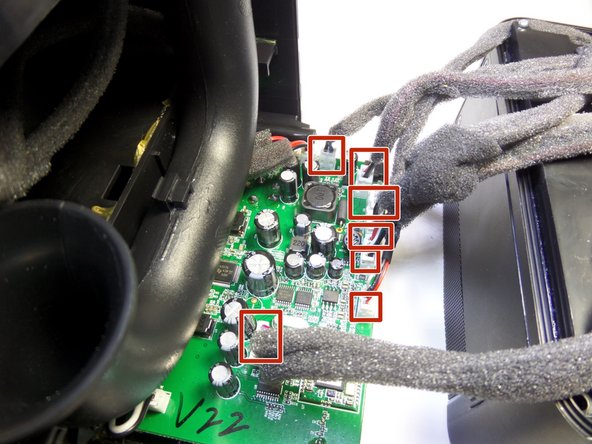
Remove the four wired clips by pulling on the wires.
-
Remove the three 6 mm Phillips #1 screws.
-
-
-
Remove the volume control knob, which is located at the front of the speaker, by pulling it towards you.
-
-
-
Using tweezers, turn the nut counter-clockwise and remove the nut.
-


To reassemble your device, follow these instructions in reverse order.
To reassemble your device, follow these instructions in reverse order.
Rückgängig: Ich habe diese Anleitung nicht absolviert.
Eine weitere Person hat diese Anleitung absolviert.
Team

CSU Fullerton, Team 1-2, Bruce Fall 2015 Mitglied von CSU Fullerton, Team 1-2, Bruce Fall 2015
CSUF-BRUCE-F15S1G2
3 Mitglieder
5 Anleitungen geschrieben
7 Kommentare
Just a heads up if you take this apart. I took mine apart to fix a broken charge port. When reassembling, the biggest ribbon cable, 8 pins, came disconnected from the sub side (none motherboard side), and I panicked because I could not for the life of me figure out where it was connected to. Upon closer inspection I found the lettering “fwupdate" on the sub end. The sub end has 8 male pins in two rows of four, very similar to a pc motherboard usb 2.0 header. The motherboard side has a white plastic female connector with one row of 8.
This cable is not needed for the speaker to function. I ultimately found where it goes, it was glued to two plastic posts next to the sub behind the battery. In front of it is an opening which is behind the battery. I'm guessing tdk can pull the battery and use the access hole to plug a cable to the 8 male pins for firmware updates. As I dont plan on sending it to tdk for anything, I simply left this cable out, and when reassembled all functions of the speaker work to include bluetooth, aux, volume control, charging, power knob button and power switch, usb port, etc.
I thinks that my charge port is broken too, how to be sure ?
I just found out my charging port was broken too. I had to pry the power cable to power up the speaker and as soon as I let go it would die. Turns out a weld holding the port to its little pcb craked, welded it back up and now it’s working fine.
donde puedo conseguir la placa base del a360
soy de chile