Diese Version enthält möglicherweise inkorrekte Änderungen. Wechsle zur letzten geprüften Version.
Was du brauchst
-
Dieser Schritt ist noch nicht übersetzt. Hilf mit, ihn zu übersetzen!
-
Remove the two 4 mm Phillips head screws at the top of the tablet.
-
-
Dieser Schritt ist noch nicht übersetzt. Hilf mit, ihn zu übersetzen!
-
Carefully remove the back cover by using a plastic opening tool, moving all the way around the perimeter of the tablet.
-
Set the back cover aside.
-
-
Dieser Schritt ist noch nicht übersetzt. Hilf mit, ihn zu übersetzen!
-
Remove all of the 4mm screws that attach the display screen to the back of the touch screen with brackets.
-
-
-
Dieser Schritt ist noch nicht übersetzt. Hilf mit, ihn zu übersetzen!
-
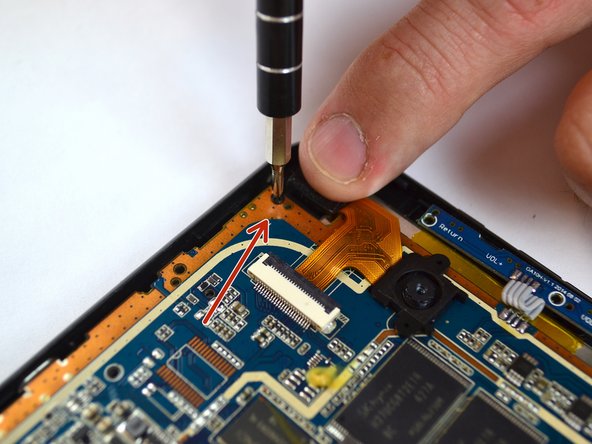
Remove all of the 4mm screws that attach the motherboard to the rest of the device.
-
-
Dieser Schritt ist noch nicht übersetzt. Hilf mit, ihn zu übersetzen!
-
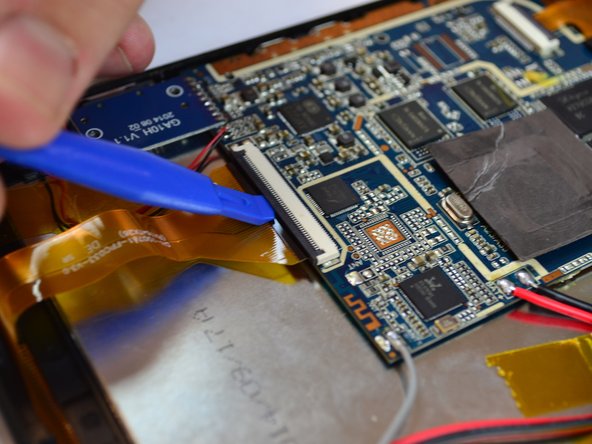
Locate the 2 ZIF connectors.
-
Flip up the black tab to release the two filaments, so that they are no longer connected to the motherboard.
-
-
Dieser Schritt ist noch nicht übersetzt. Hilf mit, ihn zu übersetzen!
-
Locate the notification light on the upper corner of the device.
-
Gently pull on the wires to remove the light from it's housing.
-
-
Dieser Schritt ist noch nicht übersetzt. Hilf mit, ihn zu übersetzen!
-
Remove the motherboard from the back of the display screen.
-
-
Dieser Schritt ist noch nicht übersetzt. Hilf mit, ihn zu übersetzen!
-
Push the power button towards the interior of the device to free it from its slot, using tweezers.
-


Rückgängig: Ich habe diese Anleitung nicht absolviert.
2 weitere Nutzer:innen haben diese Anleitung absolviert.

Team

USF Tampa, Team 14-5, Eyestone Fall 2016 Mitglied von USF Tampa, Team 14-5, Eyestone Fall 2016
USFT-EYESTONE-F16S14G5
4 Mitglieder
10 Anleitungen geschrieben