Diese Übersetzung enthält möglicherweise noch nicht die neuesten Änderungen der Original-Anleitung. Hilf mit, die Übersetzung zu aktualisieren oder sieh dir die Original-Anleitung an.
Was du brauchst
-
Dieser Schritt ist noch nicht übersetzt. Hilf mit, ihn zu übersetzen!
-
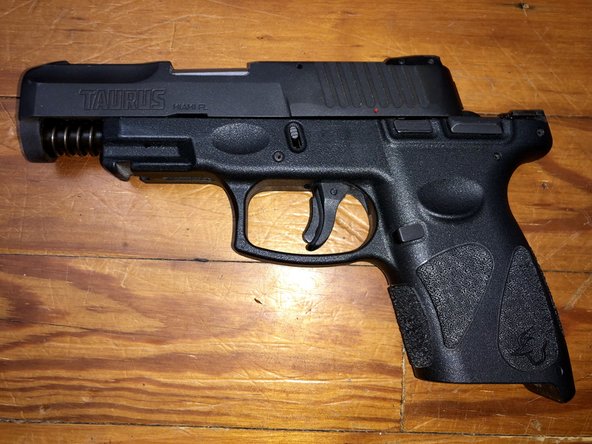
After making sure the weapon is clear -no bullet in the chamber- , release the striker by pulling the trigger. This releases the tension on the striker and allows the slide to come forward.
-
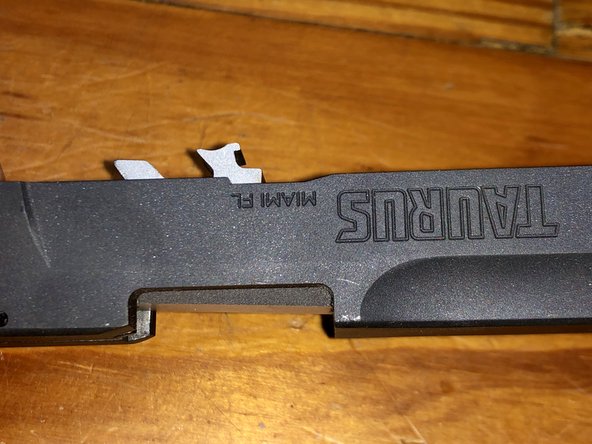
Pull the slide back just a hair to release the tension on the disassembly latches. Pull downward on the disassembly latches on both sides while holding rearward pressure on the slide, then release the pressure on the slide.
-
-
Dieser Schritt ist noch nicht übersetzt. Hilf mit, ihn zu übersetzen!
-
Continue moving the slide forwards until the rear of the slide passes the guides the notches above the disassembly latches(pointed out in the last picture).
-
-
-
Dieser Schritt ist noch nicht übersetzt. Hilf mit, ihn zu übersetzen!
-
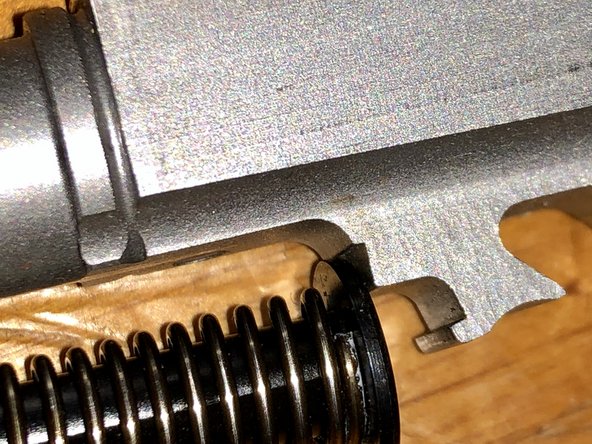
The recoil spring assembly is on the bottom of the barrel. It is held in place by the spring's own tension against a notch in the barrel (2nd picture) and its slot in the end of the slide.
-
While holding the slide with the muzzle pointing away from you, put your thumb or index finger on the rear-facing portion of the recoil spring assembly. Push the assembly forward to free it from the tension against the barrel, then release the tension and pull it out of its slot in the slide.
-
-
Dieser Schritt ist noch nicht übersetzt. Hilf mit, ihn zu übersetzen!
-
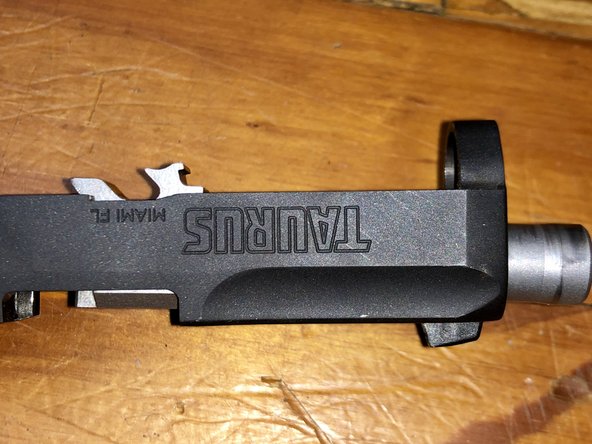
With the recoil spring assembly no longer holding the barrel in, the barrel can now be removed.
-
Move the barrel slightly towards the bottom of the slide
-
Push the barrel forward a little bit to allow enough space to clear the ejector (not pictured)
-
-
Dieser Schritt ist noch nicht übersetzt. Hilf mit, ihn zu übersetzen!
-
Lift the barrel out of the slide.
-
-
Dieser Schritt ist noch nicht übersetzt. Hilf mit, ihn zu übersetzen!
-
You're finished! You have now successfully field stripped a Taurus G2C.
-


Rückgängig: Ich habe diese Anleitung nicht absolviert.
16 weitere Nutzer:innen haben diese Anleitung absolviert.
Besonderer Dank geht an diese Übersetzer:innen:
6%


Diese Übersetzer:innen helfen uns, die Welt zu reparieren! Wie kann ich mithelfen?
Hier starten ›

Team

5 Kommentare
Hello Josh. This is Matthew. Thanks for the field stripping instructions. Just wanted to let you know people are using your instructions. Safe shooting and have a good day
Hey Matthew! Glad to hear people are able to use my guide! Thanks for reaching out!!
Thanks for the great tutorial. Very clear and concise.