Einleitung
The Taylor 342D-27 is a machine that is often used by businesses to make slush-type drinks. A damaged valve will not allow the machine to have a proper seal and the contents will leak. This repair guide can help you replace the o-ring and get the machine back in top shape. The guide can be used when either of the two o-rings located around the valve become loose, damaged, or broken.
Was du brauchst
-
-
Make sure the switch for the machine is straight down in the off position and that all contents have been emptied.
-
-
-
Remove all 4 nuts from the front of the machine by turning them counter clockwise until they release.
-
-
-
Pull the door towards yourself/away from the Taylor to loosen it and remove it.
-
-
-
-
Remove the valve pin handle on the top of the valve by lifting it upward and away from the valve.
-
-
-
Push the valve draw handle all the way to the right or until the flat lines on the top of the valve are perpendicular to the door face.
-
-
-
Remove the ice buster by wiggling it until it releases, then pulling it away from the valve.
-
-
-
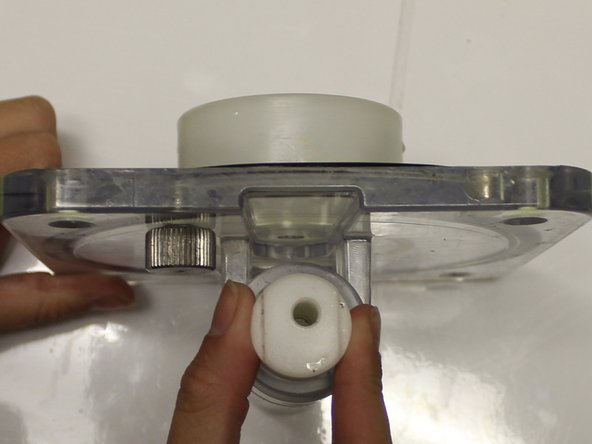
Push the valve up using your thumb to remove. Once there is enough of the valve out of the top of the door to hold on to, pull it out.
-
-
-
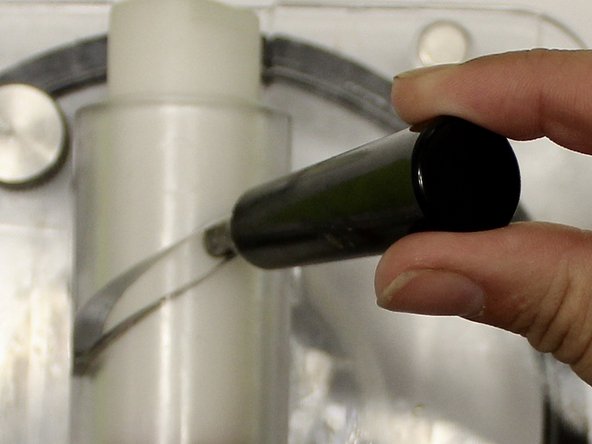
Take off the broken o-ring using the o-ring removal tool. To remove, place the end of the removal tool under the o-ring and bring it out the other side.
-
-
-
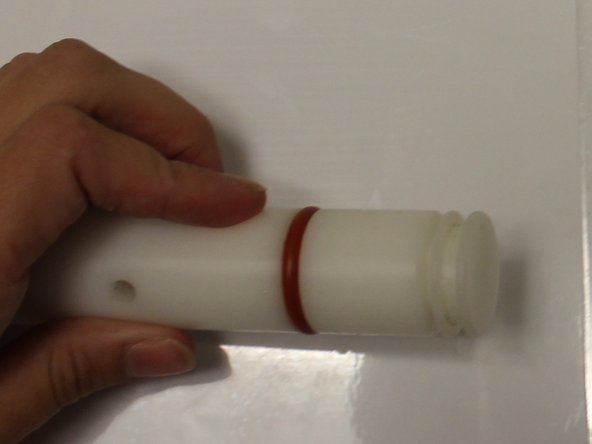
Put a new, well lubed, o-ring back on the valve. The o-ring removal tool can be used in this step or just using pressure with your hands.
-


To reassemble your device, follow these instructions in reverse order.
To reassemble your device, follow these instructions in reverse order.
Rückgängig: Ich habe diese Anleitung nicht absolviert.
Ein:e weitere:r Nutzer:in hat diese Anleitung absolviert.

Team

Eastern Washington University, Team S2-G4, Crane Summer 2018 Mitglied von Eastern Washington University, Team S2-G4, Crane Summer 2018
EWU-CRANE-SU18S2G4
4 Mitglieder
5 Anleitungen geschrieben