Diese Version enthält möglicherweise inkorrekte Änderungen. Wechsle zur letzten geprüften Version.
Was du brauchst
-
Dieser Schritt ist noch nicht übersetzt. Hilf mit, ihn zu übersetzen!
-
Remove the screws that are holding the circuit board in place.
-
-
Dieser Schritt ist noch nicht übersetzt. Hilf mit, ihn zu übersetzen!
-
Pull the circuit board out to reveal the inside of the display.
-
-
-
Dieser Schritt ist noch nicht übersetzt. Hilf mit, ihn zu übersetzen!
-
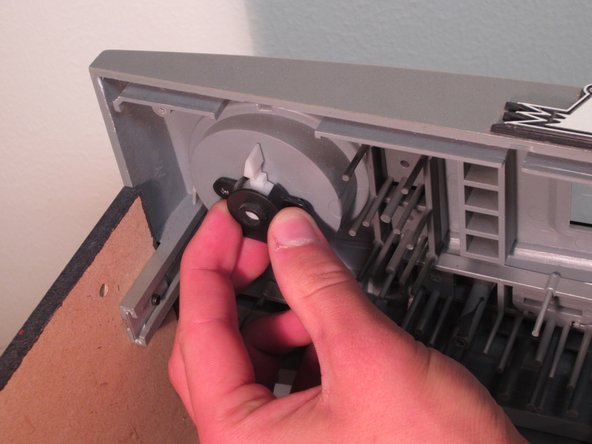
Remove the screws and the black piece that are holding the volume control knob in place.
-
-
Dieser Schritt ist noch nicht übersetzt. Hilf mit, ihn zu übersetzen!
-
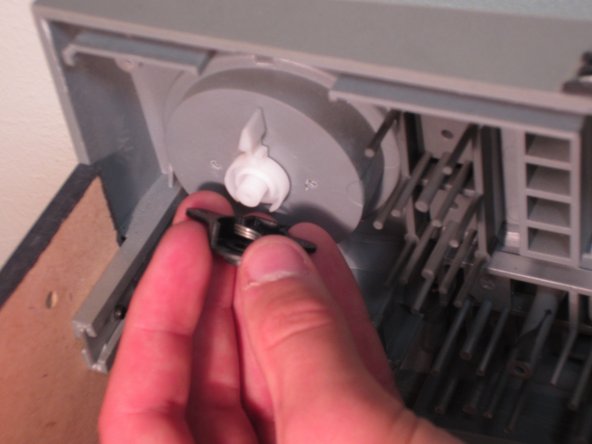
Pull the volume control knob from the outside and the white piece on the inside until they separate.
-
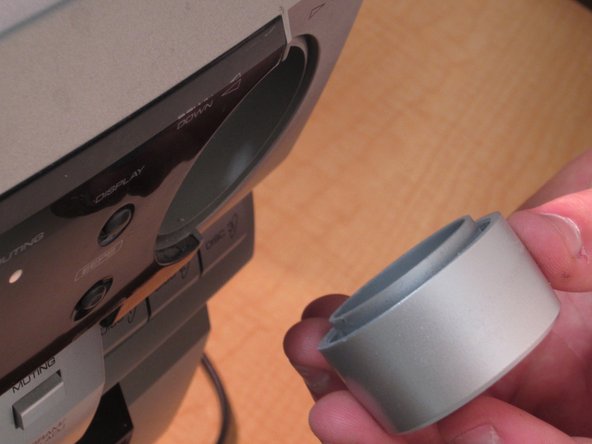
Replace the volume knob with a new one to complete the repair.
-


Rückgängig: Ich habe diese Anleitung nicht absolviert.
2 weitere Nutzer:innen haben diese Anleitung absolviert.
Team

Cal Poly, Team 2-61, Propen Fall 2012 Mitglied von Cal Poly, Team 2-61, Propen Fall 2012
CPSU-PROPEN-F12S2G61
4 Mitglieder
5 Anleitungen geschrieben