Diese Version enthält möglicherweise inkorrekte Änderungen. Wechsle zur letzten geprüften Version.
Was du brauchst
-
Dieser Schritt ist noch nicht übersetzt. Hilf mit, ihn zu übersetzen!
-
Unscrew the five 0.31 inch T-9 screws on the back cover.
-
-
Dieser Schritt ist noch nicht übersetzt. Hilf mit, ihn zu übersetzen!
-
Slide the cover towards the back until it is no longer under the front cover.
-
-
-
Dieser Schritt ist noch nicht übersetzt. Hilf mit, ihn zu übersetzen!
-
Lift the cover up and off the device.
-
-
Dieser Schritt ist noch nicht übersetzt. Hilf mit, ihn zu übersetzen!
-
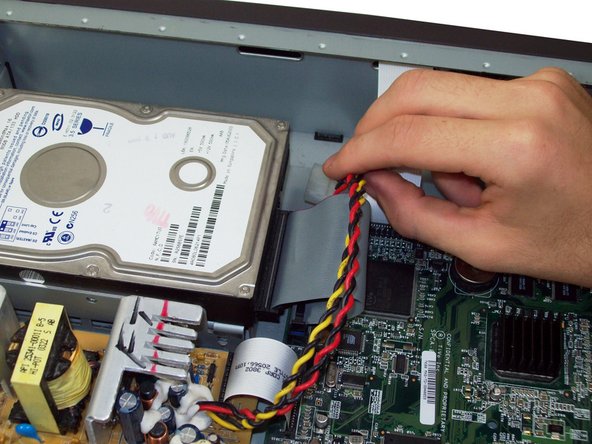
Remove the ribbon cable by applying firm pressure to the black tabs on the sides.
-
Remove the power cable to the right of the ribbon cable.
-
-
Dieser Schritt ist noch nicht übersetzt. Hilf mit, ihn zu übersetzen!
-
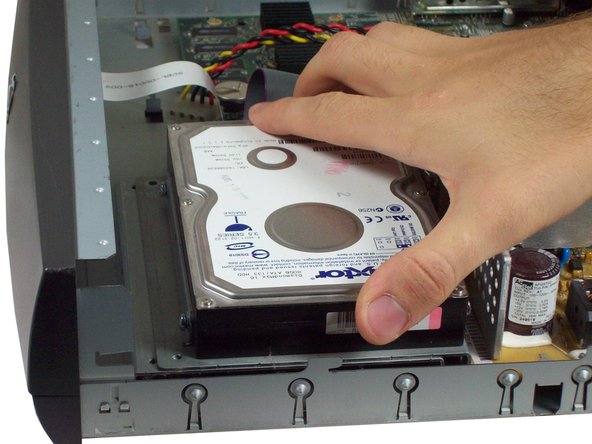
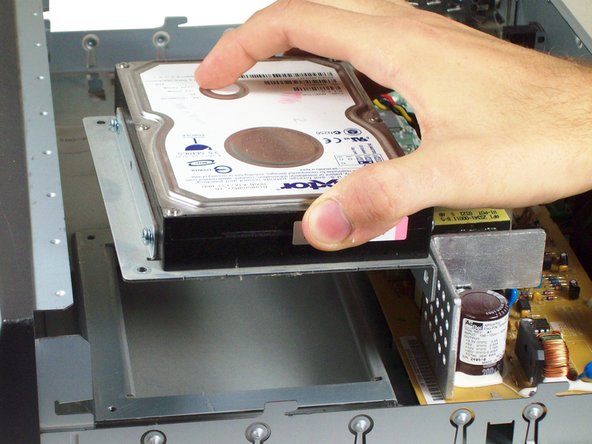
Unscrew the 0.31 inch T-9 screws from the hard drive and pull outwards to remove.
-


Team

Cal Poly, Team 5-33, Amido Fall 2011 Mitglied von Cal Poly, Team 5-33, Amido Fall 2011
CPSU-AMIDO-F11S5G33
4 Mitglieder
7 Anleitungen geschrieben