Diese Version enthält möglicherweise inkorrekte Änderungen. Wechsle zur letzten geprüften Version.
Was du brauchst
-
Dieser Schritt ist noch nicht übersetzt. Hilf mit, ihn zu übersetzen!
-
Spread a towel a bit behind you or beside if you have enough space, as this is where you will be placing the toilet.
-
-
Dieser Schritt ist noch nicht übersetzt. Hilf mit, ihn zu übersetzen!
-
Turn off the water line using the valve.
-
Disconnect the toilet water line from the back of the toilet (this looks like a hose).
-
Flush the toilet a few times to drain the tank.
-
-
Dieser Schritt ist noch nicht übersetzt. Hilf mit, ihn zu übersetzen!
-
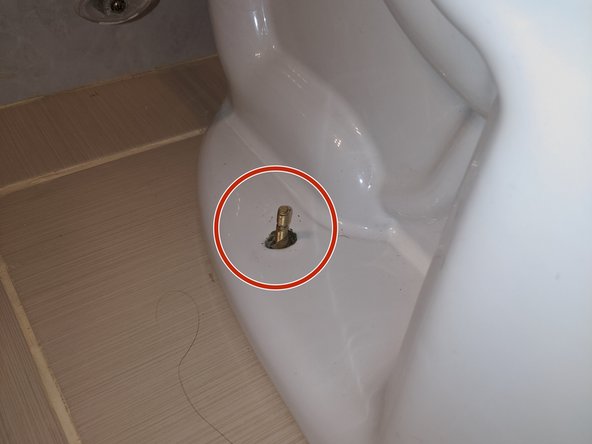
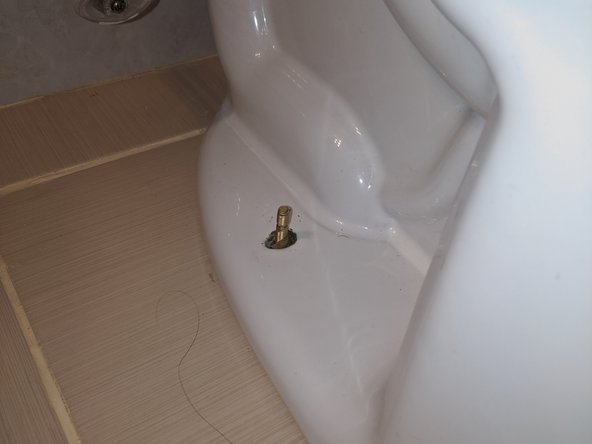
Remove the bolts on either side of the toilet, then gently remove it and lay it on the side. If there is not enough space, place it on a towel elsewhere. Take care as to ensure you do not accidentally scratch anything.
-
-
-
Dieser Schritt ist noch nicht übersetzt. Hilf mit, ihn zu übersetzen!
-
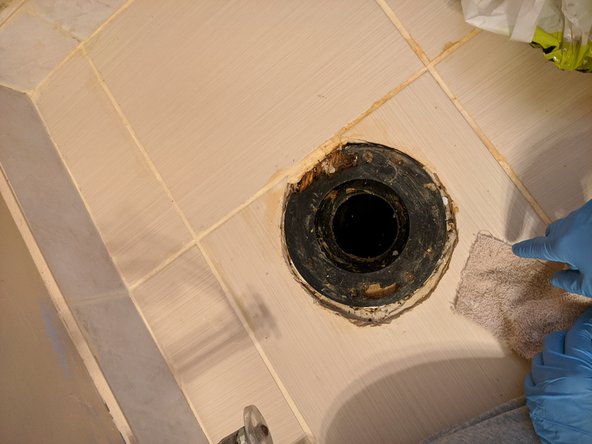
Scrape off the existing gasket (the wax ring at the bottom).
-
-
Dieser Schritt ist noch nicht übersetzt. Hilf mit, ihn zu übersetzen!
-
Drop in the new plate, and slide it until it is firmly in place. Make sure the bolts are standing up straight, and are not loose.
-
-
Dieser Schritt ist noch nicht übersetzt. Hilf mit, ihn zu übersetzen!
-
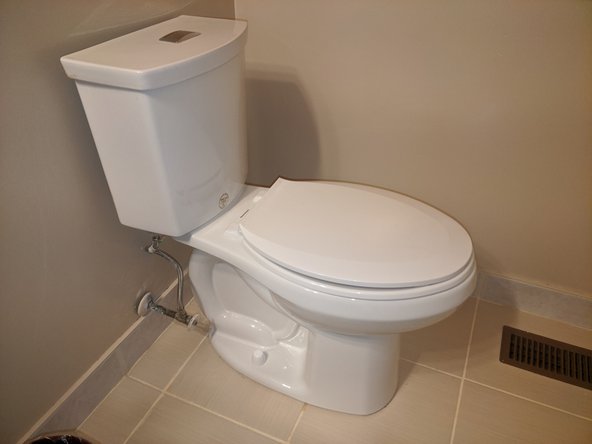
Once you have put back on the gasket, line up the toilet over the bolts, then slowly lower it down until both bolts clear their respective holes. Set it down and ensure the toilet is level and straight.
-
-
Dieser Schritt ist noch nicht übersetzt. Hilf mit, ihn zu übersetzen!
-
Slowly tighten the bolts on both sides with the washer and nuts included in the kit, making sure the toilet does not shift.
-
-
Dieser Schritt ist noch nicht übersetzt. Hilf mit, ihn zu übersetzen!
-
Clean up the area, and reconnect the waterline. Once connected, turn back on the valve.
-
If water leaks out, the toilet is not positioned properly and needs to be readjusted. Restart from step 7, after undoing the bolts and lifting the toilet back up.
-
If there are no leaks, reconnect the waterline and clean up any excess wax. Congratulations, you have successfully replaced your toilet flange!
-


Rückgängig: Ich habe diese Anleitung nicht absolviert.
Ein:e weitere:r Nutzer:in hat diese Anleitung absolviert.
Team

York University, Team S1-G12, O'Regan Summer 2020 Mitglied von York University, Team S1-G12, O'Regan Summer 2020
YORK-O'REGAN-SU20S1G12
1 Mitglied
1 Anleitung geschrieben