Einleitung
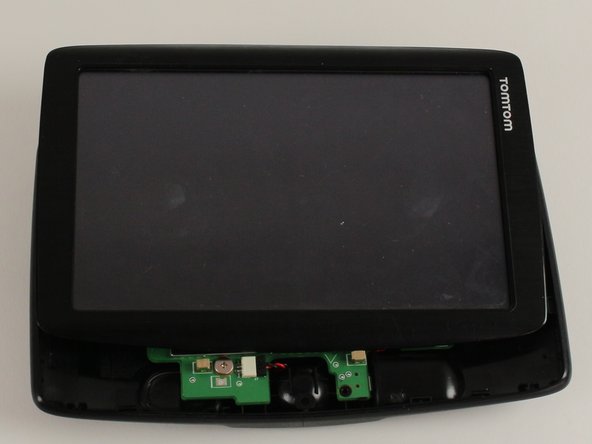
The back is either connected or interfaced with most components of the device. Since this must be removed in order to reach other interior components of the device, this guide will show how to remove it properly.
Was du brauchst
-
-
Position the device so that the underside is facing up.
-
Tilt the EasyPort Mount slightly upward and rotate it counterclockwise 180 degrees from the initial position.
-
Firmly grab the EasyPort Mount and remove it.
-
-
-
Turn the device 180 degrees so the screw in the EasyPort Mount compartment is on top.
-
Remove the 2mm screw beneath the EasyPort Mount compartment with the Torx T-5 head Screwdriver.
-
-
-
-
Flip the device over so that the screen is facing up.
-
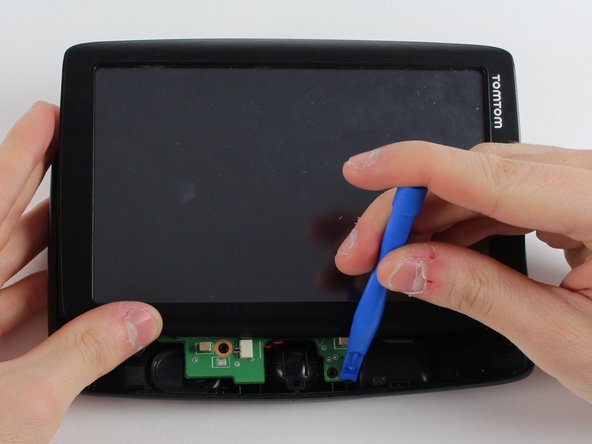
Wedge the plastic opening tool between the top and bottom of the device's frame, gently sliding it around the outside edge.
-
-
-
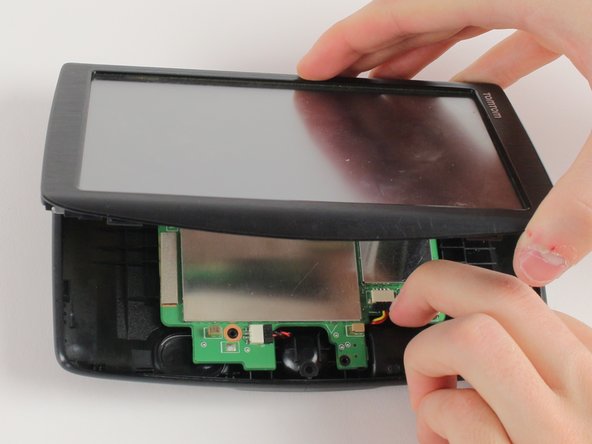
Carefully slide the screen forward, revealing the lower portion of the motherboard.
-
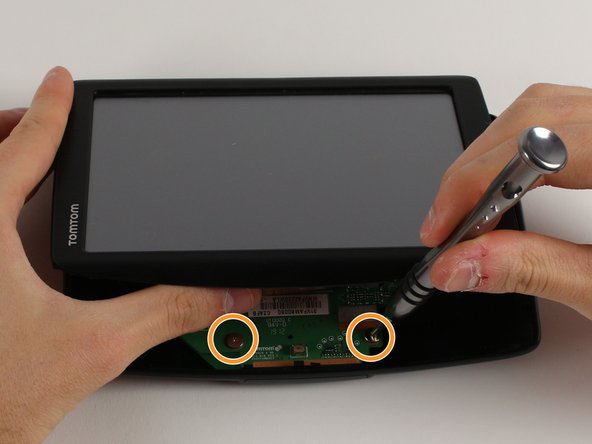
Remove the 3.6mm screw using the JIS #00 Screwdriver.
-
Rotate the device 180 degrees, carefully slide back the screen, and remove the remaining two screws.
-
-
-
Disconnect the battery and speaker cables.
-
Unlatch the motherboard from the case.
-


To reassemble your device, follow these instructions in reverse order.
To reassemble your device, follow these instructions in reverse order.
Team

Cal Poly, Team S12-G2, Banghart Winter 2018 Mitglied von Cal Poly, Team S12-G2, Banghart Winter 2018
CPSU-BANGHART-W18S12G2
3 Mitglieder
6 Anleitungen geschrieben