Einleitung
This guide will teach you how to access your tablet's battery, and how to remove it. Reverse these steps with a new battery to replace a broken one.
Was du brauchst
-
-
Use the opening tool to separate the front and rear panels by slipping the tool underneath the screen edge and sliding it around the entire device.
-
-
-
-
Remove the speaker cable from its socket by gripping both sides of the white connector piece with tweezers and pulling straight out.
-
-
-
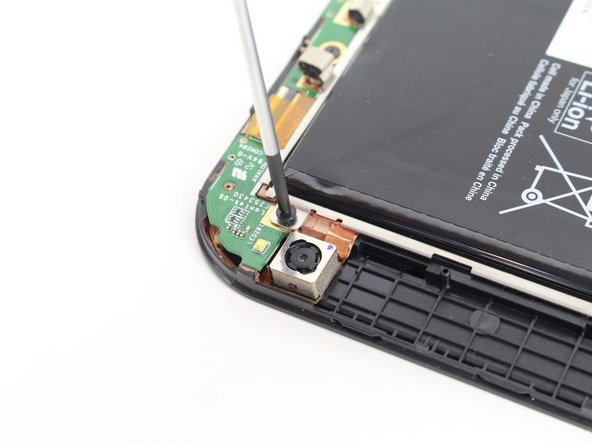
Using a #00 Phillips screwdriver, remove the following screws:
-
Five 3mm Phillips #00 screws
-
-
-
Gently lift the battery, pulling away from the tab holding it in place at the bottom.
-
While holding the battery up, use a pair of tweezers to remove the battery cable from its connector.
-


To reassemble your device, follow these instructions in reverse order.
To reassemble your device, follow these instructions in reverse order.
Rückgängig: Ich habe diese Anleitung nicht absolviert.
12 weitere Nutzer:innen haben diese Anleitung absolviert.

Team

Cal Poly, Team 14-26, Maness Fall 2014 Mitglied von Cal Poly, Team 14-26, Maness Fall 2014
CPSU-MANESS-F14S14G26
4 Mitglieder
12 Anleitungen geschrieben
5 Kommentare
My tablet won't come on what do i do? It was working yesterday with no problem when I plugged it in this morning to charge it while I was gone when I came back it would come on at all . It felt hot.
Thank you kindly. It took 20 minutes total.
My tablet comes but it's want to go to main screen
Ça m'a pris 20 min.La batterie est HS.Comment la brancher directement sur électricité ???!!?