Was du brauchst
-
-
Using the plastic opening tool, remove the plastic hinge cover on the back of the laptop. Use caution not to damage this plastic cover.
-
-
-
Using the plastic opening tool, remove the plastic cover directly above the keyboard. Make sure to start from the corners of the plastic cover.
-
-
-
-
Remove the keyboard, make sure you gently remove any ribbon cables holding it to the rest of the computer. Bending or crimping a ribbon cable can break the device.
-
-
-
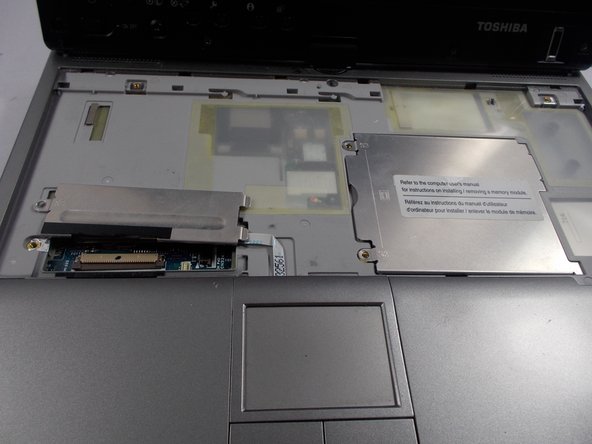
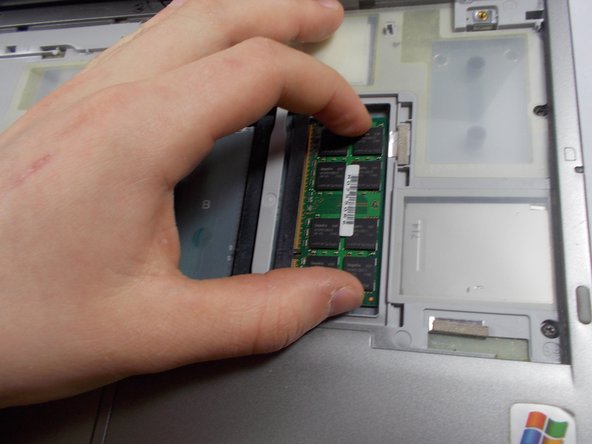
After removing the second metal covering you will remove the RAM compartment.
-
Simply pull apart the metal fasteners on the side; the RAM should pop out for removal.
-
-
-
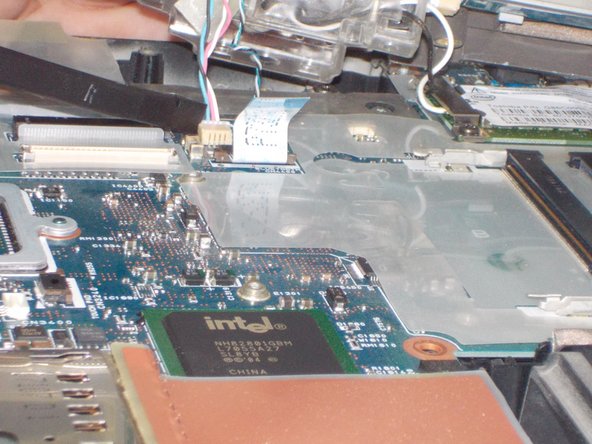
Disconnect the wire from the exposed wireless card.
-
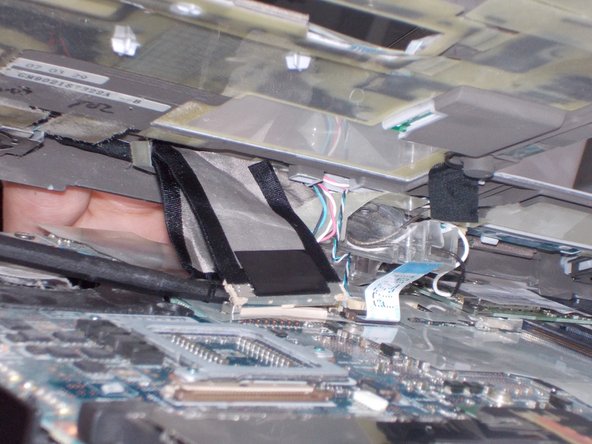
Pry open the top of the laptop and gently remove and disconnect the wires as shown.
-
-
-
Remove the screws attaching the motherboard to the plastic housing.
-
Lift off the motherboard. Once it is free of screws and you're done!
-


To reassemble your device, follow these instructions in reverse order.
To reassemble your device, follow these instructions in reverse order.
Rückgängig: Ich habe diese Anleitung nicht absolviert.
Ein:e weitere:r Nutzer:in hat diese Anleitung absolviert.
Team

University of Maryland, Team 6-2, Vijaybhaskar Spring 2014 Mitglied von University of Maryland, Team 6-2, Vijaybhaskar Spring 2014
UMD-VIJAYBHASKAR-S14S6G2
4 Mitglieder
15 Anleitungen geschrieben