Einleitung
This guide is for the Traxx LED Metallic Selfie Ring. Selfie rings are used as additional lighting for taking photos with a phone. This guide will walk you through the steps of removing the old batteries and replacing new batteries in your selfie ring. It will show you which end of the battery is positive and which end is negative and which way to insert these into the battery slots.
Was du brauchst
-
-
Remove the bottom battery by using your nail to lift and push toward the spring. Once the battery is lifted, remove it and set aside.
-
-
-
Remove the top battery in the same manner, using your nail to lift the end that is not against the spring, and push against the spring with the battery until battery is able to be lifted and pulled out.
-
-
-
-
Using your new batteries, identify which end is positive and which end is negative.
-
The positive end will have a raised piece.
-
The negative end will have a flat end as well as a slight indent.
-
-
-
Insert the first new battery on an angle with the negative end first so that it is pressed up against the spring. This will allow you to push the spring until it is flattened, and then push the positive end downward into position.
-
-
-
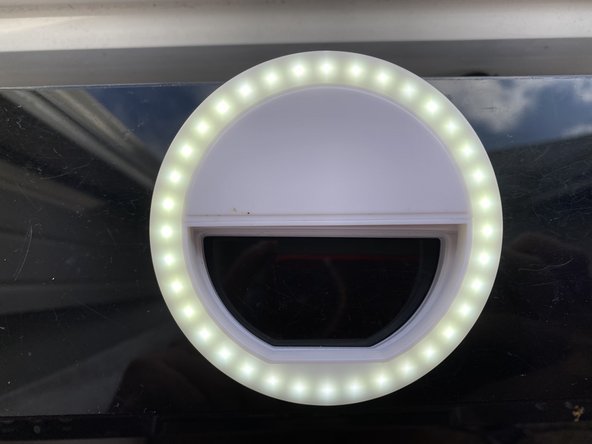
Check to make sure the batteries are properly inserted by clicking the button located along the rim of the selfie ring.
-
If the product lights up, then the batteries are properly inserted and your selfie ring is ready for use!
-


To reassemble your device, follow the instructions in reverse order.
To reassemble your device, follow the instructions in reverse order.

Team

Grand Valley State University, Team S3-G11, DeVasto Winter 2021 Mitglied von Grand Valley State University, Team S3-G11, DeVasto Winter 2021
GVSU-DEVASTO-W21S3G11
1 Mitglied
2 Anleitungen geschrieben