Einleitung
The volume buttons allow you to control the volume of audio played by the device, either though the speaker or headphones. The replacement of the volume buttons may be necessary if the tablet does not respond when the volume buttons are pressed by either raising or lowering the volume of sound.
The disassembly is very simple. You will need only basic tools and will not be required to perform any specialized tasks.
Was du brauchst
-
-
Use a plastic opening tool to gently pry the back panel assembly apart from the front casing.
-
Start on one edge of the device by inserting the plastic opening tool between the back panel and the front casing using a gentle rocking motion.
-
-
-
Once you have successfully separated one edge of the back panel from the front casing, slide the plastic opening tool along the other edges to detach them as well.
-
-
-
-
The plastic volume button cover may fall out when you remove the back panel. Set it aside.
-
-
-
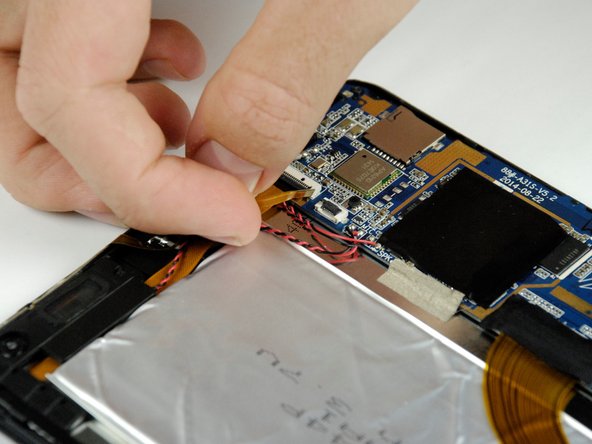
Remove the yellow tape covering the set of wires located near the upper right corner of the battery.
-
-
-
Wedge a spudger underneath the black flap on the zero insertion force (ZIF) connector and flip it up.
-
Once the flap is up, use your fingers to disconnect the end of the ribbon wire from the connector.
-
-
-
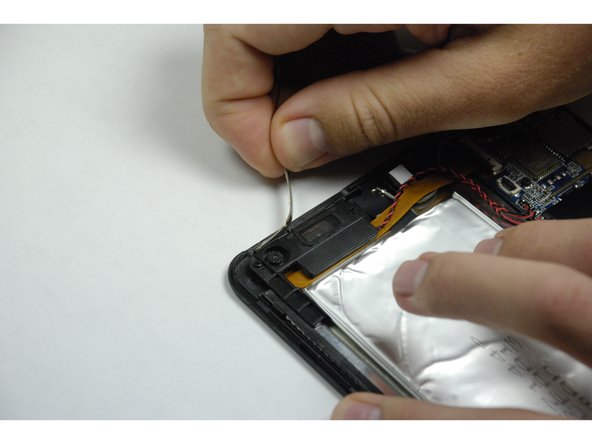
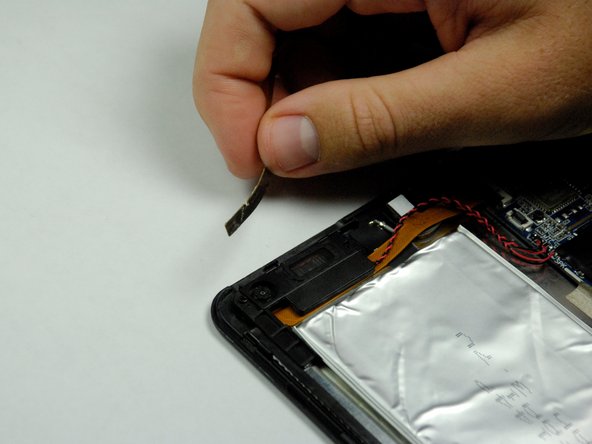
Use your fingers to carefully peel the volume sensors away from the top of the plastic L-shaped speaker housing.
-


To reassemble your device, follow these instructions in reverse order.
To reassemble your device, follow these instructions in reverse order.
Rückgängig: Ich habe diese Anleitung nicht absolviert.
2 weitere Nutzer:innen haben diese Anleitung absolviert.
Team

Baylor, Team 4-1, Williams Fall 2015 Mitglied von Baylor, Team 4-1, Williams Fall 2015
BU-WILLIAMS-F15S4G1
4 Mitglieder
10 Anleitungen geschrieben