Zum Hauptinhalt wechseln

Tungsten E full teardown

Archivierte Anleitung
Diese Anleitung wurde ausschließlich für historische Zwecke erhalten. Verwende die aktualisierte Version dieser Anleitung, um deine Reparatur durchzuführen.

Was du brauchst

  1. Tungsten E full teardown, Teardown: Schritt 1, Bild 1 von 2 Tungsten E full teardown, Teardown: Schritt 1, Bild 2 von 2
    • There are 4 torx screws in each corner. Undo them and take than out.

  2. Tungsten E full teardown: Schritt 2, Bild 1 von 3 Tungsten E full teardown: Schritt 2, Bild 2 von 3 Tungsten E full teardown: Schritt 2, Bild 3 von 3
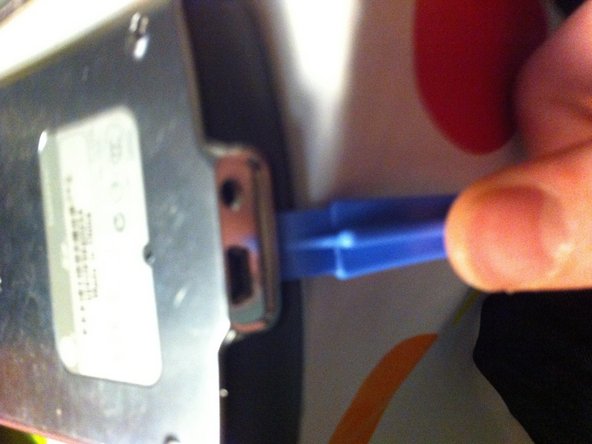
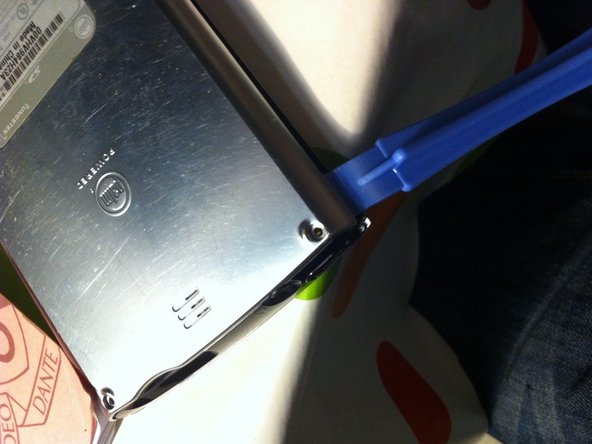
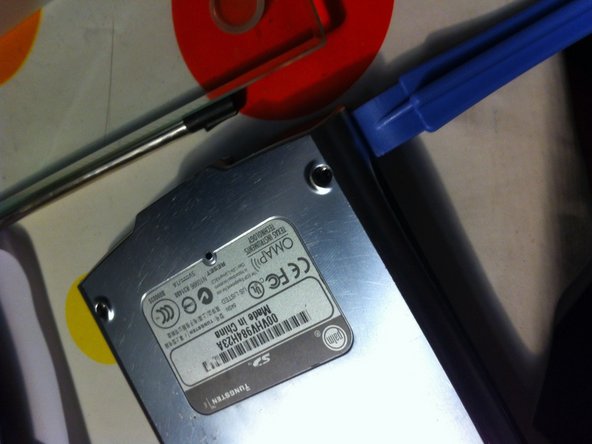
    • Slide a spudger in between the metal casing. Slide it all around the casing, releasing the back from the clips holding it in.

  3. Tungsten E full teardown: Schritt 3, Bild 1 von 1
    • Prise up the case, using the spudger.

  4. Tungsten E full teardown: Schritt 4, Bild 1 von 3 Tungsten E full teardown: Schritt 4, Bild 2 von 3 Tungsten E full teardown: Schritt 4, Bild 3 von 3
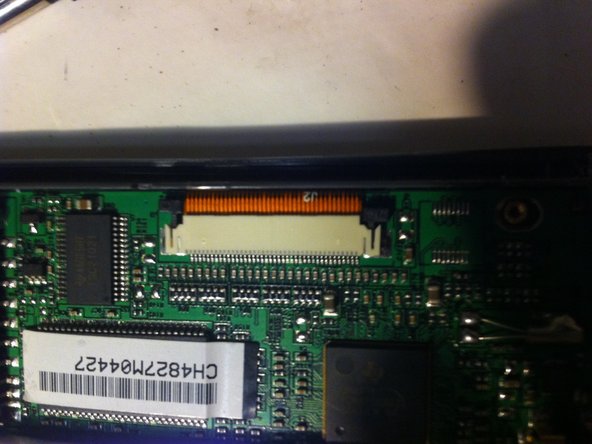
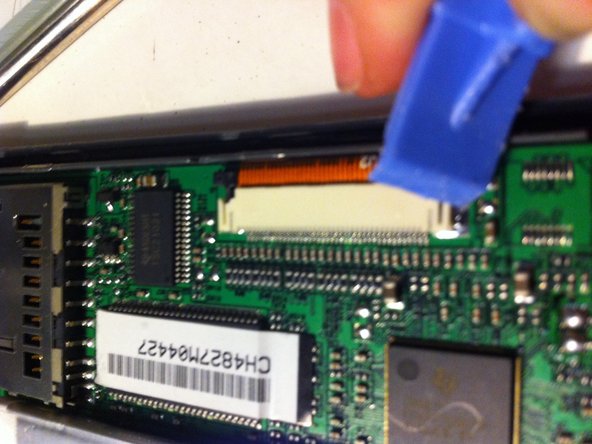
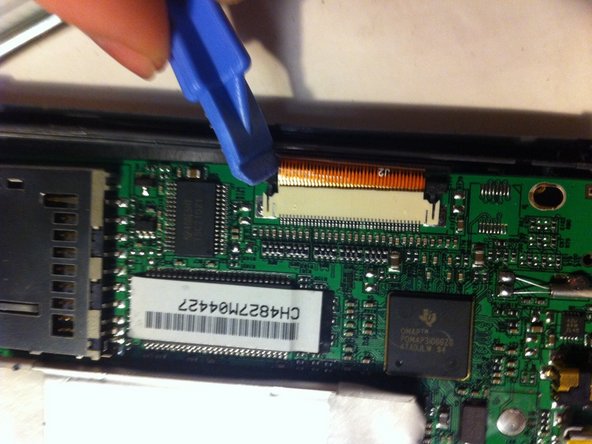
    • The Lcd connector is held in with a double lock connector, simply push the locks forward, and the cable will disconnect with the help if a spudger.

Abschluss

To reassemble your device, follow these instructions in reverse order.

0 Kommentare

Kommentar hinzufügen

Seitenaufrufe:

Letzte 24 Stunden: 0

Letzte 7 Tage: 0

Letzte 30 Tage: 1

Insgesamt: 117