Einleitung
To complete this guide you will have to disassemble the handset and use a soldering iron to replace the circuit board. Other than the soldering process, the guide steps are medium in difficulty to complete. After completing this guide, users should have a fully operating, handset circuit board and screen.
Was du brauchst
-
-
Slide the battery cover toward the bottom of the phone.
-
Lift and remove the back cover from the phone.
-
-
-
Remove the battery from its compartment.
-
Pinch the end of cord where the battery is attached to the phone and pull up gently.
-
-
-
-
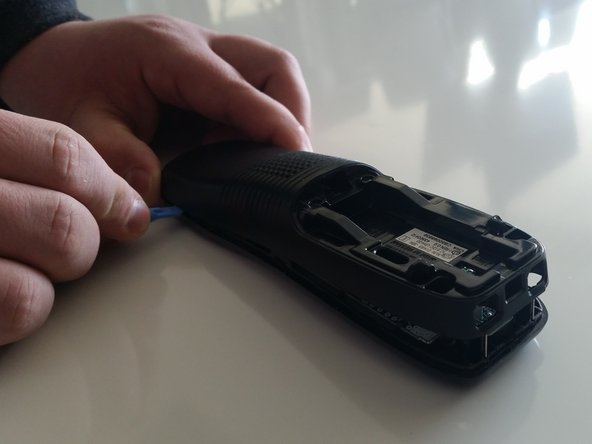
Use the plastic opening tool to carefully separate the two halves of the case.
-
Slowly work around the entire case to fully separate the halves before pulling them apart.
-
-
-
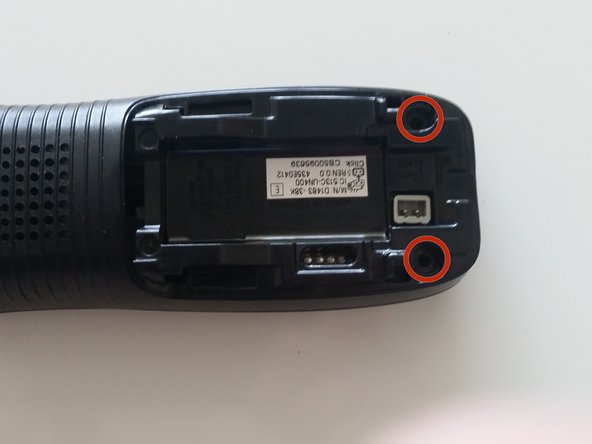
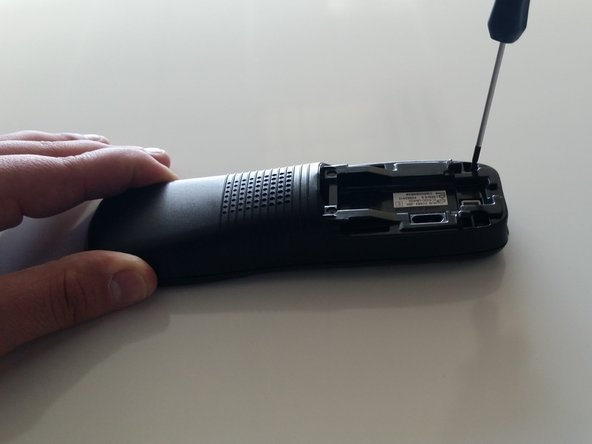
Carefully remove the 9mm Phillips #1 screw from the top corner of the circuit board.
-
-
-
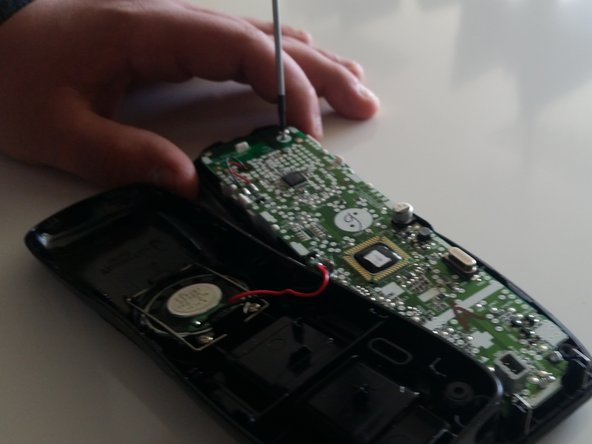
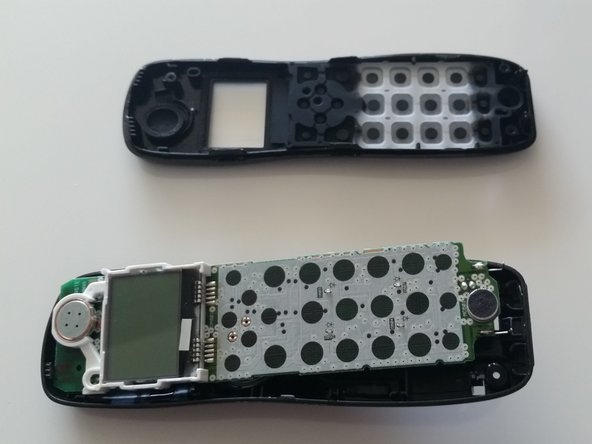
Carefully grasp either side of the circuit board and lift it straight out of the front half of the case.
-
Set the board in the lower half of the case.
-
-
-
Set the circuit board on the table with the screen facing down.
-
-
-
Using the desoldering braid and soldering iron, remove the solder around the cable for the speaker.
-


To reassemble your device, follow these instructions in reverse order.
To reassemble your device, follow these instructions in reverse order.
Rückgängig: Ich habe diese Anleitung nicht absolviert.
6 weitere Personen haben diese Anleitung absolviert.

Team

Penn State, Team 1-8, Kaschak Winter 2015 Mitglied von Penn State, Team 1-8, Kaschak Winter 2015
PSU-KASCHAK-W15S1G8
4 Mitglieder
8 Anleitungen geschrieben