Zum Hauptinhalt wechseln
Gemeinsam reparieren - Jetzt registrieren

Unsticking SteelSeries Nimbus Triggers

Was du brauchst

  1. Unsticking SteelSeries Nimbus Triggers, Unsticking SteelSeries Nimbus Triggers: Schritt 1, Bild 1 von 1
    • When your triggers get stickier than the Cheeto® dust on your hands it might be time for an intervention.

    Frag FixBot

    Kommentar hinzufügen

  2. Unsticking SteelSeries Nimbus Triggers: Schritt 2, Bild 1 von 2 Unsticking SteelSeries Nimbus Triggers: Schritt 2, Bild 2 von 2
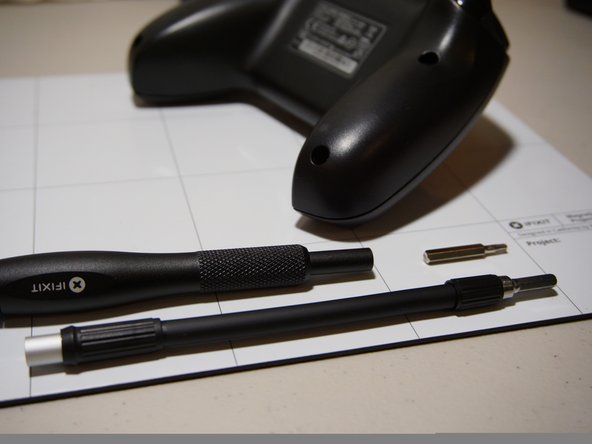
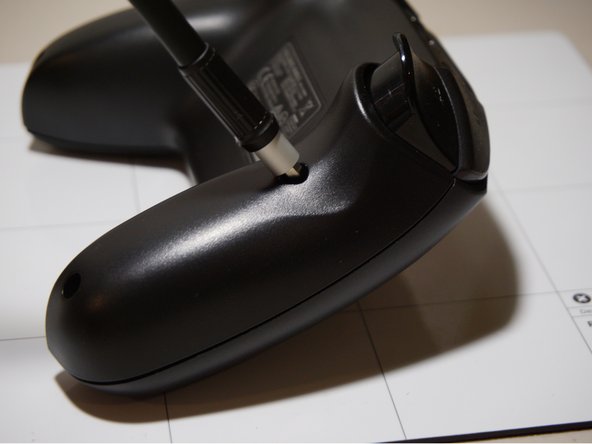
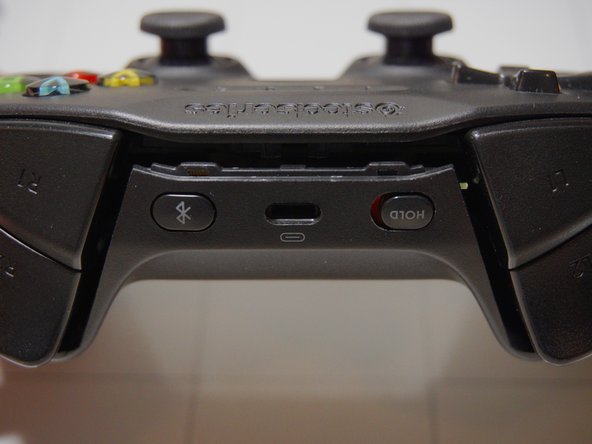
    • Start off by removing the four TR9 Torx Security screws on the back of the controller.

    Frag FixBot

    Kommentar hinzufügen

  3. Unsticking SteelSeries Nimbus Triggers: Schritt 3, Bild 1 von 3 Unsticking SteelSeries Nimbus Triggers: Schritt 3, Bild 2 von 3 Unsticking SteelSeries Nimbus Triggers: Schritt 3, Bild 3 von 3
    • The two screws on the top are further inset than the others. You can use the iFixit 1/4" to 4 mm Driver Adapter as an extender.

    Frag FixBot

    Kommentar hinzufügen

  4. Unsticking SteelSeries Nimbus Triggers: Schritt 4, Bild 1 von 2 Unsticking SteelSeries Nimbus Triggers: Schritt 4, Bild 2 von 2
    • The case is now open, but it's still held together by two clips on the top.

    Frag FixBot

    Kommentar hinzufügen

  5. Unsticking SteelSeries Nimbus Triggers: Schritt 5, Bild 1 von 3 Unsticking SteelSeries Nimbus Triggers: Schritt 5, Bild 2 von 3 Unsticking SteelSeries Nimbus Triggers: Schritt 5, Bild 3 von 3
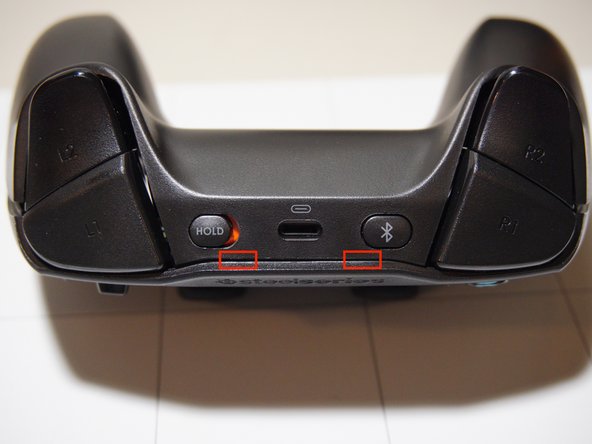
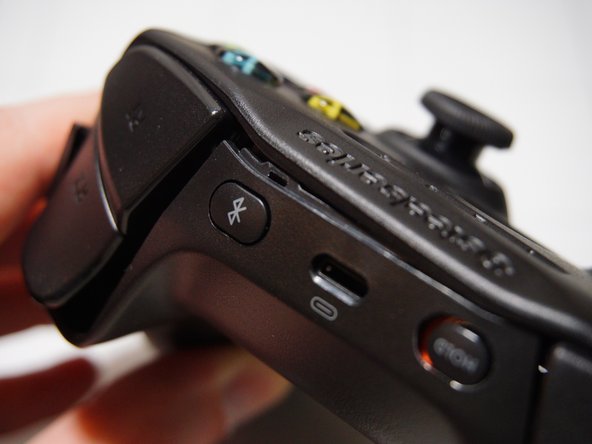
    • Apply a gentle twisting motion to separate the first clip.

    • Twist in the other direction to separate the second clip.

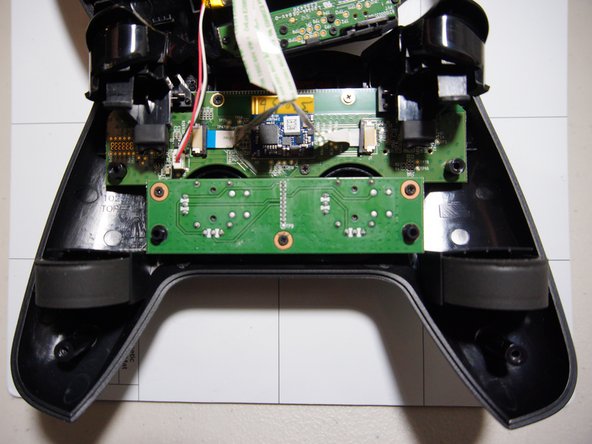
    • The top is now free!

    Frag FixBot

    Kommentar hinzufügen

  6. Unsticking SteelSeries Nimbus Triggers: Schritt 6, Bild 1 von 3 Unsticking SteelSeries Nimbus Triggers: Schritt 6, Bild 2 von 3 Unsticking SteelSeries Nimbus Triggers: Schritt 6, Bild 3 von 3
    • Be mindful of the three cables still connecting the two halves.

    Frag FixBot

    Kommentar hinzufügen

  7. Unsticking SteelSeries Nimbus Triggers: Schritt 7, Bild 1 von 2 Unsticking SteelSeries Nimbus Triggers: Schritt 7, Bild 2 von 2
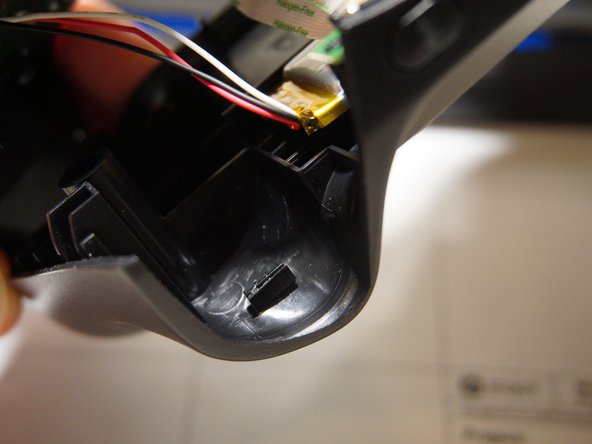
    • Here's our problem, the rubber pad has fallen off of the plastic stop leaving only the glue behind.

    • The rubber pad should still be in the controller somewhere (happy hunting) or if you're not in the mood for hide and seek any kind of foam will work as a replacement.

    Frag FixBot

    Kommentar hinzufügen

Abschluss

To reassemble your device, follow these instructions in reverse order.

Rückgängig: Ich habe diese Anleitung nicht absolviert.

8 weitere Personen haben diese Anleitung absolviert.

4 Kommentare zur Anleitung

Great, concise fix instructions!

Brian Pippen - Antwort Teilen

My nimbus started to have sticky triggers. I could not believe that I had found this solution! Awesome!

Max-Heinrich Laves - Antwort Teilen

Hi, I have a Nimbus + controller. It's seems to have clips at the back too. Any advice on how to open it?

Sean Hudson - Antwort Teilen

Greetings, someone who can help me where I can get the joystick, original remote control ?

Excellent information

bryan Andino - Antwort Teilen

Kommentar hinzufügen

Seitenaufrufe:

Letzte 24 Stunden: 1

Letzte 7 Tage: 7

Letzte 30 Tage: 60

Insgesamt: 7,302