Einleitung
If the brush roll on your Bissell Vacuum 2610E is worn out and isn't cleaning as well as it used to, it might be time to replace the brush. This quick guide will show how you how to replace the brush roll with nothing more than a Phillips #0 screwdriver and about 20 minutes of your time.
Was du brauchst
-
-
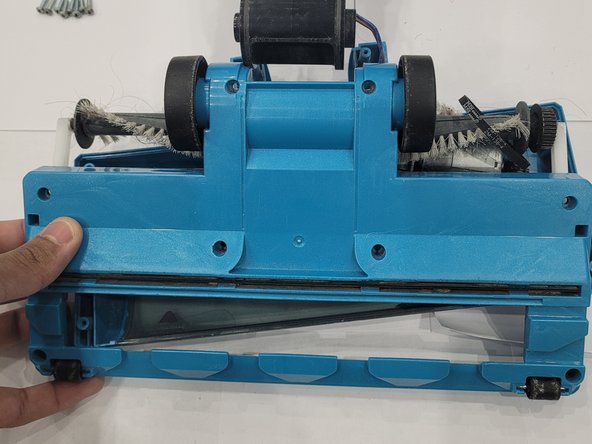
Lay the vacuum flat on the ground, then use a sturdy object to prop up the bottom.
-
-
-
Use a Phillips #0 screwdriver to remove the eight screws securing the brush housing.
-
-
-
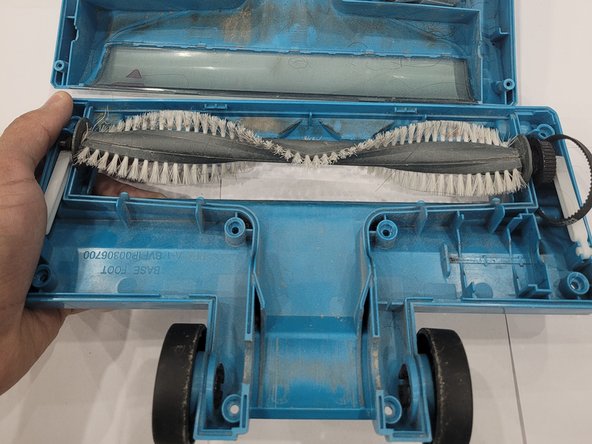
Gently pull at each corner of the brush housing until it releases from the chassis.
-
Remove the brush housing.
-
-
-
-
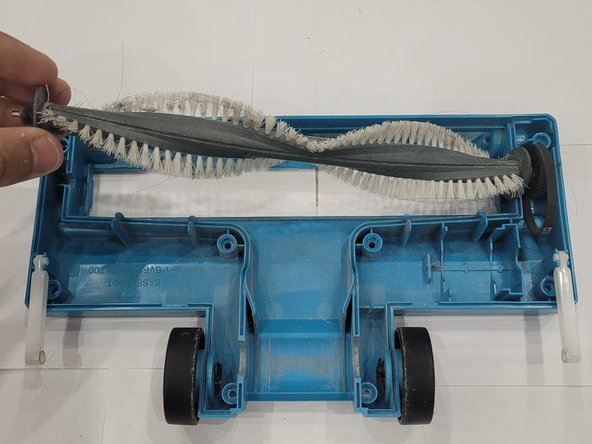
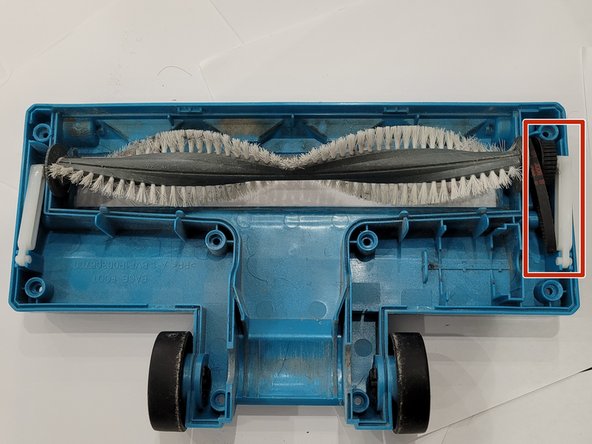
Loop the black rubber belt around the notched wheel on the right side of the brush, then place the brush roll back in its housing and lock the white plastic latch.
-
Lock the white plastic latch on the left side of the brush.
-
-
-
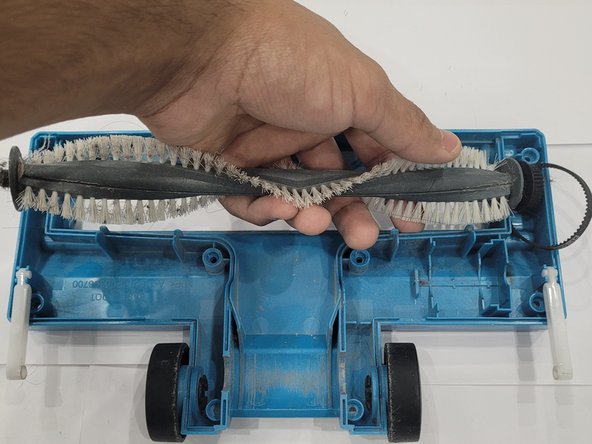
Before replacing the top of the brush housing, make sure the black rubber belt is secured around the black notched wheel on the right side of the brush, as well as the notched wheel on the motor.
-


To reassemble your device, follow these instructions in reverse order.
To reassemble your device, follow these instructions in reverse order.
Rückgängig: Ich habe diese Anleitung nicht absolviert.
Eine weitere Person hat diese Anleitung absolviert.
Team

York University, Team P-27, O'Regan Winter 2022 Mitglied von York University, Team P-27, O'Regan Winter 2022
YORK-O'REGAN-W22SPG27
1 Mitglied
1 Anleitung geschrieben