Einleitung
Before starting this guide its important to note that the battery replacement requires soldering. Don't know how to solder? Don't worry! You can learn how right here.
Was du brauchst
-
-
Using the large plastic opening tool, start along a side of the device and apply light pressure in the seam between the top and bottom outer covers.
-
Maneuver the smaller plastic opening tool at the spot of the large opening tool and slowly slide along the edge.
-
-
-
Move tool around each connection, and continue around the device until all connections have been loosened.
-
-
-
-
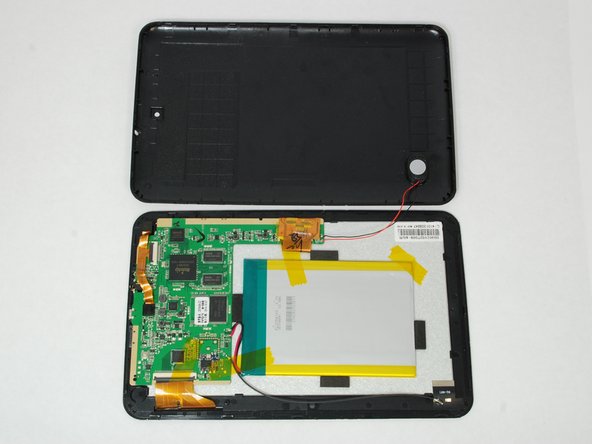
Once all connections have been loosened and using a soft surface, place the device onto its screen, and lift gently on the outer casing.
-
-
-
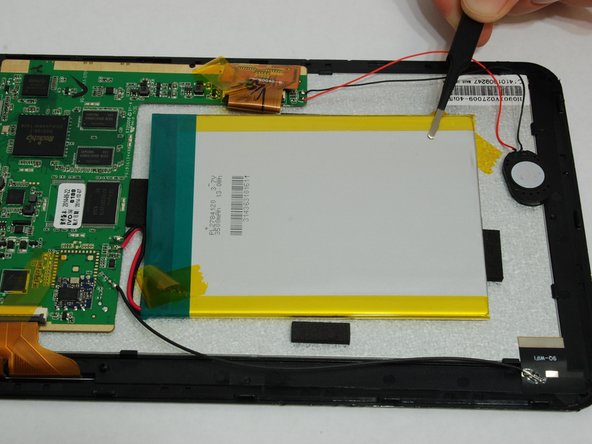
Use wide tip tweezers to gently remove the three pieces of tape attached to battery.
-
Once the tape has been removed, the battery will be free from the tablet except for the wired connections to the circuit board.
-
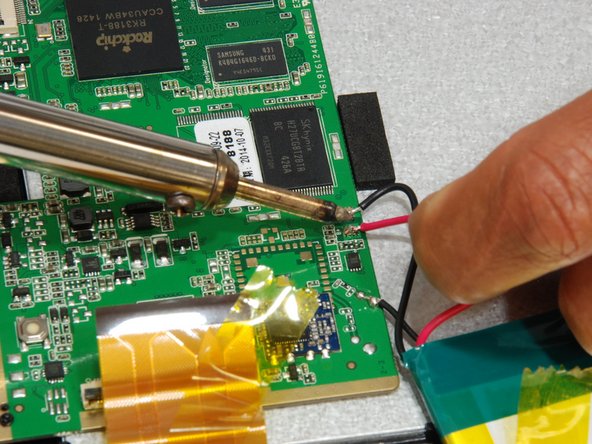
Mark where the positive (red) and negative (black) wires are on the circuit board.
-
-
-
Before disconnecting battery, review Soldering Tips to ensure proper soldering.
-
Use soldering iron to remove +(red) battery lead.
-
Remove the -(black) battery lead.
-


To reassemble your device, follow these instructions in reverse order.
To reassemble your device, follow these instructions in reverse order.
Rückgängig: Ich habe diese Anleitung nicht absolviert.
2 weitere Nutzer:innen haben diese Anleitung absolviert.
Team

University of Memphis, Team 1-1, Kim SU 2016 Mitglied von University of Memphis, Team 1-1, Kim SU 2016
UM-KIM-SU16S1G1
4 Mitglieder
8 Anleitungen geschrieben