Diese Version enthält möglicherweise inkorrekte Änderungen. Wechsle zur letzten geprüften Version.
Was du brauchst
-
Dieser Schritt ist noch nicht übersetzt. Hilf mit, ihn zu übersetzen!
-
Carefully slide the heavy duty opening tool between the gap on the side of the device with no buttons.
-
Corner tabs may require a more forceful prying tool. If needed, carefully insert the metal prying tool into corners to separate the tabs.
-
-
Dieser Schritt ist noch nicht übersetzt. Hilf mit, ihn zu übersetzen!
-
Look into the tablet for loose connectors.
-
Flip the backing from the button-less side over, being careful not to separate the ribbon connector from the display screen.
-
-
-
Dieser Schritt ist noch nicht übersetzt. Hilf mit, ihn zu übersetzen!
-
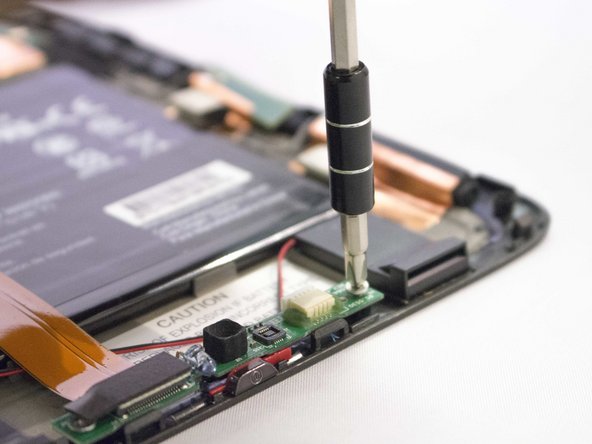
Remove the screw with the J1 screwdriver or screw bit.
-
-
Dieser Schritt ist noch nicht übersetzt. Hilf mit, ihn zu übersetzen!
-
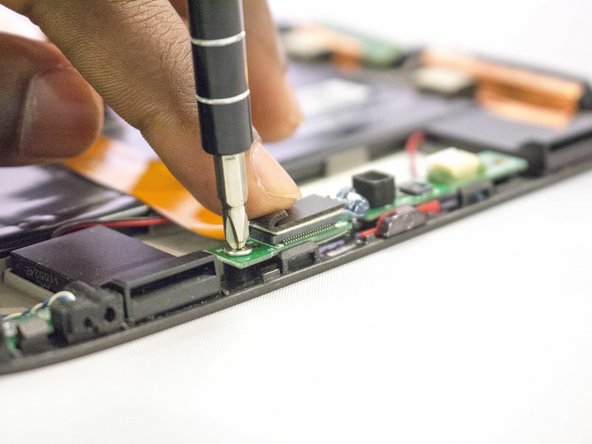
Lift the flap hiding the second screw.
-
Remove the screw by using the J1 screwdriver.
-
-
Dieser Schritt ist noch nicht übersetzt. Hilf mit, ihn zu übersetzen!
-
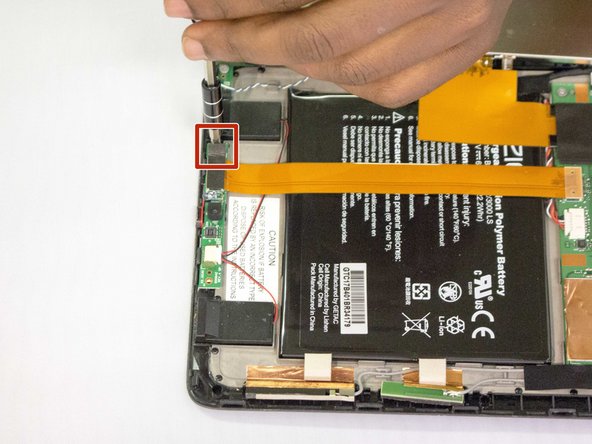
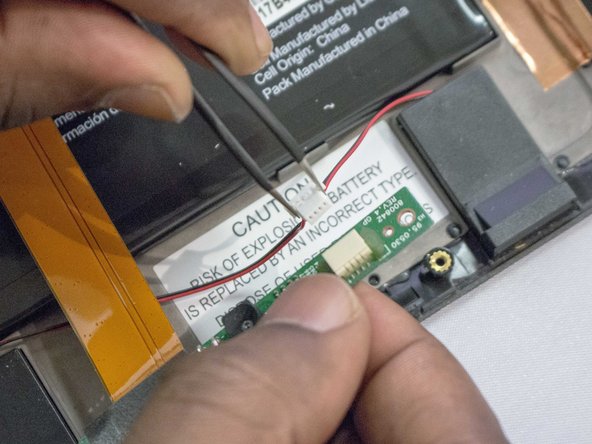
Disconnect the black and red cable connector from the camera strap.
-
-
Dieser Schritt ist noch nicht übersetzt. Hilf mit, ihn zu übersetzen!
-
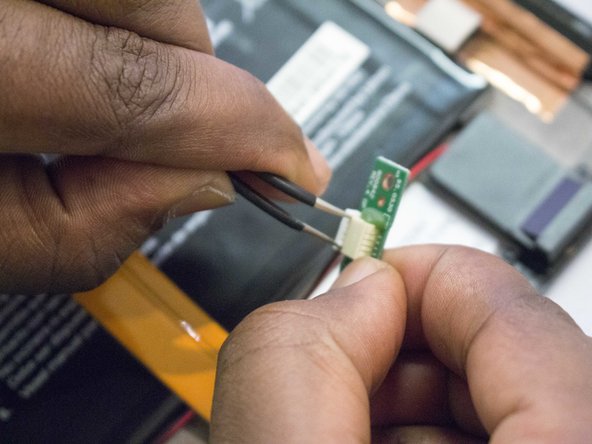
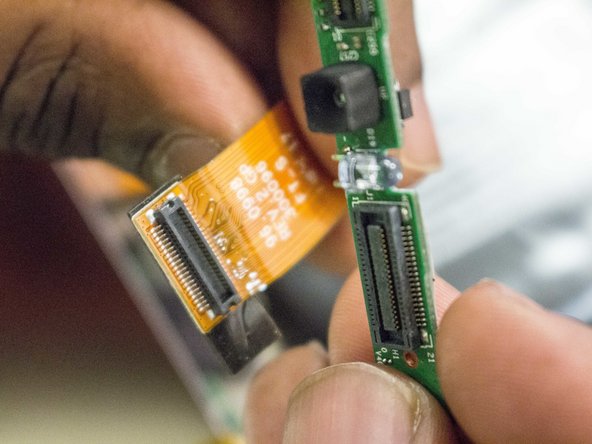
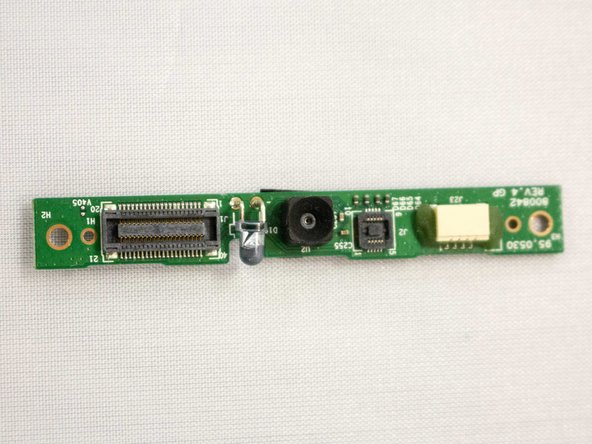
Disconnect the ribbon cable from the camera circuit board by lifting it away from the circuit board.
-


Team

Eastern Washington University, Team 1-1, Crane Fall 2016 Mitglied von Eastern Washington University, Team 1-1, Crane Fall 2016
EWU-CRANE-F16S1G1
4 Mitglieder
12 Anleitungen geschrieben