Einleitung
When Emil won't work well, deoxidize the springs.
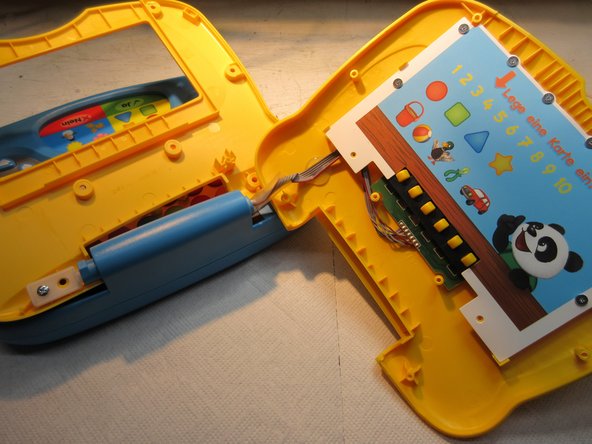
Emil is a talking baby-laptop which works with cards, that have holes which trigger the programs.
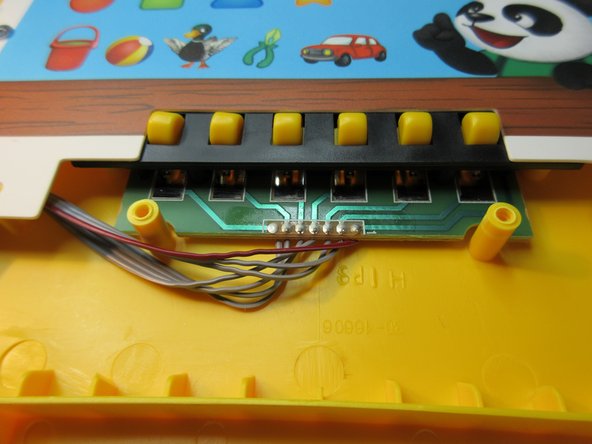
When the spring sensors are oxidized, the cards can't work and the programs don't start.
So you must deoxidize the contacts at the springs.
Was du brauchst
-
-
First you must detach thes round yellow plugs which cover the screws.
-
There are 6 short screws around the "display"
-
...and two longer screws under that "display"
-
-
-
-
Now just pull it to open.
-
Down there is a spring and a plastic part, look at the pictures
-
-
-
The springs are deoxidized with a electronics-cleaner-spray.
-
After reassembling, Emil nnow knows every card and can talk and sing.
-
Done. :)
-


To reassemble your device, follow these instructions in reverse order.
To reassemble your device, follow these instructions in reverse order.
Rückgängig: Ich habe diese Anleitung nicht absolviert.
Eine weitere Person hat diese Anleitung absolviert.
