Einleitung
The Wahl Chrome Pro components are protected by an outer plastic body held together by several screws. This guide provides information on how to remove the outer protective case to access various internal components.
Was du brauchst
-
-
Remove the three 9.0 mm JIS #1 screws attaching the base of the blade assembly to the body.
-
-
-
-
Remove the 13.0 mm Phillips #2 screw on the side of the device body.
-
This screw is located on the opposite side of the body from the switch.
-
-
-
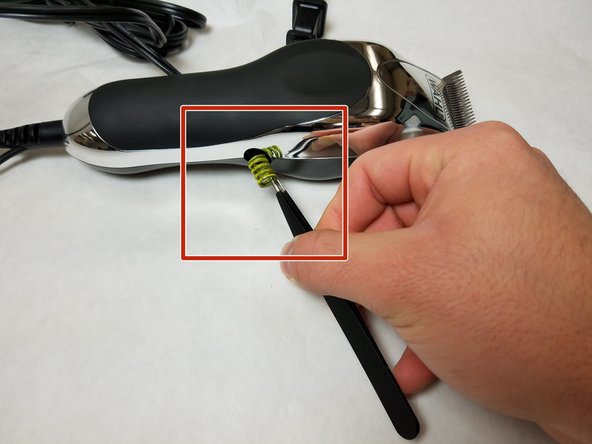
Remove the spring on the side of the body using tweezers.
-


To reassemble your device, follow these instructions in reverse order.
To reassemble your device, follow these instructions in reverse order.
Rückgängig: Ich habe diese Anleitung nicht absolviert.
Eine weitere Person hat diese Anleitung absolviert.
Team

IUPUI, Team S7-G3, Baechle Fall 2017 Mitglied von IUPUI, Team S7-G3, Baechle Fall 2017
IUPUI-BAECHLE-F17S7G3
3 Mitglieder
4 Anleitungen geschrieben