Einleitung
Use this guide to replace the motor of your Wahl Professional Designer.
Was du brauchst
-
-
Unscrew the 12 mm Phillips head screws located at the top of the cover and at the bottom two corners, using a Phillips #1 Screwdriver.
-
-
-
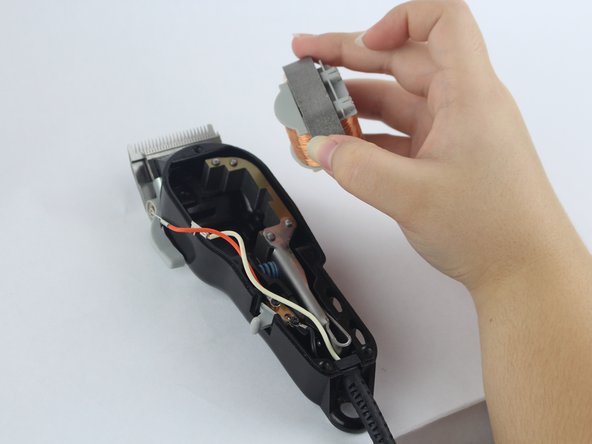
Remove the wires connected to the motor by firmly grasping both sides of a wire and wiggling until it is released.
-
-
-
-
Unscrew the two 20.5 mm Phillip head screw located on the motor using a Phillip's #1 screwdriver.
-


To reassemble your device, follow these instructions in reverse order.
To reassemble your device, follow these instructions in reverse order.
Rückgängig: Ich habe diese Anleitung nicht absolviert.
Eine weitere Person hat diese Anleitung absolviert.
Team

USF Tampa, Team S14-G5, Boczar Fall 2017 Mitglied von USF Tampa, Team S14-G5, Boczar Fall 2017
USFT-BOCZAR-F17S14G5
2 Mitglieder
5 Anleitungen geschrieben