Einleitung
This guide will show you the very easy steps to open and replace a bad tube in the Warm Audio EQP-WA.
Signs of a bad tube are loss of gain and/or a thin sound out of the unit, even when the EQ is bypassed.
Unless the unit is very old, normally it's only one tube that needs replacement because it's gone bad for some reason (mine was during transport). Look for signs like a white staining in the tubes to find out which one needs changing. If not, just choose one of them, change it, test the unit, and if the issue is still present, change the other.
Was du brauchst
-
-
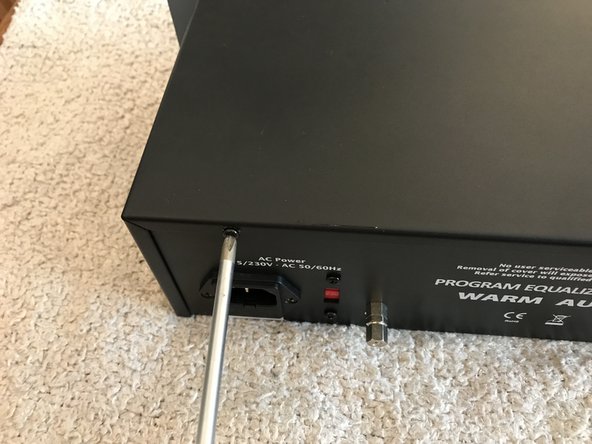
Unplug the unit from the mains power before opening it.
-
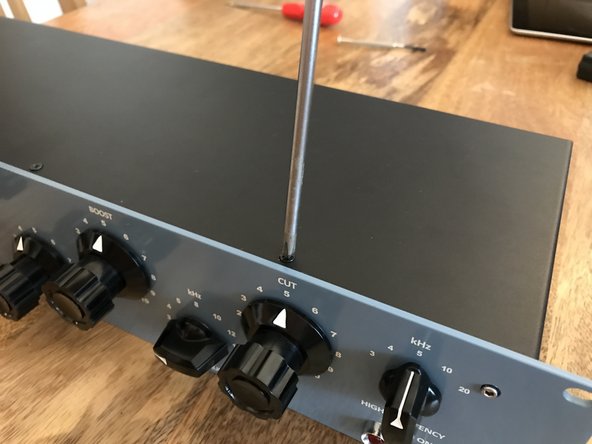
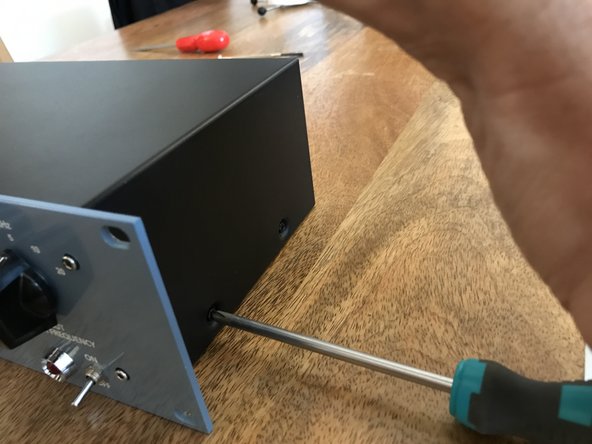
Remove the screws at the top, sides and back of the unit with a standard phillips screwdriver.
-
-
-
-
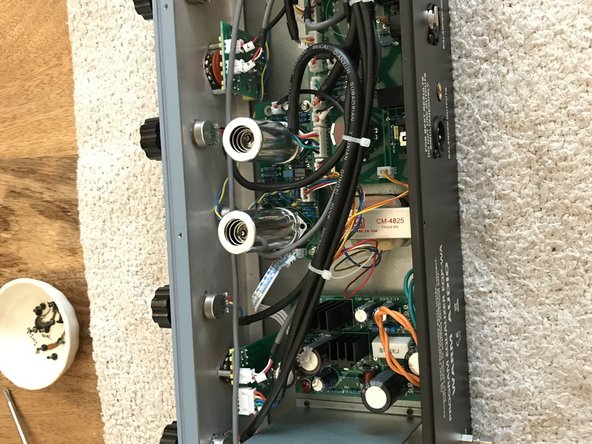
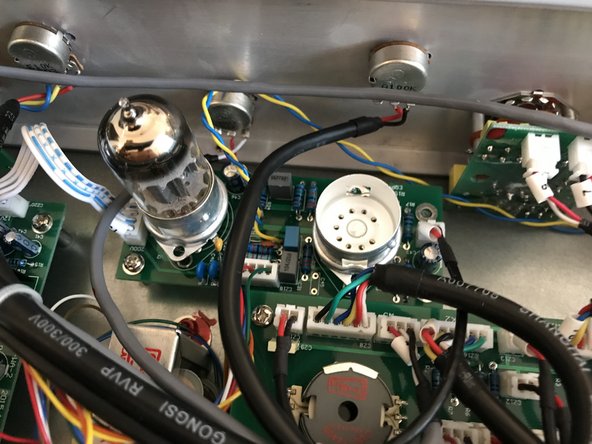
The tubes are covered by a metal shield. To remove this shield, push down a bit and rotate, then pull up the shield.
-
-
-
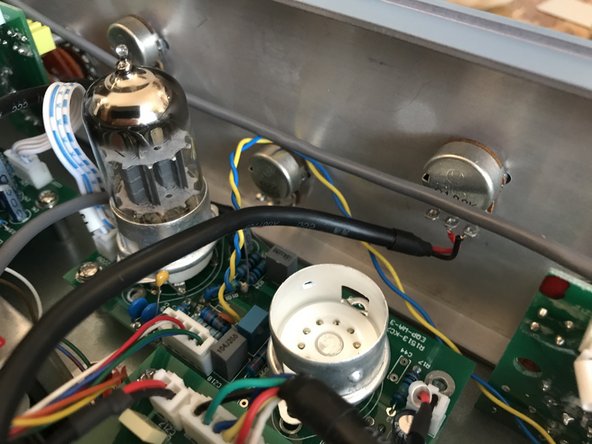
Pull out the tube that needs changing. Only the glass part comes out.
-
It will probably need some wiggling as you pull.
-
When inserting the new tube, pay attention to how it lines up in the socket, make sure it's completely aligned before pushing, because it will need a good push down and if not aligned correctly, this can bend the tube legs.
-


To reassemble your device, follow these instructions in reverse order.
To reassemble your device, follow these instructions in reverse order.
Rückgängig: Ich habe diese Anleitung nicht absolviert.
Ein:e weitere:r Nutzer:in hat diese Anleitung absolviert.
3 Kommentare
¿Y donde encuentras ahora lámparas de esas?
Thanks for the tutorial !
A big mistake here, there is one 12AX7 and one 12AU7, you should specify where goes the AX7 and where the AU7