Was du brauchst
-
-
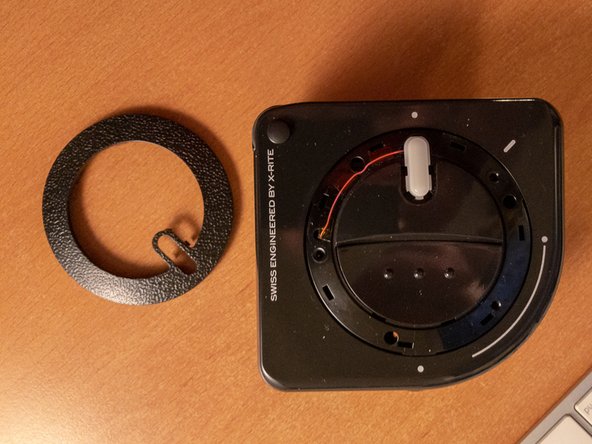
If your Colormunki is behaving eratically while trying to select the calibrating position you may have either one, or both of the following issues. The flat cable within the housing is broken. The light reflecting patches within the housing need refurbishing.
-
-
-
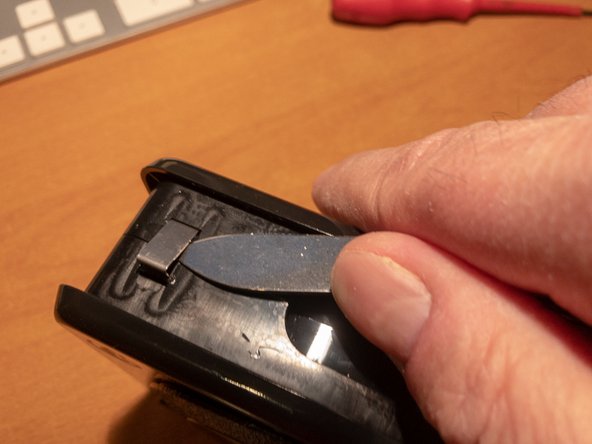
Gently pry off the plastic covers. Start from the place indicated in the picture and go around. There are 3 cover pieces to be removed.
-
-
-
Once covers are removed you will see 4 metal clips connecting the 2 sides of the housing.
-
-
-
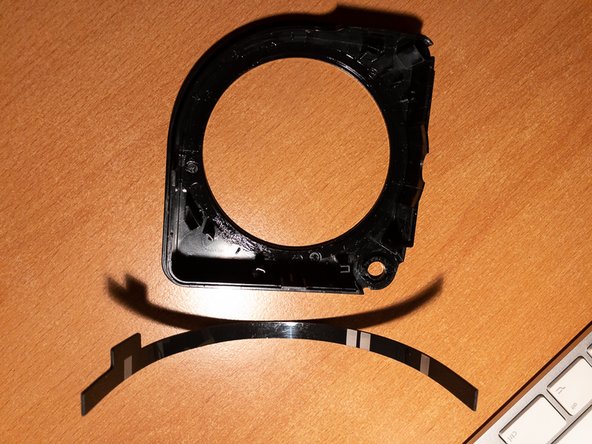
The collar is now removed. The small white plastic covering the LED light tends to fall off, be careful not to lose it.
-
-
-
Pry out the 4 clips that hold together the housing.
-
-
-
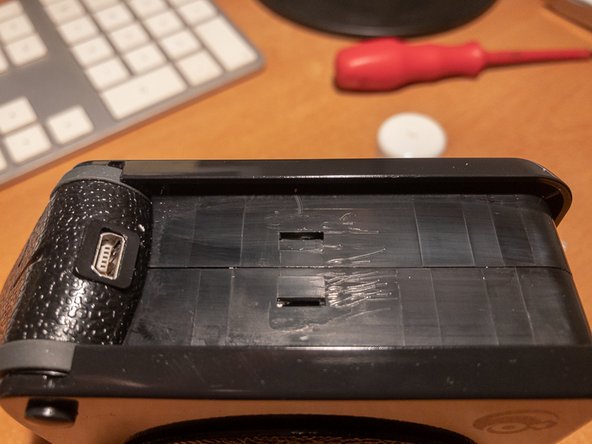
Clean the remains of the sticker in order to avoid it staining the interior of the housing once you open it.
-
-
-
-
Once all clips are out gently pull apart the 2 pieces of the housing. Be carful to avoid damaging the flat cable.
-
-
-
The housing contains the rotating barrel. On the barrel there are 2 (highlighted) reflective optical sensors used for identifying the position of the Colormunki's rotating part. Gently clean the sensors if you feel necessary. Use only a soft cloth, soak it in alcohol if needed.
-
-
-
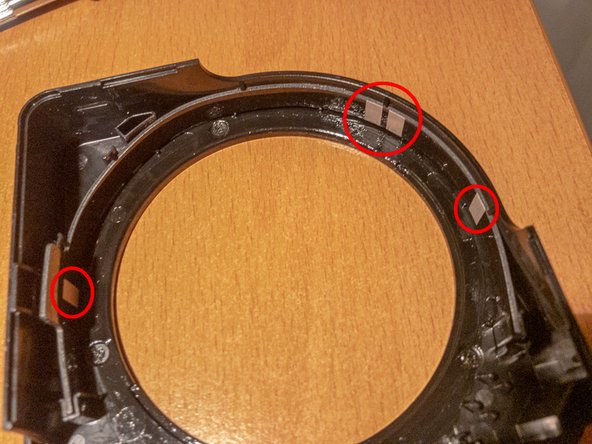
The light emitted by the sensors is bounced by the strips higlighted on the picture. Clean those if yo need to, or refurbish those by gluing on top reflective material (e.g. aluminium foil) while respecting the original shape and position of the strips.
-
-
-
If you need to refurbish the reflecting strips, you can remove the plastic part holding the strips. This will allow you easier access to the strips.
The best way is to immerse the strip into silver cleaning bath (e.g. the one used for silver cutlery) for 10-20secs. Rinse a minute with clear water. Don’t touch the silver with your fingers afterwards. Carefully dry it with soft kitchen paper.
The surface of one of the strips looked scratched a bit, so I thought gluing aluminium foil on there may not work, as the foil would get scratched off to. So I cut out a small piece of aluminium foil, and put that on the sticky side of some wide transparent adhesive tape. I glued that on top of the strip in the right position, and cut off the excessive pieces of tape to make it fit exactly. So now the aluminium tape is covered with a protective layer and wont scratch off (i hope). Seems to work.
-
-
-
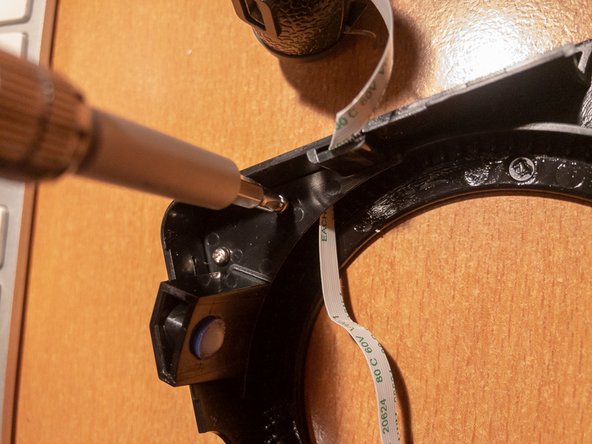
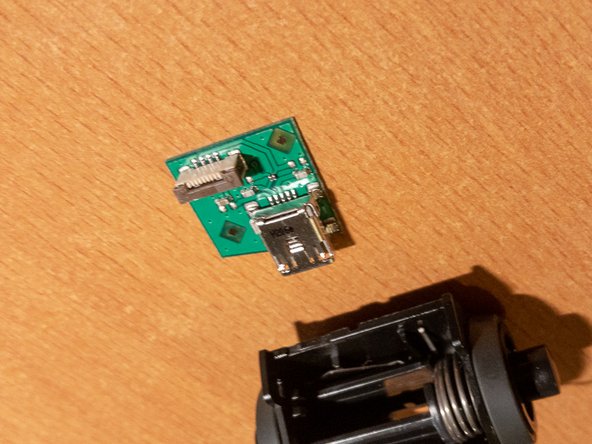
Remove the black plastic clip covering the flat cable's connection. Distance the brown coloured retaining mechanism from its base at the entry of the flat cable. The cable will become lose and you can easily remove it.
Deceiphering the step: “Distance the brown colored retaining mechanism” got me into trouble. A better angle and description would have helped. The upper part where the cable enters is secured by a wedge type retaining piece. It’s the two ends you see on either side of the cable going into the base. I thought a flap clamped the cable like a vice and damaged the base trying to flip away the wrong part. Hope this helps anyone else who might be confused. See the photos in step 20 and 21. You can see the same connector better there.
-
-
-
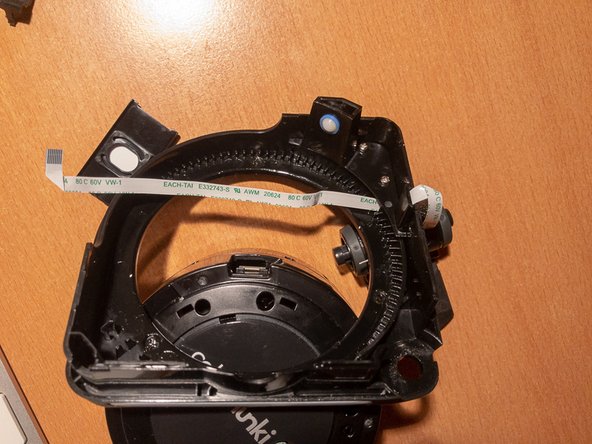
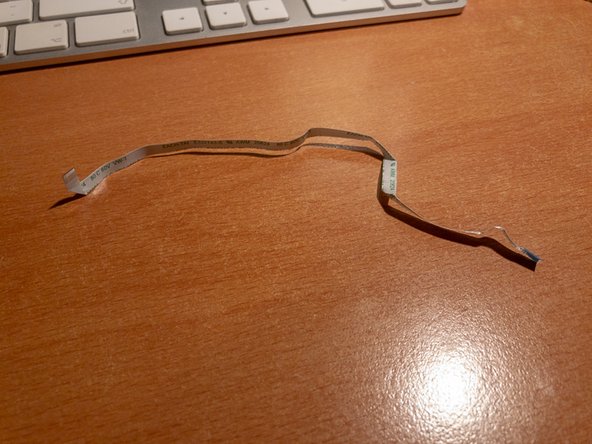
You can read here the type of the flat cable. An equivalent replacement is part number 687708200002 from Wurth Electronics. It is also available via Conrad in Europe.
-
-
-
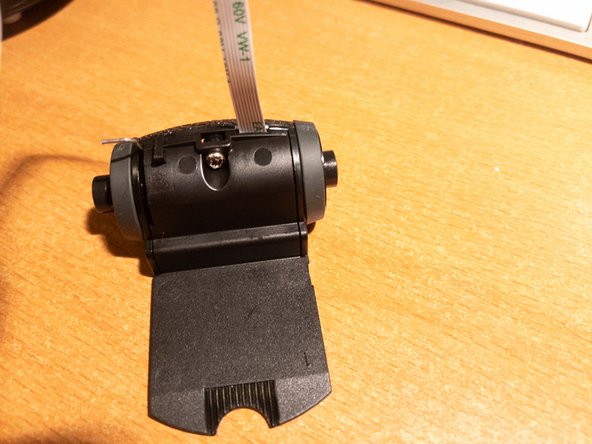
All parts dismantled except the flat cable from the USB port section. Note the plastic item with a white patch. It is the calibration target. Make sure you keep it clean.
-
-
-
Remove the 2 small screws to release the plastic piece that holds the flat cable attached to the housing.
-
-
-
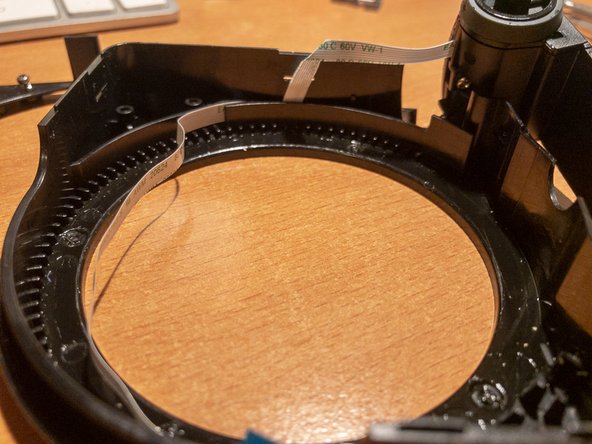
As previously on the rotating barrel, distance gently the cable locking mechanism, i.e. the brown part from the white part. Once distanced you can easily remove the flat cable.
-
-
-
Even if you have to replace it, retain the old cable in order to have a reference of where and how to bend the replacement for getting it back in place as intended.
-
-
-
Reassemble in reverse order.
Thank You very much for the tutorial, it made my day!!the reflective parts was nearly blind. after polishing all works fine again!
-


To reassemble your device, follow these instructions in reverse order.
To reassemble your device, follow these instructions in reverse order.
Rückgängig: Ich habe diese Anleitung nicht absolviert.
4 weitere Nutzer:innen haben diese Anleitung absolviert.
2 Kommentare
I only had to replace the reflectors, used some chrome tape from Michaels.
Would it be possible to disconnect or even remove the status LED? Would the colormunki then still work? Thanks in advance for your answers.
If you have used the instrument extremely often, but own it for relative short time, the likely root cause is that the flex cable is broken, due to the frequent movements. If not, you may omit the flex repair part.
Viceversa, if you have owned it for long time, the reflective patches (unfortunately made from silver) will be covered dark due to hydrogen sulfide gas contents in air. To prevent the latter from occuring, I recommend to store your instrument in an air-tight plastics box.
Ulrich Backes - Antwort