Einleitung
One of the most common reasons a printer's cartridge spills ink on the paper or random lines appear on the form is if you manually refill a cartridge or the contacts between the cartridge, and the printer is dirty or obstructed. To fix this problem, you will need to replace the toner roller of your printer.
In this guide, we show you how to replace the toner roller of a Xerox B210 printer with a new one. This guide is also suitable for Xerox B215 B205 B215DNI B205NI B210DNI B215/DNI, B205/NI, and B210/DNI printers.
There are nine straightforward steps to replace the Toner Roller in about 20 minutes. You will need some knowledge on how to use screwdrivers and pliers. You might want to wear gloves since ink powder will spill from the toner cartridge when replacing the toner roller. Prior to beginning this guide, be sure to power off the printer and unplug it from the power source.
Was du brauchst
-
-
Start by pressing the rectangular button on the top-front side of your printer.
-
Use the handle of toner cartridge to slide it out towards you.
-
-
-
Rotate the toner cartridge so that the handle is facing away from you and the ink roller is facing you.
-
Use the Phillips #0 screwdriver to remove the two 6.5 mm screws on each side of the toner cartridge.
-
-
-
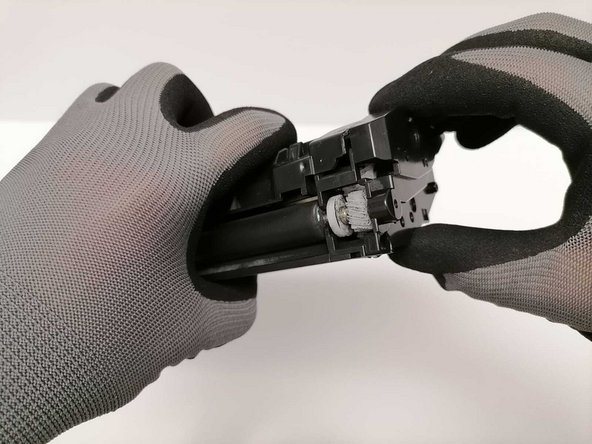
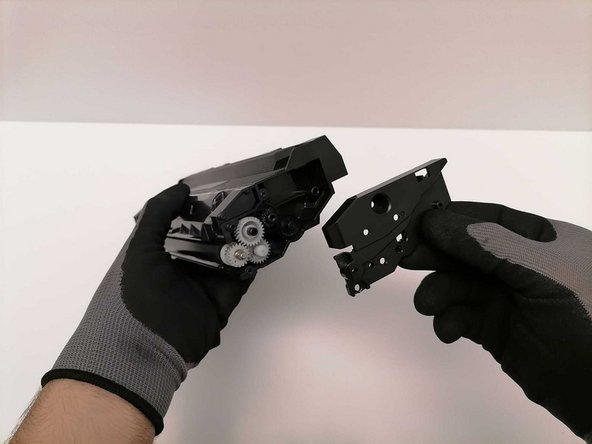
On the right side, hold the toner cartridge firmly with one hand, and use your fingers to remove the plastic casing which covers the gearbox.
-
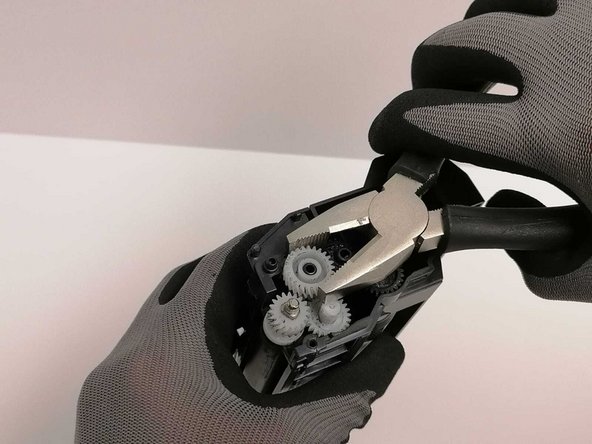
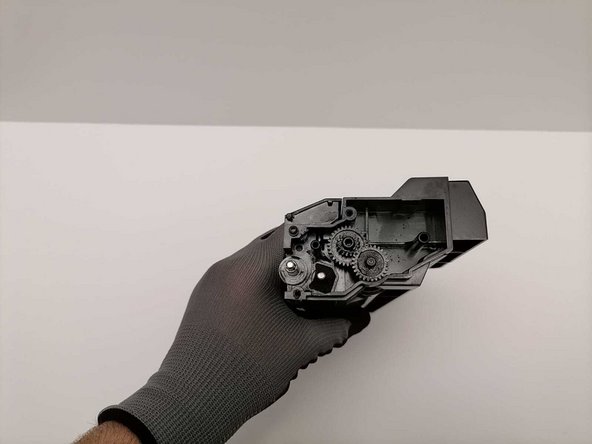
Use a small plier to remove the three white gears from the toner cartridge.
-
-
-
-
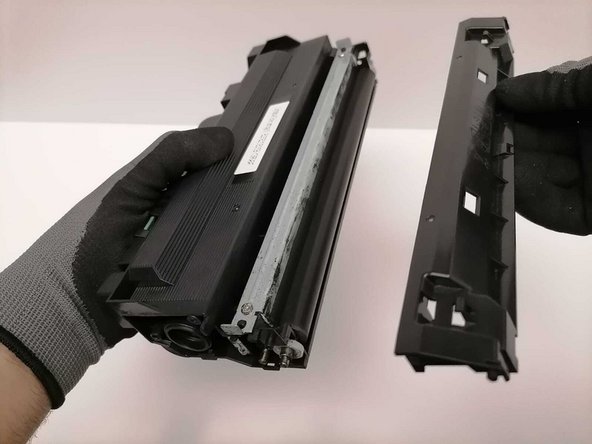
Remove the plastic casing on the other side of the toner cartridge.
-
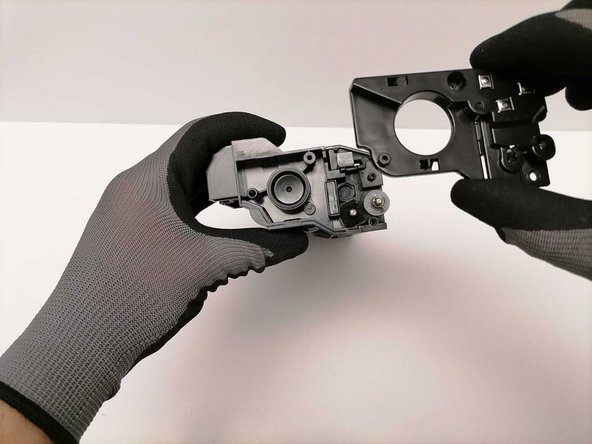
Remove the rectangular plastic case, (that protects the toner roller), in the center of the toner cartridge.
-
-
-
Rotate the toner cartridge so that the metal line is facing you.
-
Remove the two white circular spacers on both sides of the toner cartridge.
-
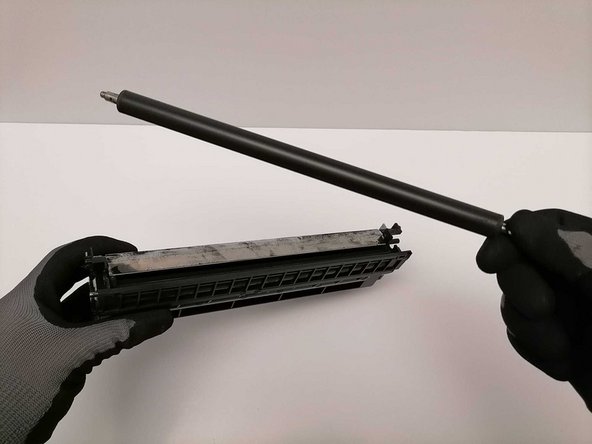
Hold the end of the right side of the toner roller by the metal rod.
-
Hold the toner cartridge firmly with your other hand and remove the toner roller.
-
-
-
Use a clean and dry, lint-free cloth to remove any spilled ink on the outsides of the hopper.
-
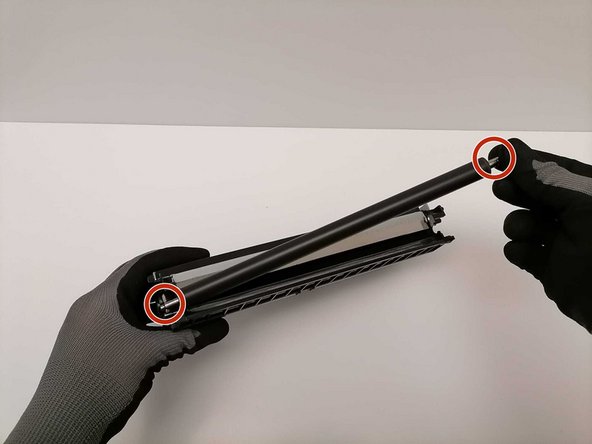
Hold the metal ends of the new toner roller and carefully put it back in place.
-
-
-
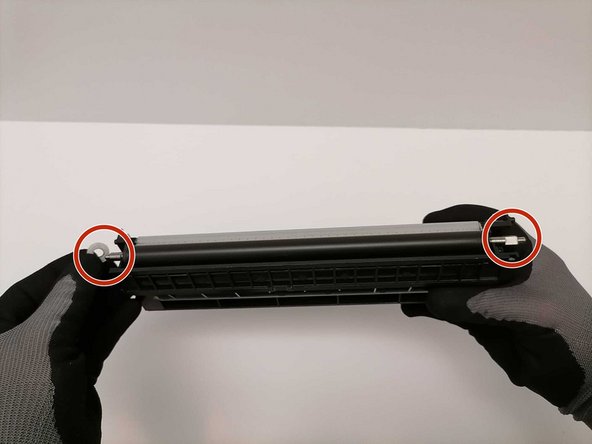
Place the two white circular spacers back on both sides of the toner roller.
-
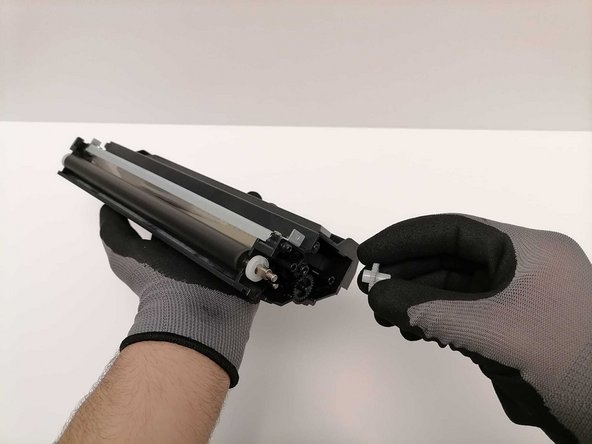
Place the three white gears back on the right side of the toner roller.
-
-
-
Use a Phillips #0 screwdriver to put the four 6.5 mm Phillips #0 screws back in place.
-
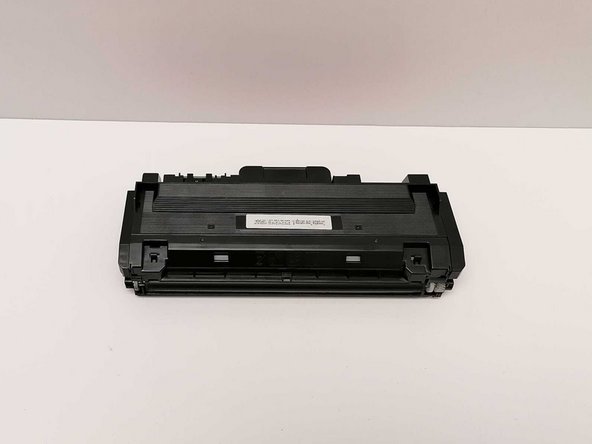
Place the toner cartridge back in your printer. You are done!
-


To reassemble your device, follow these instructions in reverse order.
To reassemble your device, follow these instructions in reverse order.
Rückgängig: Ich habe diese Anleitung nicht absolviert.
Eine weitere Person hat diese Anleitung absolviert.

Team

York University, Team M-29, Allen Summer 2022 Mitglied von York University, Team M-29, Allen Summer 2022
YORK-ALLEN-SU22SMG29
1 Mitglied
2 Anleitungen geschrieben
Ein Kommentar
Nice work! I like that you used a clear and a free from distraction background on your photos. Your guide is concise and easy to follow (thanks to your choice of simple words!) Keep up the good work.