Einleitung
This guide will show you simple steps on how to remove and replace your dull or broken strings on a Yamaha FG-425 guitar.
A ‘dull‘ sounding guitar and a broken string are some of the common issues that every guitar player faces in their lifetime. Replacing guitar strings is an important aspect of guitar maintenance because these issues occur often. If you would like to learn more about guitar maintenance or how to replace your guitar strings, visit this Guitar World article or this GuitarLessons.org article.
Was du brauchst
-
-
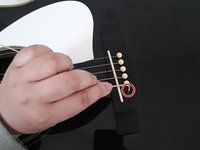
Turn the tuning peg clockwise using the All-In-1 Restringing Tool’s peg winder to loosen the tension of the strings.
-
Unwind the string from the tuning post and remove the string.
-
-
-
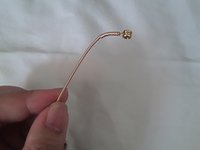
Use the pin remover in the All-In-1 Restringing Tool to remove the pin from the bridge
-
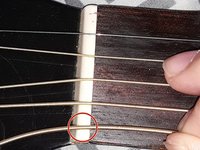
Remove the string from the bridge hole.
-
-
-
-
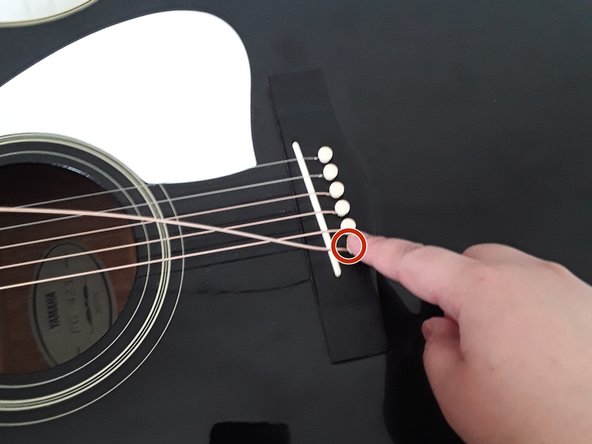
Place the bridge pin into the bridge hole.
-
Gently pull the string while pushing the pin into the hole.
-
-
-
Insert the string through the tuning post hole.
-
Pull the string about half an inch or an inch through the tuning post.
-
Ensure that the string is lined up with the nut.
-
-
-
Use the All-In-1 Restringing Tool's peg winder to turn the tuning peg counterclockwise to slightly tighten the strings.
-
-
-
Cut any excess strings on the tuning post using the All-In-1 Restringing Tool’s clippers.
-


Rückgängig: Ich habe diese Anleitung nicht absolviert.
Eine weitere Person hat diese Anleitung absolviert.
Team

York University, Team S1-G19, Woodhouse Winter 2021 Mitglied von York University, Team S1-G19, Woodhouse Winter 2021
YORK-WOODHOUSE-W21S1G19
1 Mitglied
1 Anleitung geschrieben