Einleitung
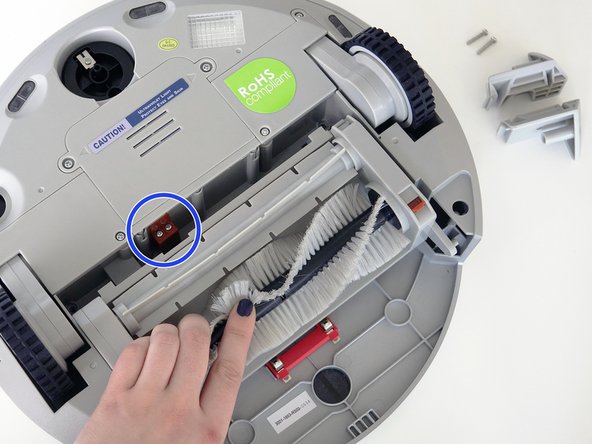
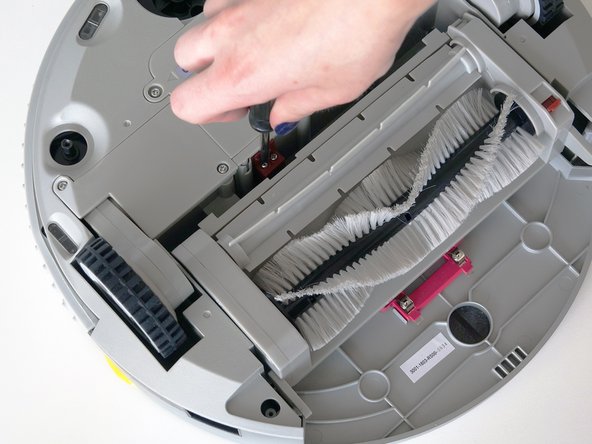
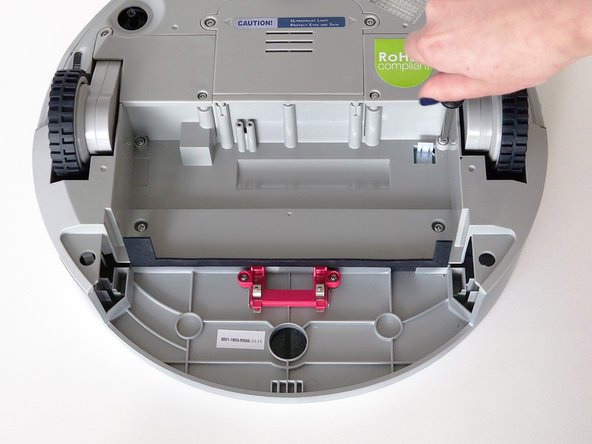
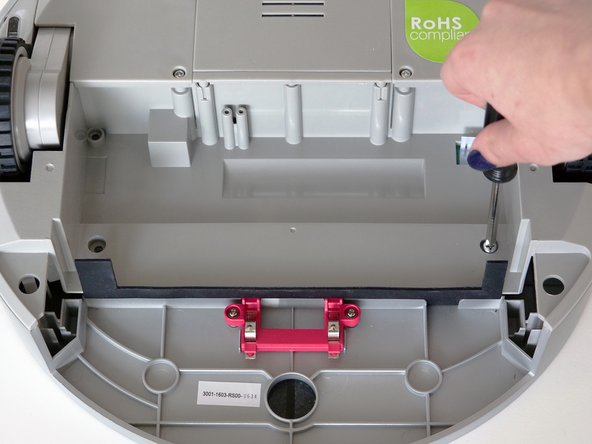
This DIY repair can be done in a few minutes with just a Phillips head screwdriver and a new power switch. Here you'll learn how to open and close bObi Pet, as well as replace the power switch and inlet.
You can also follow the video guide: https://www.youtube.com/watch?v=1PEyz9em...
Was du brauchst
-
-
Before we get started, turn bObi Pet OFF and flip her over onto a flat surface.
-
Next, remove bObi Pet's dustbin. Grip the small tab on the back of the bin, and pull to remove.
-
-
-
Grip the front wheel and pull straight up, using the screwdriver for leverage.
-
The wheel will pop out and you will see two screws beneath it.
-
There is a larger screw set deeper in the wheel compartment. Use the screwdriver to remove it.
-
-
-
Remove the screws on both sides of bObi Pet’s dustbin. Then, remove the corner pieces that were held down by the screws.
-
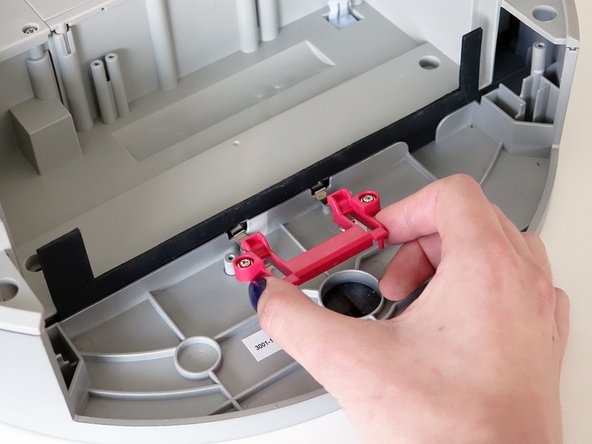
Grip the brush compartment and pull down to reveal two screws on a red fastener.
-
Remove them with the screwdriver.
-
-
-
-
Pull the brush compartment up until the fastener is freed from bObi Pet. Then, detach the brush compartment's circuit plug and set it aside.
-
Remove the 4 screws located beneath the brush compartment.
-
-
-
Remove the 2 screws on the dustbin’s red fastener.
-
Remove the fastener and set it aside for reassembly.
-
The cover is no longer secured, so carefully flip bObi Pet onto her wheels.
-
-
-
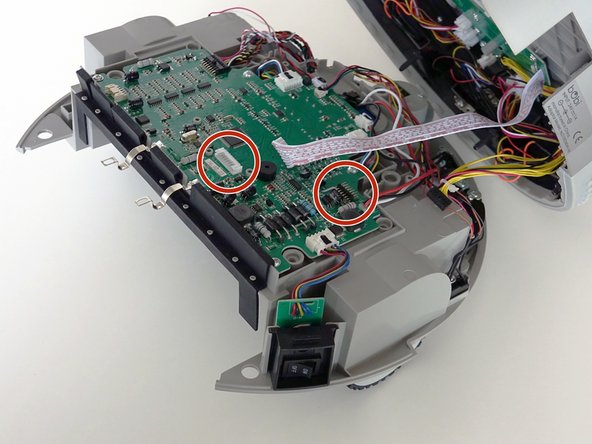
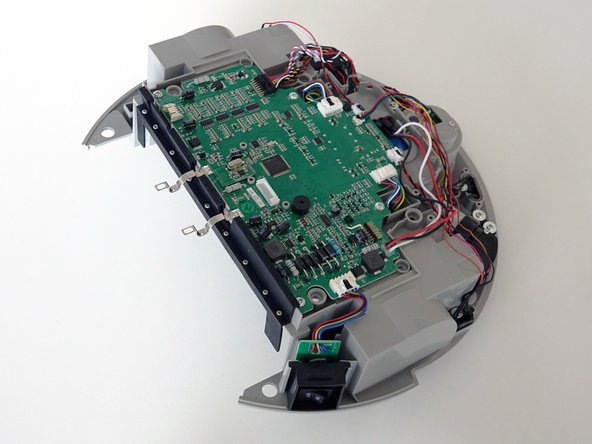
Lift the cover to reveal the main board underneath.
-
Remove the two circuit plugs connecting the lid to the mainboard.
-
bObi Pet's cover is entirely separated, and you may now access any of her internal parts for replacement.
-
-
-
The power switch is located on bObi Pet’s right side, behind the right wheel.
-
Press the small white tab on the circuit plug, then pull yo detach it from the mainboard.
-
Slide the switch up out of its holders.
-
-
-
Slide the replacement switch straight down into the holders on bObi Pet.
-
Attach the circuit plug to the mainboard securely, and you're ready to start closing bObi Pet.
-
See the guide for closing bObi Pet here: Assemble bObi Pet Post-Repair
-
To reassemble your device, see the guide for assembling bObi Pet after any internal repair:
To reassemble your device, see the guide for assembling bObi Pet after any internal repair:


