Diese Version enthält möglicherweise inkorrekte Änderungen. Wechsle zur letzten geprüften Version.
Was du brauchst
-
Dieser Schritt ist noch nicht übersetzt. Hilf mit, ihn zu übersetzen!
-
Remove the pieces of readily removable tape from around the perimeter of the display.
-
Carefully remove the aluminum tape covering the display data cable connection.
-
-
Dieser Schritt ist noch nicht übersetzt. Hilf mit, ihn zu übersetzen!
-
Remove the single screw inserted through the piece of EMI tape near the bottom edge of the display.
-
Use the tip of a spudger to remove the small washer under the screw you just removed.
-
-
-
Dieser Schritt ist noch nicht übersetzt. Hilf mit, ihn zu übersetzen!
-
Peel the aluminum/EMI tape off the cast aluminum frame of the clutch hinges.
-
-
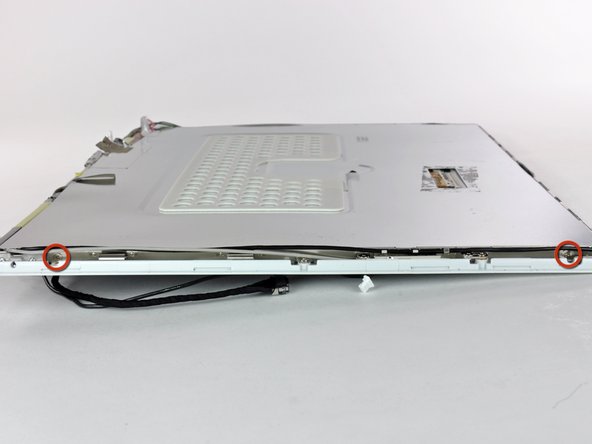
Dieser Schritt ist noch nicht übersetzt. Hilf mit, ihn zu übersetzen!
-
Remove the two Phillips screws securing each side of the LCD to the clutch hinge frame (four screws total).
-
-
Dieser Schritt ist noch nicht übersetzt. Hilf mit, ihn zu übersetzen!
-
Lift the thin steel LCD cover off the LCD.
-