Diese Version enthält möglicherweise inkorrekte Änderungen. Wechsle zur letzten geprüften Version.
Was du brauchst
-
Dieser Schritt ist noch nicht übersetzt. Hilf mit, ihn zu übersetzen!
-
Use a 1.5 mm hex screwdriver to remove the two hex screws on either side of the display (four screws total).
-
-
Dieser Schritt ist noch nicht übersetzt. Hilf mit, ihn zu übersetzen!
-
Use your thumbs to slightly separate the rear bezel from the front bezel.
-
-
-
Dieser Schritt ist noch nicht übersetzt. Hilf mit, ihn zu übersetzen!
-
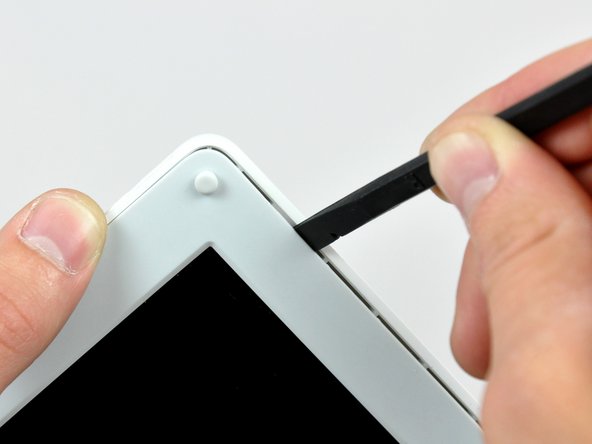
Insert the flat end of a spudger into the gap between the front and rear bezels.
-
Rotate your spudger until it is parallel to the front face of the display.
-
Run the spudger around the perimeter of the display to separate the rear bezel from its retaining clips.
-
-
Dieser Schritt ist noch nicht übersetzt. Hilf mit, ihn zu übersetzen!
-
Lift the rear bezel off the display.
-