Einleitung
This guide demonstrates how to remove and replace the button keys of am iDea USA CT702 in order to preserve the function of the device.
Was du brauchst
-
-
Place the device face up.
-
Use a plastic opening tool to gently pry open the black panel around the portholes.
-
-
-
Pry the rest of the back off; slowly apply pressure from each side to break each clip connection.
-
-
-
-
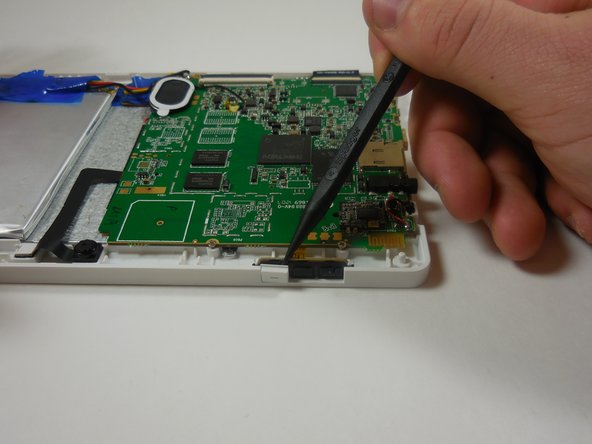
With a plastic spudger tool, pry the keys away from the black key mat to remove them.
-
-
-
Replace the button keys, starting with the outer and ending with the innermost key.
-
To replace the back cover, follow the first three steps in reverse order.
-


To reassemble your device, follow these instructions in reverse order.
To reassemble your device, follow these instructions in reverse order.
Team

Colorado Springs, Team 4-7, Panko Spring 2015 Mitglied von Colorado Springs, Team 4-7, Panko Spring 2015
UCCS-PANKO-S15S4G7
3 Mitglieder
10 Anleitungen geschrieben