Einleitung
This guide will help you install a hard drive into your iMac G4.
Was du brauchst
-
-
Using a Phillips #00 screw driver, remove the four 6.86 mm screws from the metal plate.
-
-
-
Release the tabs on each side of the module by simultaneously pushing each tab away from the RAM.
-
Remove the RAM module from the iMac.
-
-
-
Remove the four 28.07mm Torx #15 screws from the lower case.
-
-
-
-
Squeeze the small black tab and wiggle gently to remove the colored power cable.
-
-
-
Grab both sides of the blue connector and firmly pull to remove it from the mother board.
-
-
-
Using a Torx #9 screw driver, remove the two 8.77mm screws holding the drive's shield onto your iMac G4.
-
Remove the drive shield from your iMac.
-
-
-
Using a Torx # 10 screw driver, remove the four 19.12mm screws that mount the optical drive.
-
-
-
Grasp the HD/Optical Drive bundle by the by the sides and gently wiggle it loose from the sides.
-
-
-
Unplug the power source from the optical drive by pinching the plastic base of the connector and wiggling it gently.
-
-
-
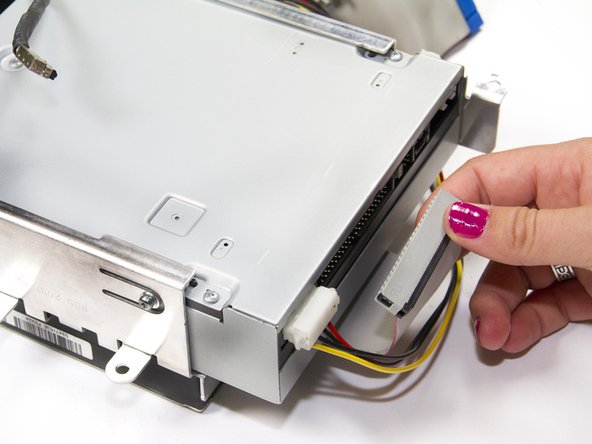
Unplug the ribbon cable from the optical drive by grasping the plastic base of the connector and wiggling it gently.
-
-
-
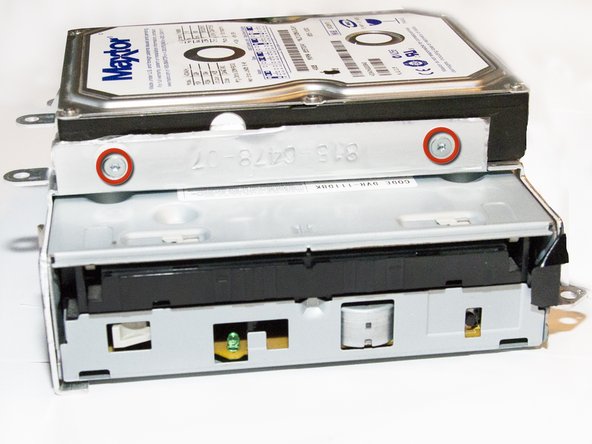
Using a Torx #10 screw driver, remove the four 6.03mm screws mounting the hard drive to the assembly.
-
-
-
Unplug the power connection from the Hard Drive by pinching the white plastic connector and wiggling gently.
-
To reassemble your device, follow these instructions in reverse order.
To reassemble your device, follow these instructions in reverse order.
Rückgängig: Ich habe diese Anleitung nicht absolviert.
37 weitere Nutzer:innen haben diese Anleitung absolviert.
2 Kommentare
This guide was very easy to follow and to the point. Thank you so very much for putting your time in creating it, you helped me! :-)
What kind of hard drive would you need to get?


