Diese Version enthält möglicherweise inkorrekte Änderungen. Wechsle zur letzten geprüften Version.
Was du brauchst
-
Dieser Schritt ist noch nicht übersetzt. Hilf mit, ihn zu übersetzen!
-
Disconnect the hard drive thermal sensor from the top edge of the logic board.
-
-
Dieser Schritt ist noch nicht übersetzt. Hilf mit, ihn zu übersetzen!
-
Remove the two 9.2 mm T10 Torx screws securing the hard drive bracket to the rear case.
-
-
-
Dieser Schritt ist noch nicht übersetzt. Hilf mit, ihn zu übersetzen!
-
Lift the hard drive from its left edge enough to clear the inverter and pull it toward the left edge of your iMac to unseat the mounting pins from the chassis.
-
-
Dieser Schritt ist noch nicht übersetzt. Hilf mit, ihn zu übersetzen!
-
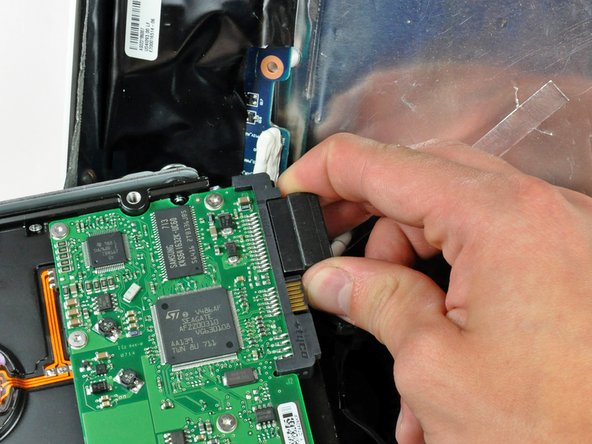
Pull both the SATA power and data cable connectors away from the hard drive.
-


