Diese Übersetzung enthält möglicherweise noch nicht die neuesten Änderungen der Original-Anleitung. Hilf mit, die Übersetzung zu aktualisieren oder sieh dir die Original-Anleitung an.
Einleitung
Die Reparaturrate des Displays ist eine der höchsten unter vielen Mobiltelefonteilen. Professionelle Tools und Techniken für Displayreparaturen können nicht nur die Ausfallrate einer solchen Reparatur reduzieren, sondern auch die Effizienz der Reparatur verbessern. Es ist bekannt, dass alle Handys der iPhone 12 Reihe über ein OLED-Display verfügen. Heute wird das REWA LAB die iPhone 12 Bildschirmreparatur als Beispiel nehmen, um die neuesten Techniken und Maschinen für die Bildschirmreparatur in der Industrie vorzustellen. Los geht's!
Einführungsvideo
-
Dieser Schritt ist noch nicht übersetzt. Hilf mit, ihn zu übersetzen!
-
Firstly, let's run a cosmetic inspection of the screen. We can see that the iPhone 12 has a narrower bezel than the iPhone 11 Pro, so the iPhone 12 bezel may be a little easier to disassemble.
-
In addition to that, the iPhone 12 bezel doesn’t wrap around the glass lens anymore. Therefore, the material requirements for the bezel adhesive will be relatively high to prevent the adhesive from falling off. To dig deeper, we will refurbish the iPhone 12 screen.
-
-
Dieser Schritt ist noch nicht übersetzt. Hilf mit, ihn zu übersetzen!
-
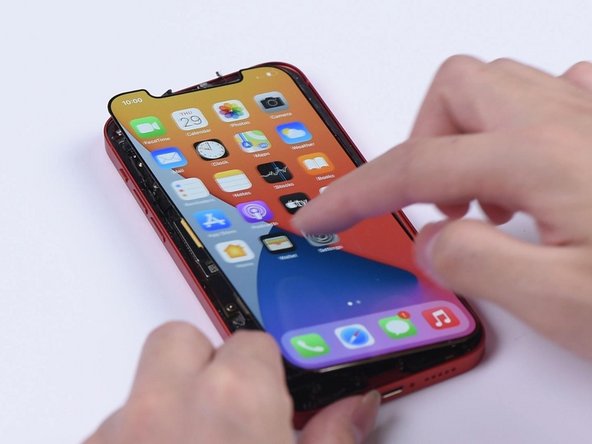
First of all, let’s test the screen. The display, touch, and 3D Touch all function well.
-
Place the screen upside down on the Screen Separator, set the temperature to 100 ℃, and start the suction.
-
-
Dieser Schritt ist noch nicht übersetzt. Hilf mit, ihn zu übersetzen!
-
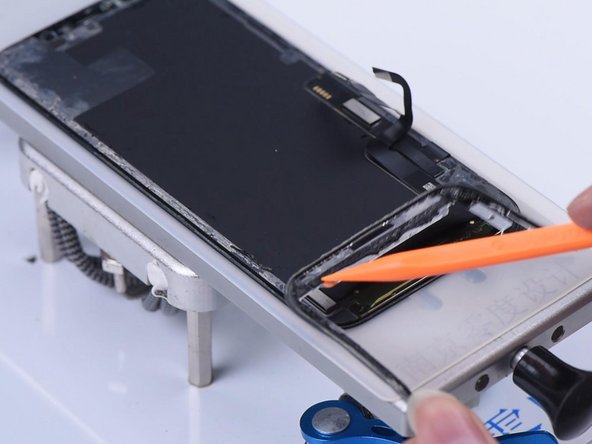
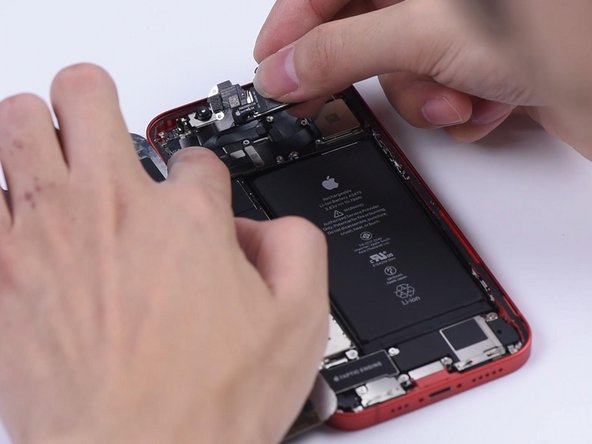
Remove the ear speaker flex cable first. Since the ear speaker flex cable is very easy to damage, please be noted that we need to heat the screen before removing it.
-
-
Dieser Schritt ist noch nicht übersetzt. Hilf mit, ihn zu übersetzen!
-
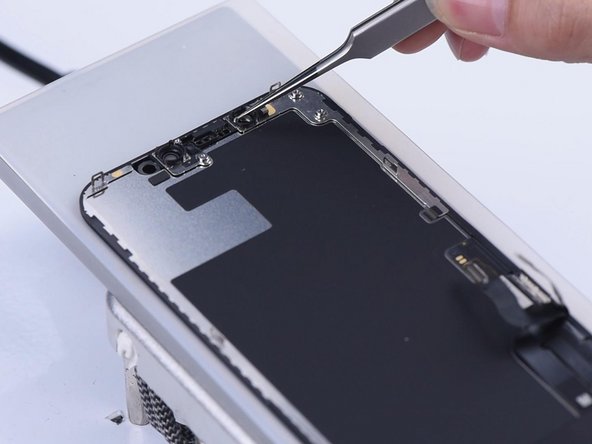
Now, let’s remove the bezel. Dip adhesive remover on the bezel first.
-
While using the Razor Blade to separate the bezel, you need to dip some adhesive remover too.
-
Slide the Razor Blade back and forth, and pry up the bezel carefully.
-
-
Dieser Schritt ist noch nicht übersetzt. Hilf mit, ihn zu übersetzen!
-
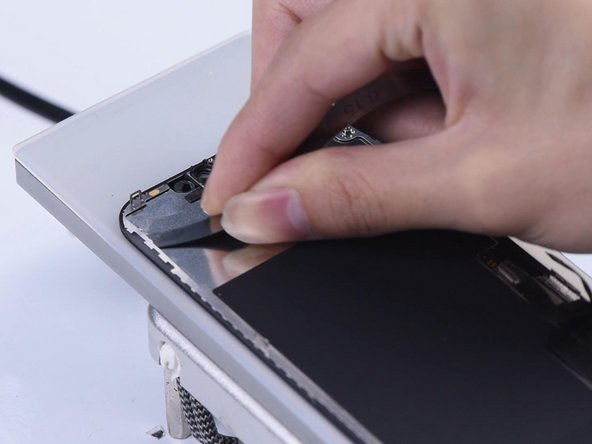
As the ear speaker flex cable part has more adhesive, we can dip more adhesive remover to make it loose.
-
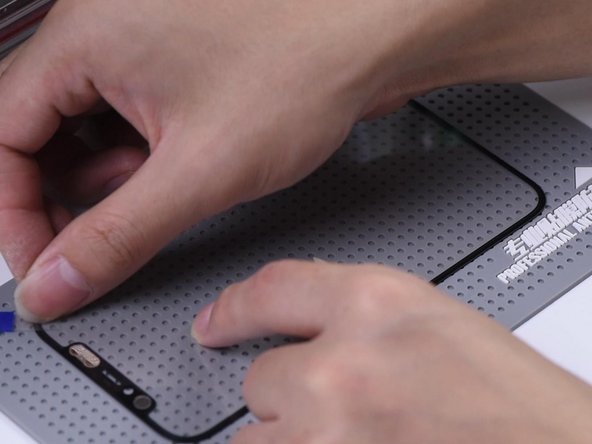
Hold the two corners of the bezel in both hands, and detach the bezel slowly with caution.
-
-
-
Dieser Schritt ist noch nicht übersetzt. Hilf mit, ihn zu übersetzen!
-
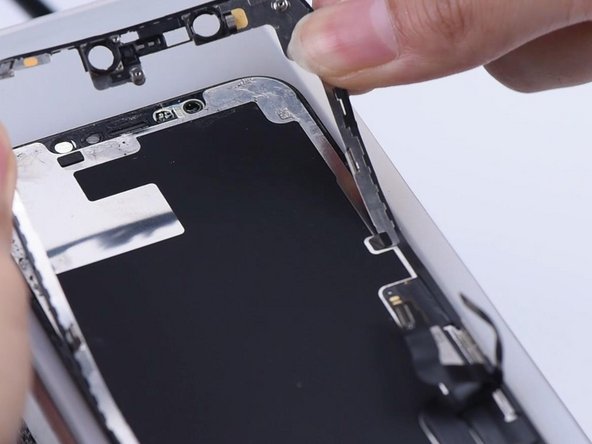
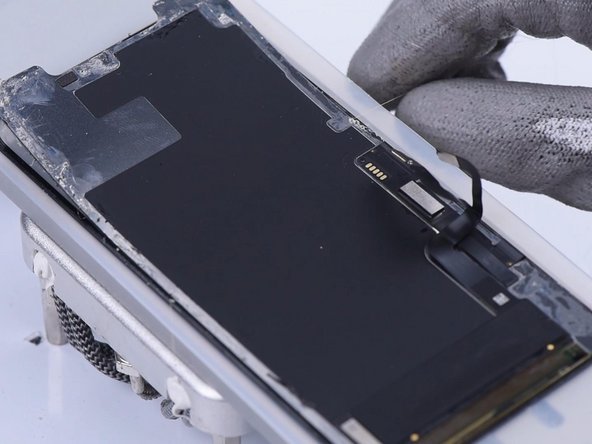
In order not to induce damage, we use a thin film to remove the flex cable part.
-
Remove the bezel and it can be seen that the 3M adhesive used in the bezel flex cable part is no longer the cold adhesive. The 3M adhesive makes the bezel relatively easy to remove.
-
-
Dieser Schritt ist noch nicht übersetzt. Hilf mit, ihn zu übersetzen!
-
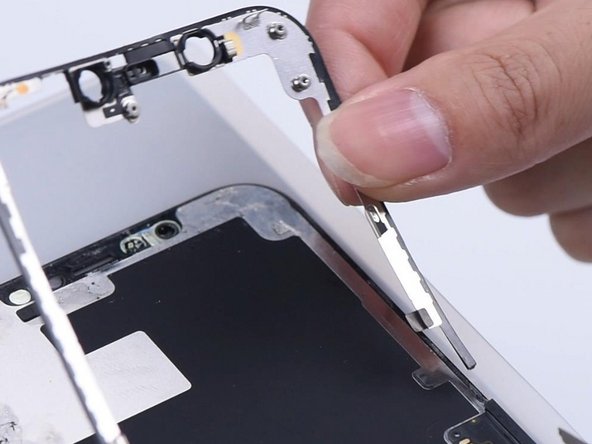
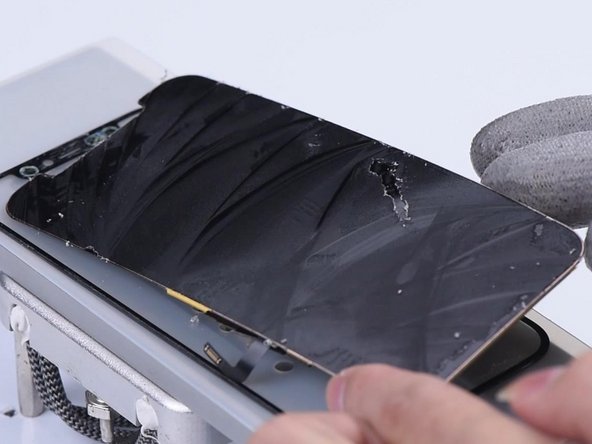
Remove excess adhesive on the ear speaker flex cable part.
-
Start separating the OLED along the bottom layer of the glass lens with Cutting Wire.
-
-
Dieser Schritt ist noch nicht übersetzt. Hilf mit, ihn zu übersetzen!
-
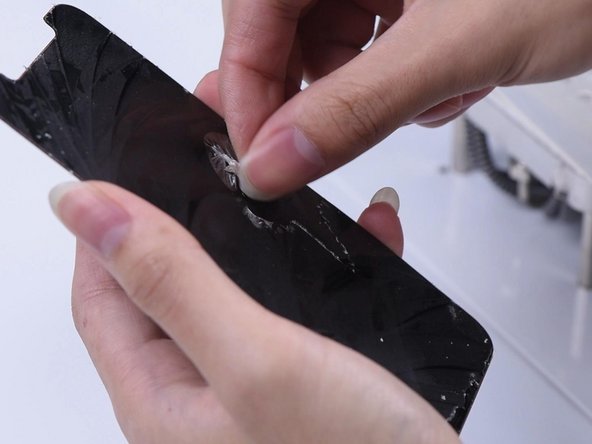
Place the OLED on the heating platform.
-
Roll up the OCA adhesive with the Electric Adhesive Removing Tool and remove the remaining OCA adhesive with a hand.
-
-
Dieser Schritt ist noch nicht übersetzt. Hilf mit, ihn zu übersetzen!
-
Connect the OLED and ear speaker flex cable. The display and touch function works well.
-
-
Dieser Schritt ist noch nicht übersetzt. Hilf mit, ihn zu übersetzen!
-
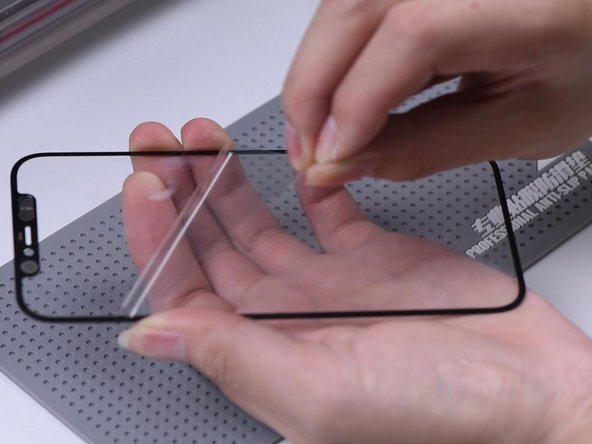
Attach the OCA adhesive to the glass lens.
-
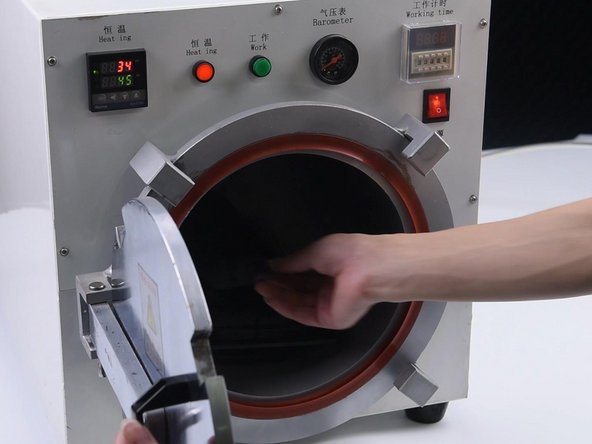
Put the glass lens with OCA adhesive into the Bubble Removing Machine for 3 minutes.
-
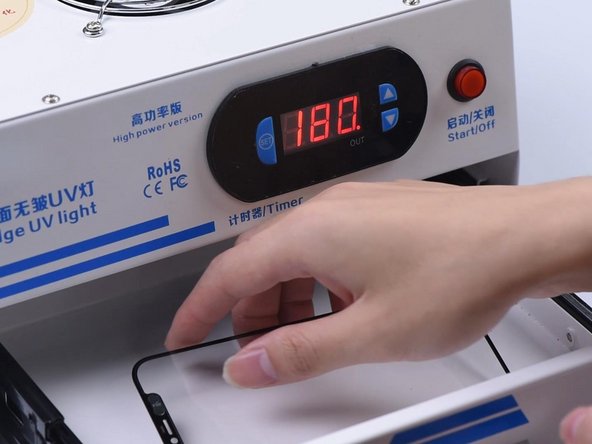
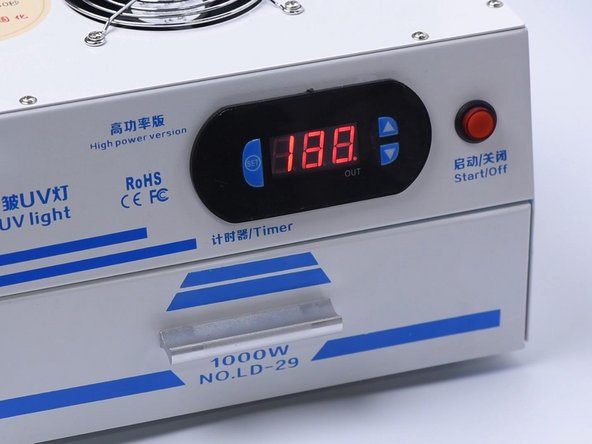
Then put it into the UV Lamp for Curing OCA Glue for 5 seconds.
-
-
Dieser Schritt ist noch nicht übersetzt. Hilf mit, ihn zu übersetzen!
-
Wipe clean the OLED and use the pull tape to stick a corner of the glass lens.
-
Press the pull tape for seconds and then tear off the protective film of the OCA adhesive.
-
-
Dieser Schritt ist noch nicht übersetzt. Hilf mit, ihn zu übersetzen!
-
Since the iPhone 12 aligning mold has not come out yet, we use manual alignment.
-
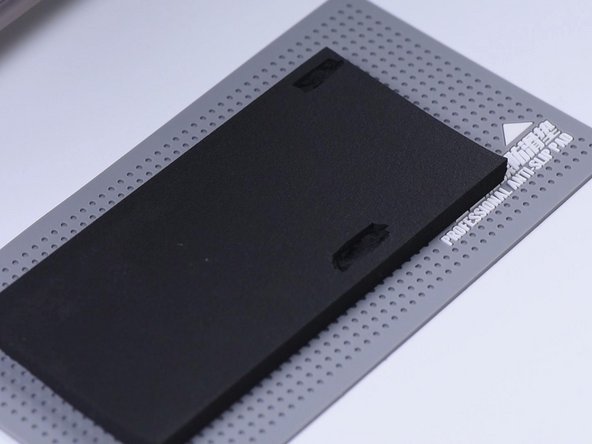
After alignment, place the screen on the laminating sponge.
-
-
Dieser Schritt ist noch nicht übersetzt. Hilf mit, ihn zu übersetzen!
-
Put the screen into the laminating machine and press “LCD laminate start”.
-
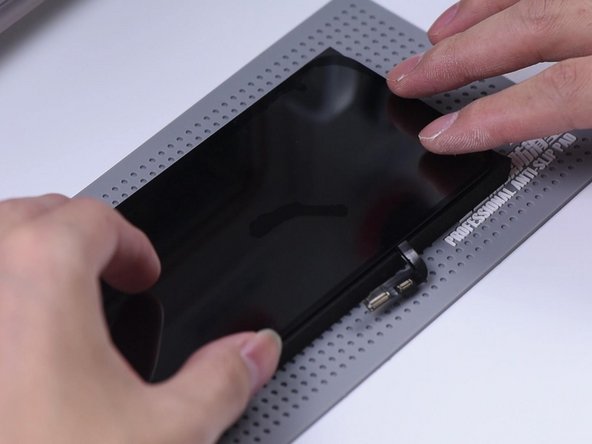
Take out the screen and we can see there are bubbles on the screen.
-
-
Dieser Schritt ist noch nicht übersetzt. Hilf mit, ihn zu übersetzen!
-
Put the screen back into the Bubble Removing Machine for 10 minutes and then put the screen into the UV Lamp for Curing OCA Glue for 180 seconds.
-
Assemble the refurbished screen on the phone and all functions work well.
-


Um dein Gerät wieder zusammenzubauen, folge diesen Anweisungen in umgekehrter Reihenfolge.
Um dein Gerät wieder zusammenzubauen, folge diesen Anweisungen in umgekehrter Reihenfolge.
Rückgängig: Ich habe diese Anleitung nicht absolviert.
7 weitere Nutzer:innen haben diese Anleitung absolviert.
Besonderer Dank geht an diese Übersetzer:innen:
9%


Diese Übersetzer:innen helfen uns, die Welt zu reparieren! Wie kann ich mithelfen?
Hier starten ›

3 Kommentare
This is way more complicated than it needs to be.
Yes, you need to use LOCA. Check out ECDiy on YT