Zum Hauptinhalt wechseln

iPhone 5s Display Assembly Replacement

Archivierte Anleitung
Diese Anleitung wurde ausschließlich für historische Zwecke erhalten. Verwende die aktualisierte Version dieser Anleitung, um deine Reparatur durchzuführen.

Was du brauchst

  1. iPhone 5s Display Assembly Replacement, Display Assembly: Schritt 1, Bild 1 von 1
    • Remove pentalobe screws with torx screwdriver.

  2. iPhone 5s Display Assembly Replacement: Schritt 2, Bild 1 von 2 iPhone 5s Display Assembly Replacement: Schritt 2, Bild 2 von 2
    • After using spudger or suction cup to lift screen. Be careful not to pull screen completely up. The touch id sensor flex cable is attached near the home button. There is a small metal clip that needs to be carefully pry'd off before removing flex cable connector.

  3. iPhone 5s Display Assembly Replacement: Schritt 3, Bild 1 von 2 iPhone 5s Display Assembly Replacement: Schritt 3, Bild 2 von 2
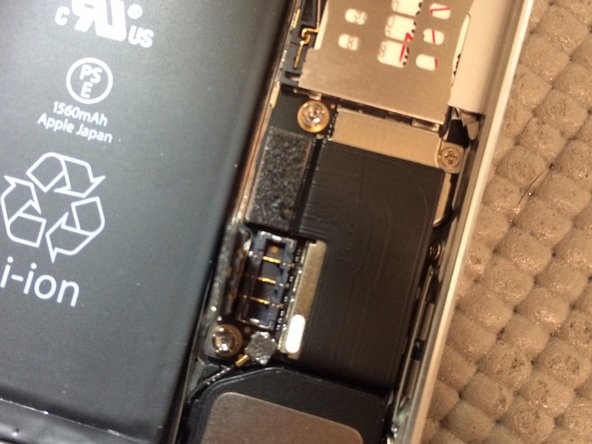
    • Disconnect battery before screen removal by removing 2 screws from shield. Once shield is removed, disconnect battery using nylon spudger. (DO NOT USE METAL TOOLS)

  4. iPhone 5s Display Assembly Replacement: Schritt 4, Bild 1 von 3 iPhone 5s Display Assembly Replacement: Schritt 4, Bild 2 von 3 iPhone 5s Display Assembly Replacement: Schritt 4, Bild 3 von 3
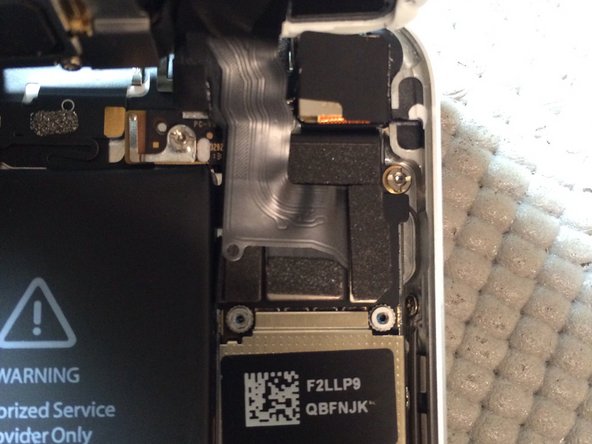
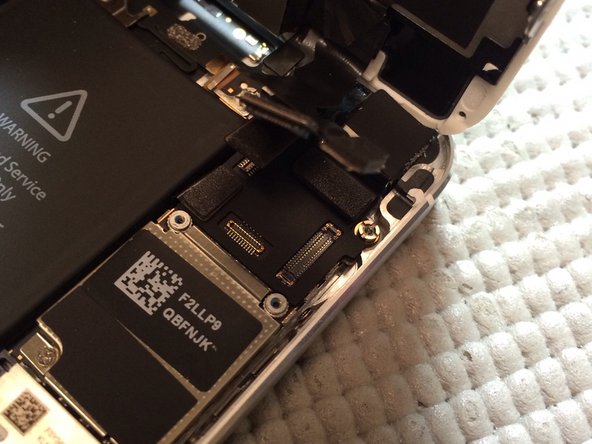
    • Remove four screws from shield covering display assembly connectors. Lift connectors using nylon spudger.

Abschluss

Swap all parts from old display assembly to new assembly. Do not remove all at once, replace components one at a time. To reassemble your device, follow these instructions in reverse order.

57 weitere Nutzer:innen haben diese Anleitung absolviert.

0 Kommentare

Kommentar hinzufügen

Seitenaufrufe:

Letzte 24 Stunden: 1

Letzte 7 Tage: 5

Letzte 30 Tage: 9

Insgesamt: 32,623