Einleitung
Use this guide to remove or replace a faulty logic board in your iPhone 7.
It's important to note that each iPhone's logic board and Touch ID fingerprint sensor are paired at the factory, so replacing the logic board will disable Touch ID unless you also install a replacement home button that has been properly paired to your new logic board.
Was du brauchst
Einführungsvideo
-
-
Power off your iPhone before beginning disassembly.
-
Remove the two 3.4 mm pentalobe screws on the bottom edge of the iPhone.
-
-
-
Use a hairdryer or prepare an iOpener and apply it to the lower edge of the iPhone for about a minute in order to soften up the adhesive underneath.
-
-
-
Attach a suction cup to the lower half of the display assembly, just above the home button.
-
-
-
Pull up on the suction cup to create a small gap between the display assembly and the rear case.
-
Insert the flat end of a spudger into the gap.
-
-
-
Slide the spudger to the left along the lower edge of the iPhone.
-
Twist the spudger to widen the gap between the display and rear case.
-
-
-
Slide the spudger up the left side of the iPhone, starting at the lower edge and moving towards the volume control buttons and silent switch.
-
-
-
Insert the flat edge of a spudger into the bottom right corner of the device.
-
Twist the spudger to widen the gap between the display assembly and the rear case.
-
Slide the flat end of the spudger up the right side of the phone to break up the adhesive holding the display in place.
-
-
-
Slide an opening pick along the top edge of the iPhone, between the rear case and front panel, to break up the remaining adhesive holding the screen in place.
-
-
-
Pull the display assembly slightly away from the top edge of the phone to disengage the clips holding it to the rear case.
-
Open the iPhone by swinging the display up from the left side, like the back cover of a book.
-
-
-
Remove four tri-point Y000 screws securing the lower connector bracket, of the following lengths:
-
Three 1.2 mm screws
-
One 2.4 mm screw
-
-
-
-
Use the point of a spudger to lift the battery connector out of its socket on the logic board.
-
-
-
Use a spudger or a fingernail to disconnect the two lower display connectors by prying them straight up from their sockets on the logic board.
-
-
-
Remove the two 1.3 mm Phillips #000 screws securing the bracket over the front panel sensor assembly connector.
-
-
-
Disconnect the front panel sensor assembly connector from its socket on the logic board.
-
-
-
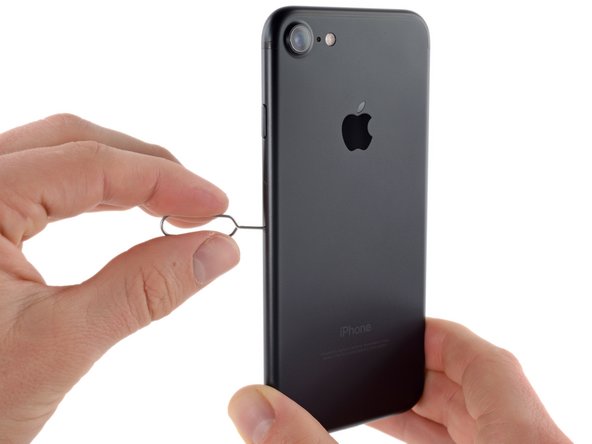
Insert a SIM card eject tool or a paperclip into the small hole in the SIM card tray.
-
Press to eject the tray.
-
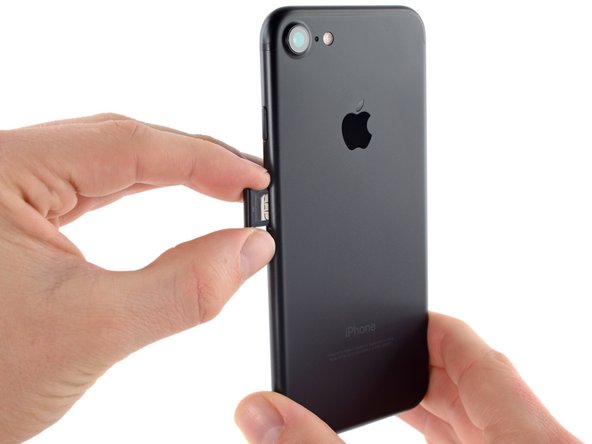
Remove the SIM card tray assembly from the iPhone.
-
-
-
Use the flat end of a spudger to disconnect the rear-facing camera connector.
-
-
-
Remove the following Phillips screws securing the rear camera bracket to the rear case:
-
One 1.3 mm screw
-
One 2.5 mm screw
-
-
-
Use the pointed end of a spudger to pry up and disconnect the antenna bus connector, just left of the rear camera module.
-
-
-
Remove the four Phillips screws securing the Wi-Fi antenna:
-
Three 1.2 mm screws
-
One 1.7 mm screw
-
-
-
Remove the 2.2 mm standoff screw from the grounding bracket.
-
-
-
Use the point of a spudger to lift the two antenna cable connectors up off of the sockets on the logic board.
-
-
-
Use tweezers to gently derout the antenna cables from the metal bracket on the logic board.
-
-
-
Remove the following screws:
-
One 1.4 mm Phillips screw
-
Three 2.2 mm standoff screws
-
-
-
Use the point of a spudger to move the SIM card eject plunger out of the logic board's way.
-
-
-
Use the flat end of a spudger to gently lift the battery connector end of the logic board up.
-
-
-
Lift the battery connector end of the logic board and pull it up and out of the rear case.
-


To reassemble your device, follow these instructions in reverse order.
To reassemble your device, follow these instructions in reverse order.
Rückgängig: Ich habe diese Anleitung nicht absolviert.
158 weitere Nutzer:innen haben diese Anleitung absolviert.

13 Kommentare
I had an accident where my iphone has got some damage (cracked screen, metal frame slightly bent).. I can see a lot of iCloud locked devices for sale, some of them for a cheap price. Would replacing the logic board and home button give me a non-damaged working phone? Or what parts would need to be moved for this? Sure I can buy a brand new phone but I like a bit of a challenge :)
the logic board holds the OS, so yes if you were to replace the mother board of the iPhone it should work like a new phone but without touch id
I have the same idea and i found to buy this one
https://www.aliexpress.com/item/For-iPho...
You think it will work?
Hi,
I’ve got a problem with my iphone7. I just took some videos under the water using my iphone. But later it’s finger id has gone and it’s fully damaged. Now the phone is not working. Is there any option to repair this ….?
Hi Muhammed, sounds like some water got inside your phone. Check out our iPhone liquid damage guide for some basic troubleshooting you can do on your own. When you have the phone open check connectors and pins on the board for any corrosion. If the damage is serious enough that cleaning won’t fix it, you can take your phone to a local repair shop for more extensive repairs.