Einleitung
This guide outlines how to replace the entire fan unit rather than fixing the entire unit itself, because doing so would require advanced techniques such as soldering. This replacement is needed when dirt clogs the fan due to the close proximity between the fan and the vacuum bin.
Was du brauchst
-
-
Press the black circular button on the back end of the Roomba and pull the bin out towards you to remove the vacuum bin.
-
-
-
Lay the vacuum bin down and remove the six 15 mm screws around the outside of the vacuum bin using the Phillips JIS #1 driver.
-
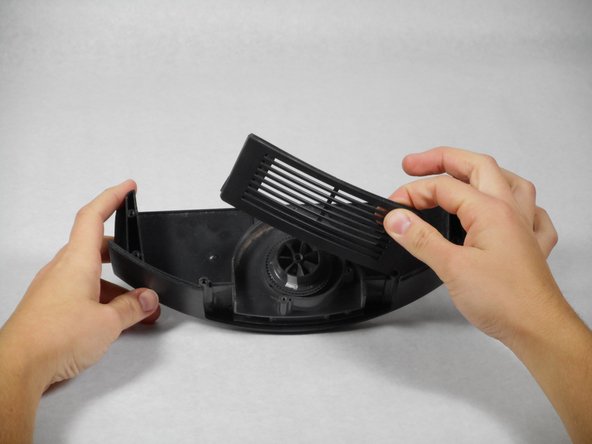
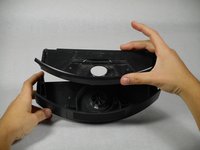
Remove the top of the vacuum bin by pulling it straight up.
-
-
-
-
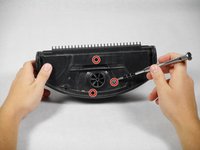
Remove the three 10 mm screws that surround the fan using the Phillips JIS #1 driver.
-
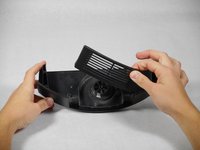
Remove the casing that surrounds the fan by pulling it straight up.
-
-
-
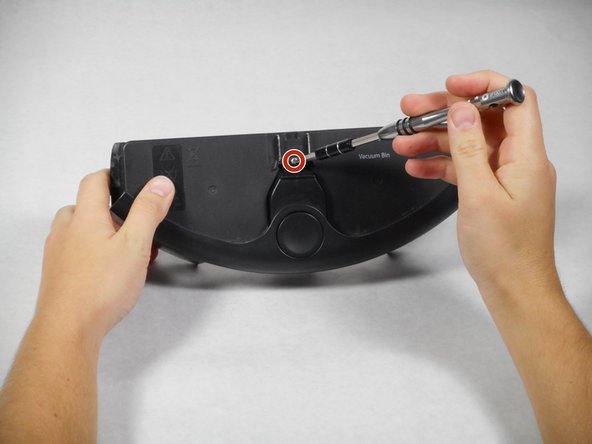
Turn over the remainder of the fan casing and remove the single 15mm screw, using the Phillips JIS #1 screwdriver.
-
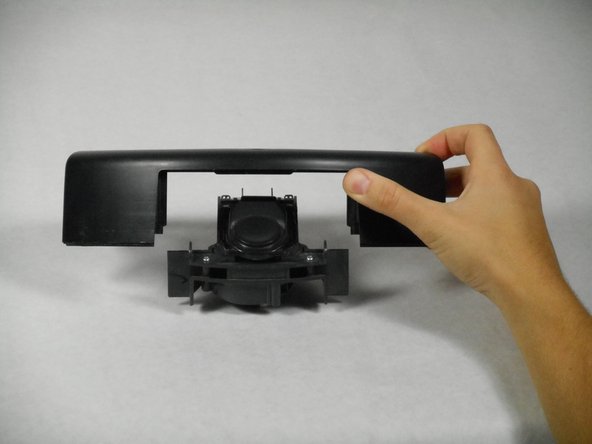
Remove the casing from the fan and battery component by pulling it straight up.
-



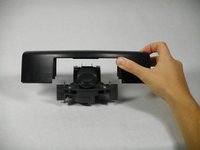

To reassemble your device, follow these instructions in reverse order.
To reassemble your device, follow these instructions in reverse order.
Rückgängig: Ich habe diese Anleitung nicht absolviert.
2 weitere Personen haben diese Anleitung absolviert.



Team

Cal Poly, Team 1-22, Maness Fall 2015 Mitglied von Cal Poly, Team 1-22, Maness Fall 2015
CPSU-MANESS-F15S1G22
4 Mitglieder
14 Anleitungen geschrieben
