Einleitung
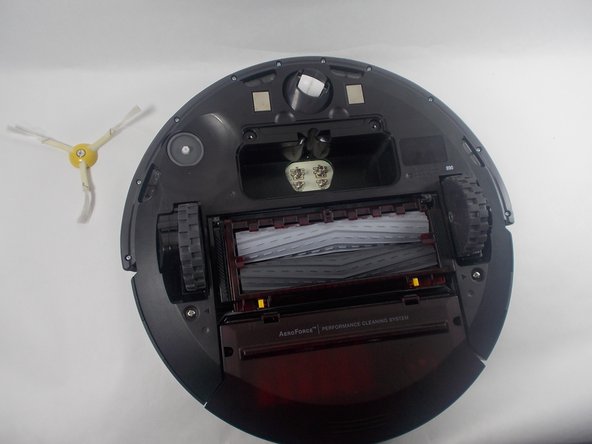
During the natural use of an iRobot Roomba, the cleaning head may become worn, or damaged. This guide details the tools and equipment needed to replace an iRobot Roomba 890 cleaning head, as well as the steps required to complete the replacement. These steps reverse after the replacement head is installed, follow the steps in reverse order to reassemble the device.
Was du brauchst
-
-
Use a Phillips #2 screwdriver to remove the two 11 mm screws.
-
Remove the battery cover.
-
-
-
Use a Phillips #2 screwdriver to remove the one 7.7 mm screw.
-
Remove the yellow brush head.
-
-
-
-
Use a Phillips #2 screwdriver to remove the two 11 mm screws.
-
Lift the baseplate up and off.
-
-
-
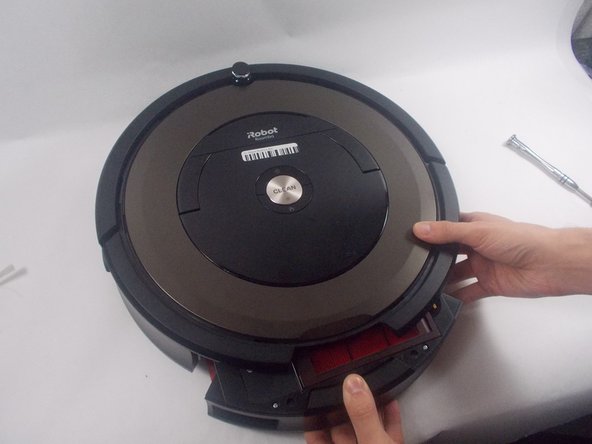
To remove the dust collection bin, press the release button on the top side of the Roomba and pull it straight out.
-
-
-
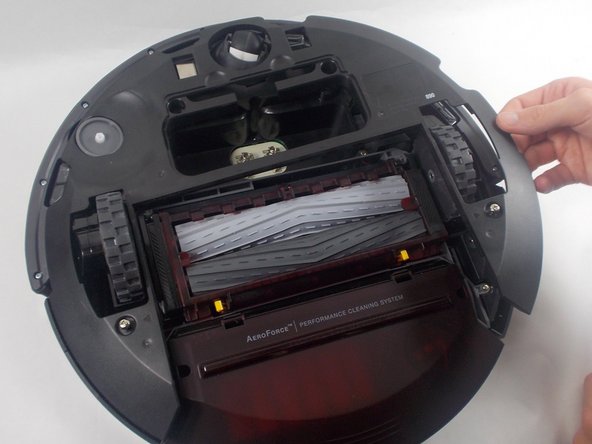
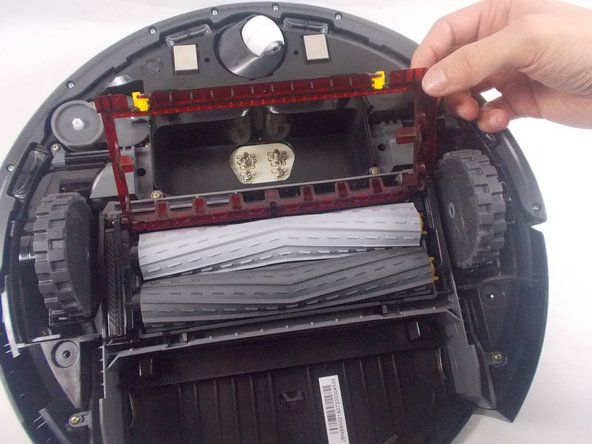
Press the bright yellow tabs inwards and lift up at the same time to expose the cleaning head.
-
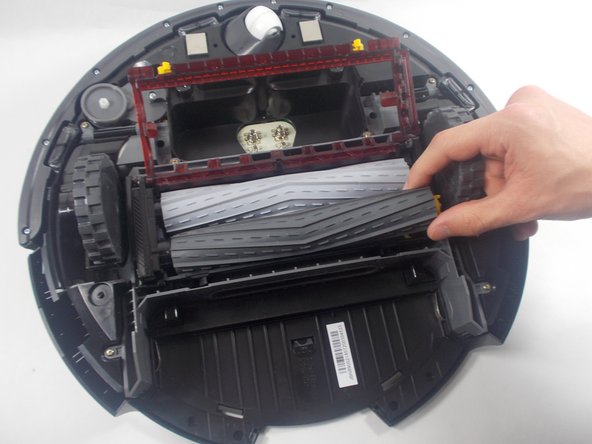
Remove the main brushes by lifting them up and out of the housing.
-
-
-
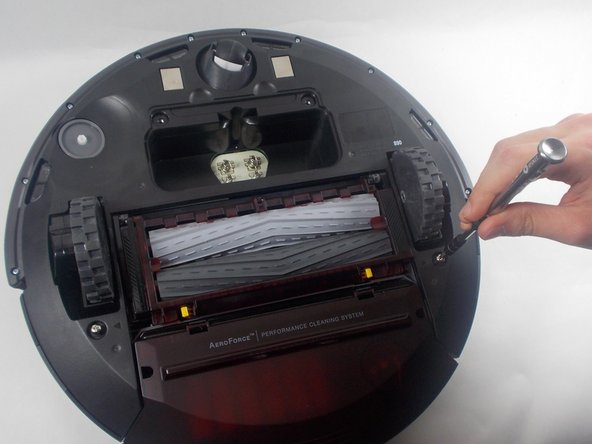
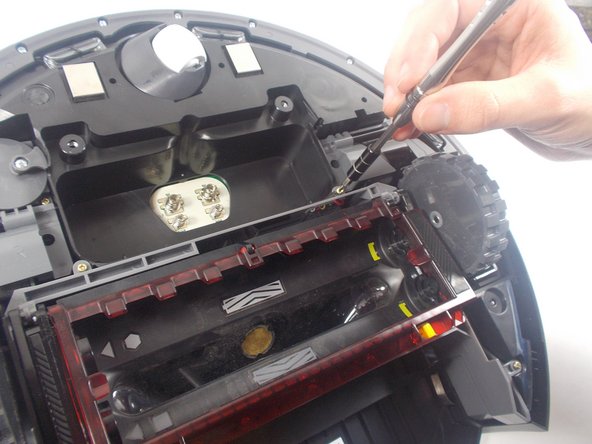
Use a Phillips #2 screwdriver to remove the two 11 mm screws.
-
Lift the cleaning head out of the Roomba.
-


To reassemble your device, follow these instructions in reverse order.
To reassemble your device, follow these instructions in reverse order.
Team

UMass Dartmouth, Team 1-3, Petersen Spring 2022 Mitglied von UMass Dartmouth, Team 1-3, Petersen Spring 2022
UMASSD-PETERSEN-S22S1G3
3 Mitglieder
7 Anleitungen geschrieben