Einleitung
The rear wheel assembly is what propels the roomba. If they become damaged the roomba will begin to move irregularly or not at all.
Was du brauchst
-
-
Flip over the device and remove the two 11.5 mm screws using the Phillips #1 screwdriver.
-
-
-
Unscrew the back plate using a Phillips #1 screwdriver.
-
Carefully lift the panel up once the screws are removed.
-
-
-
-
With both hands, grab the two black tabs on each end of the battery.
-
Pull the tabs upwards to remove the battery.
-
-
-
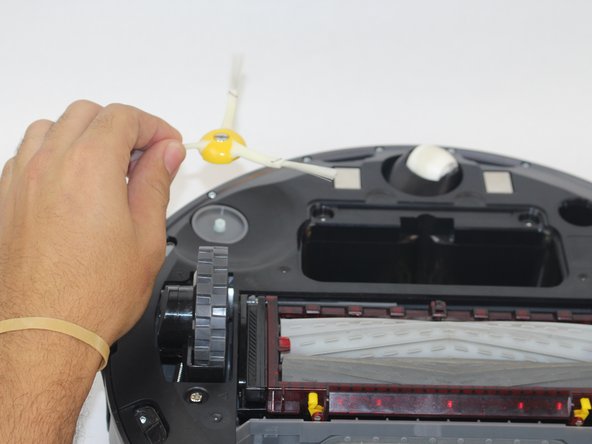
Loosen the screw on the side brush.
-
Lift the side brush from the device.
-
-
-
Unscrew the (2) 11.5mm screws using the Phillips #1 screwdriver.
-
Carefully remove the plate by lifting it off of the device.
-
-
-
Locate the (3) 15.8mm gold Phillips #1 screws and unscrew them.
-
Lift the wheel module removing it from the vacuum.
-
Remove the other wheel by repeating these steps.
-


To reassemble your device, follow these instructions in reverse order.
To reassemble your device, follow these instructions in reverse order.
Rückgängig: Ich habe diese Anleitung nicht absolviert.
4 weitere Nutzer:innen haben diese Anleitung absolviert.
Team

USF Tampa, Team S14-G2, Boczar Fall 2017 Mitglied von USF Tampa, Team S14-G2, Boczar Fall 2017
USFT-BOCZAR-F17S14G2
4 Mitglieder
5 Anleitungen geschrieben