Zum Hauptinhalt wechseln

why! W670SZQ1 Replacing the LCD screen

Was du brauchst

  1. why! W670SZQ1 Replacing the LCD screen, The Batteries: Schritt 1, Bild 1 von 3 why! W670SZQ1 Replacing the LCD screen, The Batteries: Schritt 1, Bild 2 von 3 why! W670SZQ1 Replacing the LCD screen, The Batteries: Schritt 1, Bild 3 von 3
    • Unlock the lock latch on the left.

    • Unlock the lock latch on the right.

    • Remove the battery while holding the lock latch unlocked.

  2. why! W670SZQ1 Replacing the LCD screen, LCD screen: Schritt 2, Bild 1 von 3 why! W670SZQ1 Replacing the LCD screen, LCD screen: Schritt 2, Bild 2 von 3 why! W670SZQ1 Replacing the LCD screen, LCD screen: Schritt 2, Bild 3 von 3
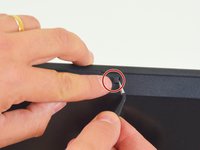
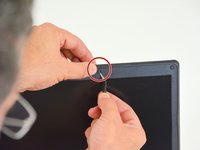
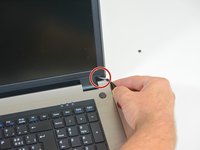
    • Start by locating the two screw caps on the left side of the screen.

    • Remove the lower screw cover.

    • Then the top screw cover.

  3. why! W670SZQ1 Replacing the LCD screen: Schritt 3, Bild 1 von 3 why! W670SZQ1 Replacing the LCD screen: Schritt 3, Bild 2 von 3 why! W670SZQ1 Replacing the LCD screen: Schritt 3, Bild 3 von 3
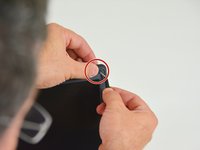
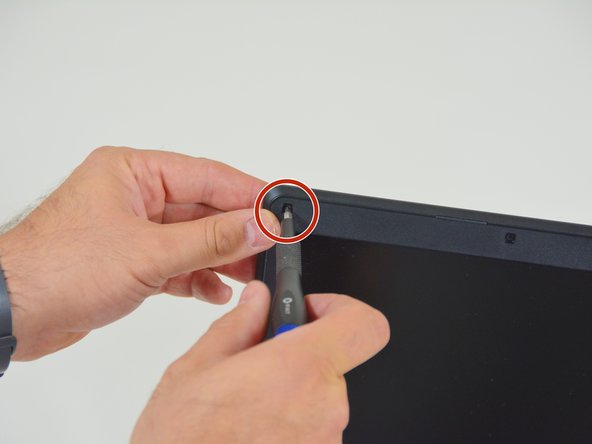
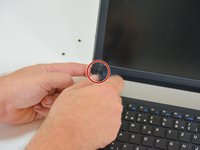
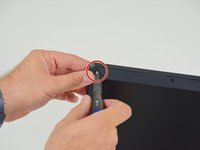
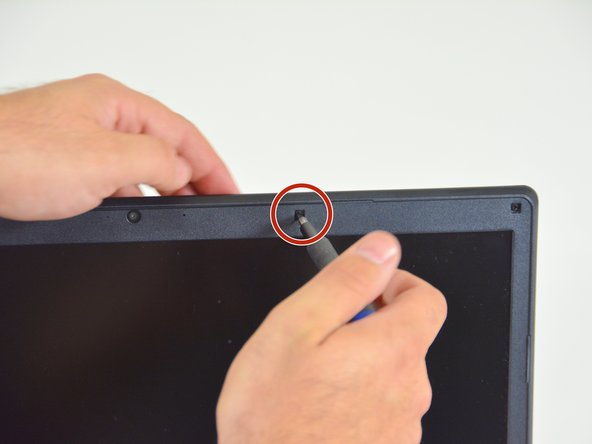
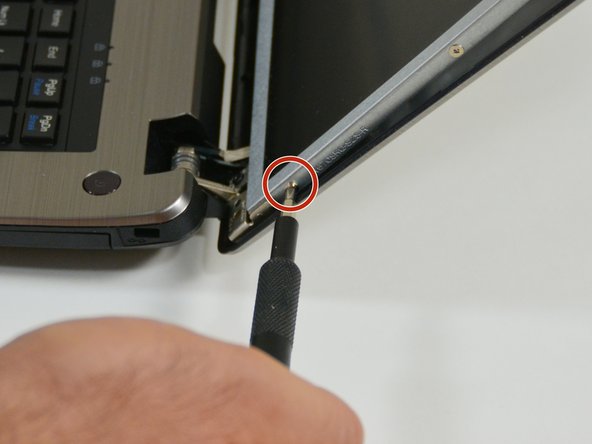
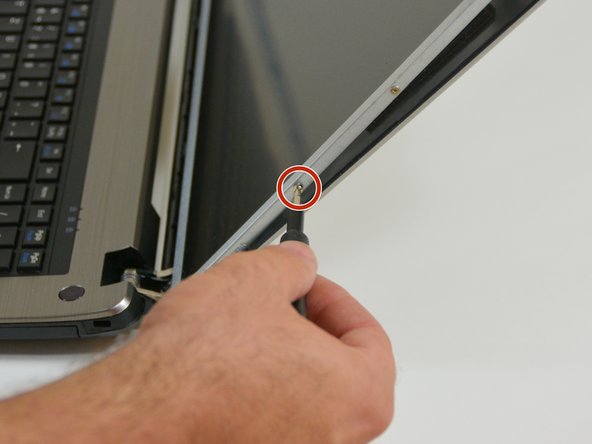
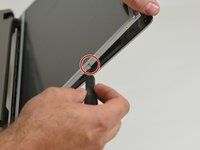
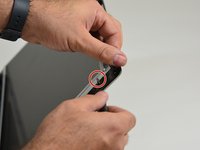
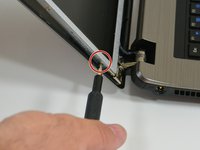
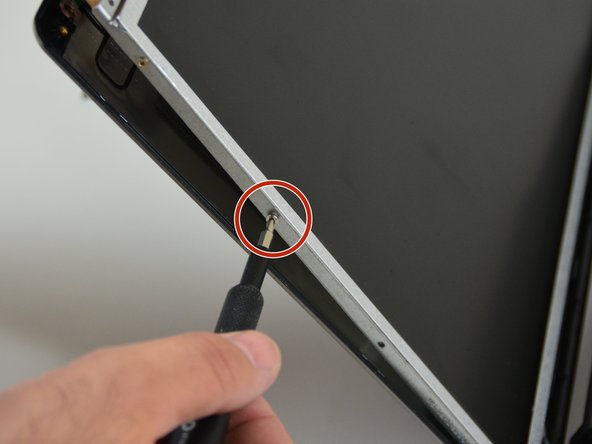
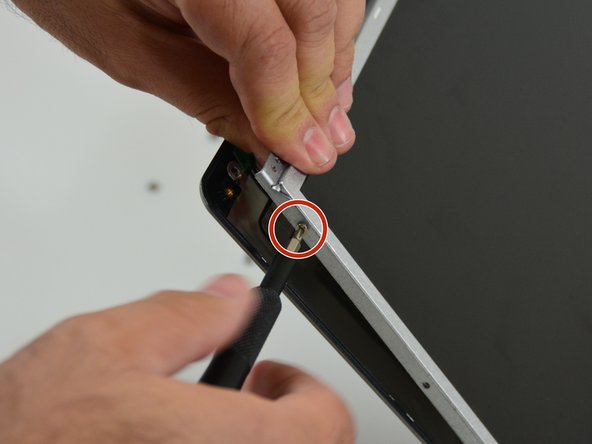
    • Locate and then remove the first center screw on the top of the screen frame.

    • Then the second central cap on the top of the screen frame.

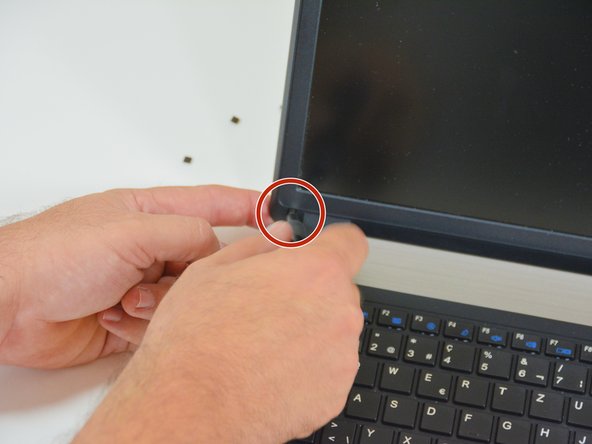
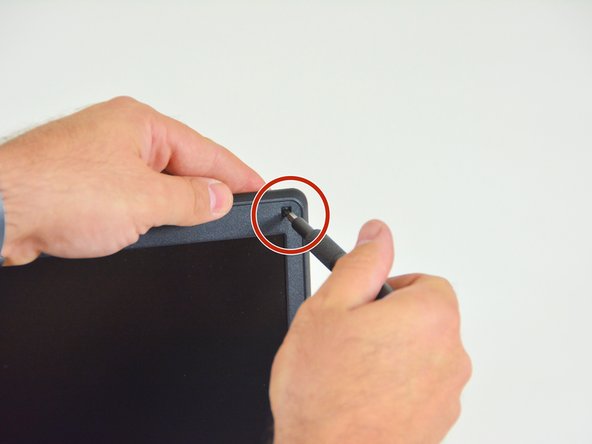
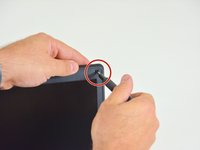
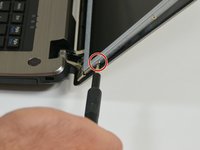
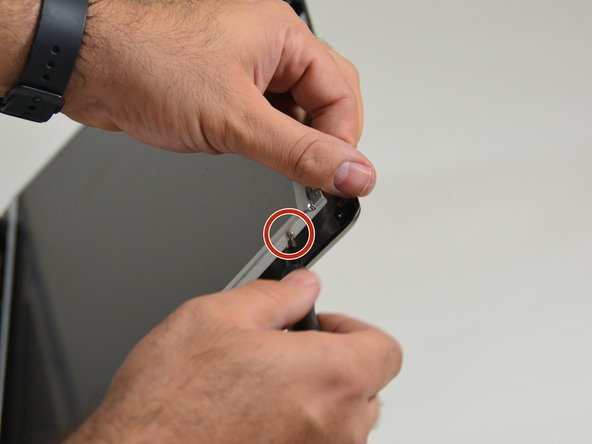
    • Then locate and remove the screw cap on the upper right side of the screen frame.

  4. why! W670SZQ1 Replacing the LCD screen: Schritt 4, Bild 1 von 3 why! W670SZQ1 Replacing the LCD screen: Schritt 4, Bild 2 von 3 why! W670SZQ1 Replacing the LCD screen: Schritt 4, Bild 3 von 3
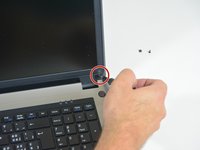
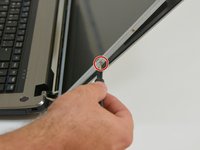
    • Then finally the bottom right screw cap of the screen frame.

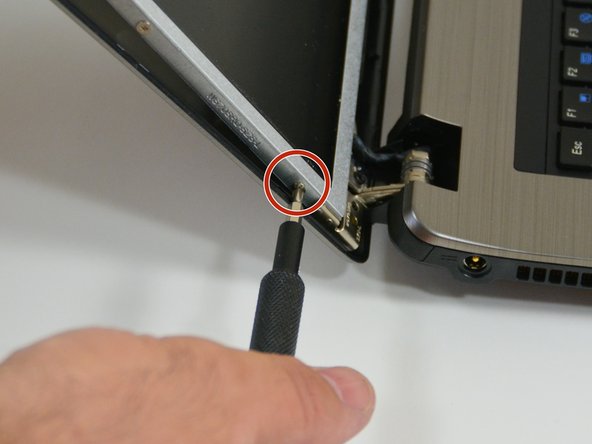
    • Then unscrew the screws behind the screw caps, starting with the one at the bottom left of the frame.

    • Then at the top left.

  5. why! W670SZQ1 Replacing the LCD screen: Schritt 5, Bild 1 von 3 why! W670SZQ1 Replacing the LCD screen: Schritt 5, Bild 2 von 3 why! W670SZQ1 Replacing the LCD screen: Schritt 5, Bild 3 von 3
    • Then the first central screw on the top edge of the frame.

    • Then the second central screw on the top edge of the frame.

    • Then the one in the upper right corner of the frame.

  6. why! W670SZQ1 Replacing the LCD screen: Schritt 6, Bild 1 von 3 why! W670SZQ1 Replacing the LCD screen: Schritt 6, Bild 2 von 3 why! W670SZQ1 Replacing the LCD screen: Schritt 6, Bild 3 von 3
    • And finally the one on the lower right side of the frame.

    • Then gently use your nails.

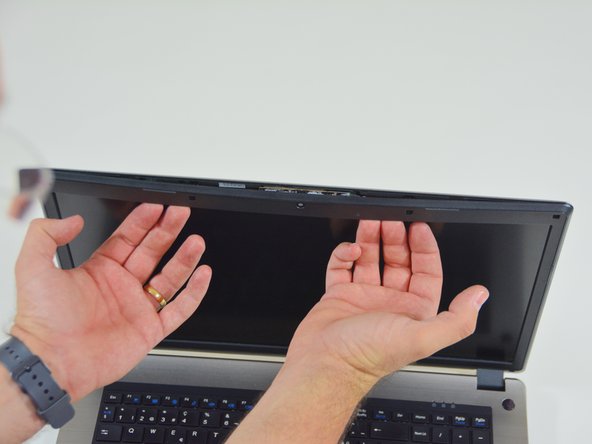
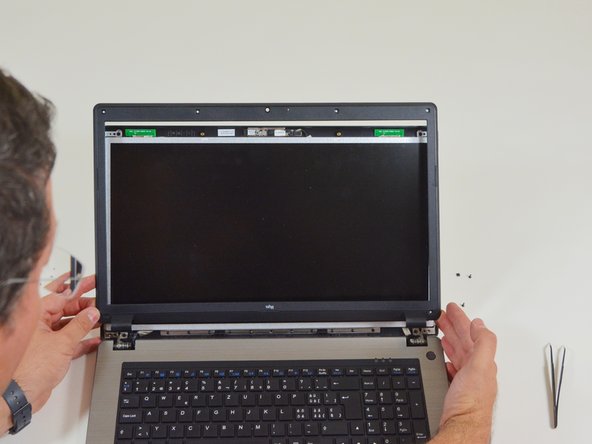
    • To remove the frame from the LCD screen.

  7. why! W670SZQ1 Replacing the LCD screen: Schritt 7, Bild 1 von 3 why! W670SZQ1 Replacing the LCD screen: Schritt 7, Bild 2 von 3 why! W670SZQ1 Replacing the LCD screen: Schritt 7, Bild 3 von 3
    • Unscrew the screws on the front of the LCD screen.

    • Next, unscrew the screws on the right side of the LCD screen, starting with the first one.

    • Then the second.

  8. why! W670SZQ1 Replacing the LCD screen: Schritt 8, Bild 1 von 3 why! W670SZQ1 Replacing the LCD screen: Schritt 8, Bild 2 von 3 why! W670SZQ1 Replacing the LCD screen: Schritt 8, Bild 3 von 3
    • Then the third.

    • And finally the fourth.

    • Repeat these operations then on the left side of the screen starting with the first screw.

  9. why! W670SZQ1 Replacing the LCD screen: Schritt 9, Bild 1 von 3 why! W670SZQ1 Replacing the LCD screen: Schritt 9, Bild 2 von 3 why! W670SZQ1 Replacing the LCD screen: Schritt 9, Bild 3 von 3
    • Then the second.

    • Then the third. .

    • And finally the fourth

  10. why! W670SZQ1 Replacing the LCD screen: Schritt 10, Bild 1 von 3 why! W670SZQ1 Replacing the LCD screen: Schritt 10, Bild 2 von 3 why! W670SZQ1 Replacing the LCD screen: Schritt 10, Bild 3 von 3
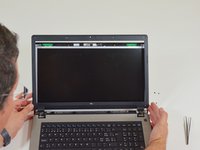
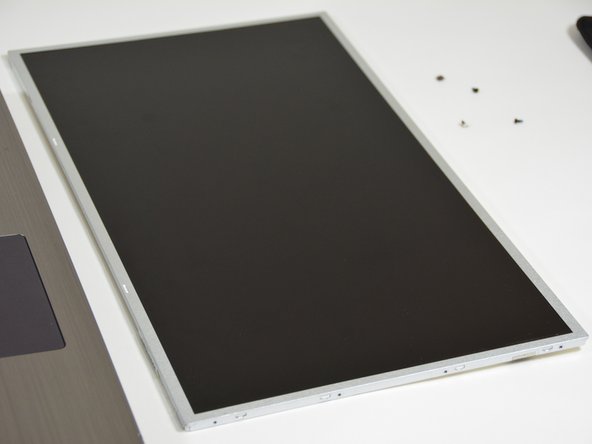
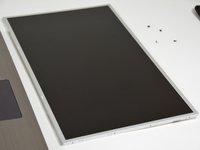
    • Then flip the LCD screen.

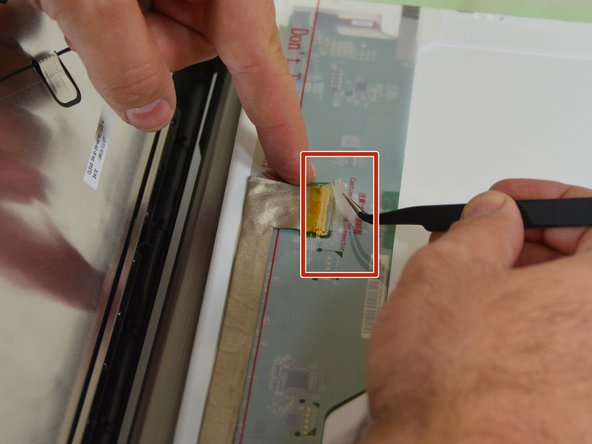
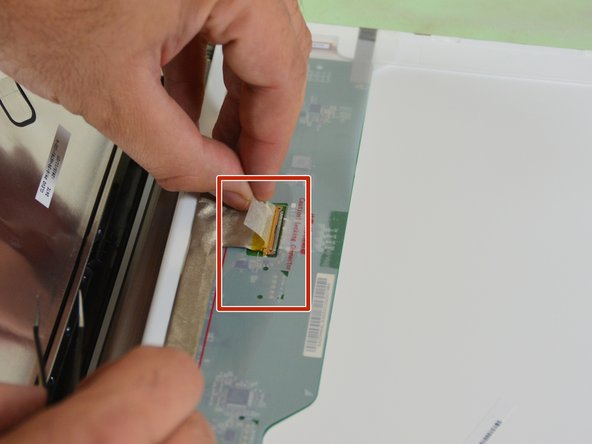
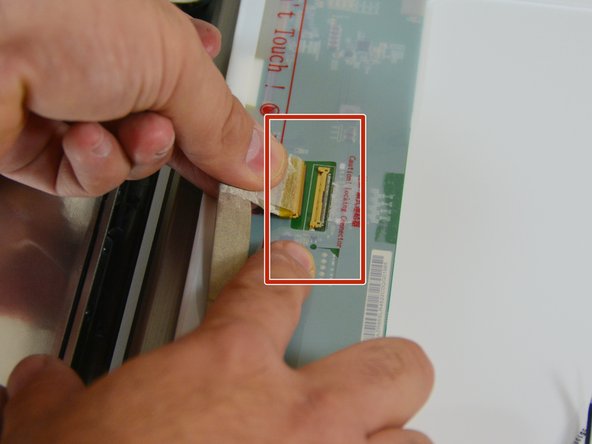
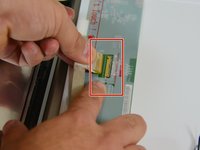
    • Then appears the connector to which is attached the connection cable of the LCD.

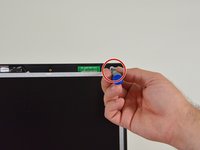
    • Then peel off the tape covering the connector.

  11. why! W670SZQ1 Replacing the LCD screen: Schritt 11, Bild 1 von 3 why! W670SZQ1 Replacing the LCD screen: Schritt 11, Bild 2 von 3 why! W670SZQ1 Replacing the LCD screen: Schritt 11, Bild 3 von 3
    • then remove the cable from its connector.

    • Once the cable is disconnected you can release the LCD screen.

Abschluss

to reassemble your device follow these instructions in reverse order.

Besonderer Dank geht an diese Übersetzer:innen:

fr en

100%

irlanda hilft uns, die Welt in Ordnung zu bringen! Wie kann ich mithelfen?
Hier starten ›

Felice Suglia

Mitglied seit: 06/15/13

30.527 Reputation

259 Anleitungen geschrieben

0 Kommentare

Kommentar hinzufügen

Seitenaufrufe:

Letzte 24 Stunden: 0

Letzte 7 Tage: 0

Letzte 30 Tage: 2

Insgesamt: 142